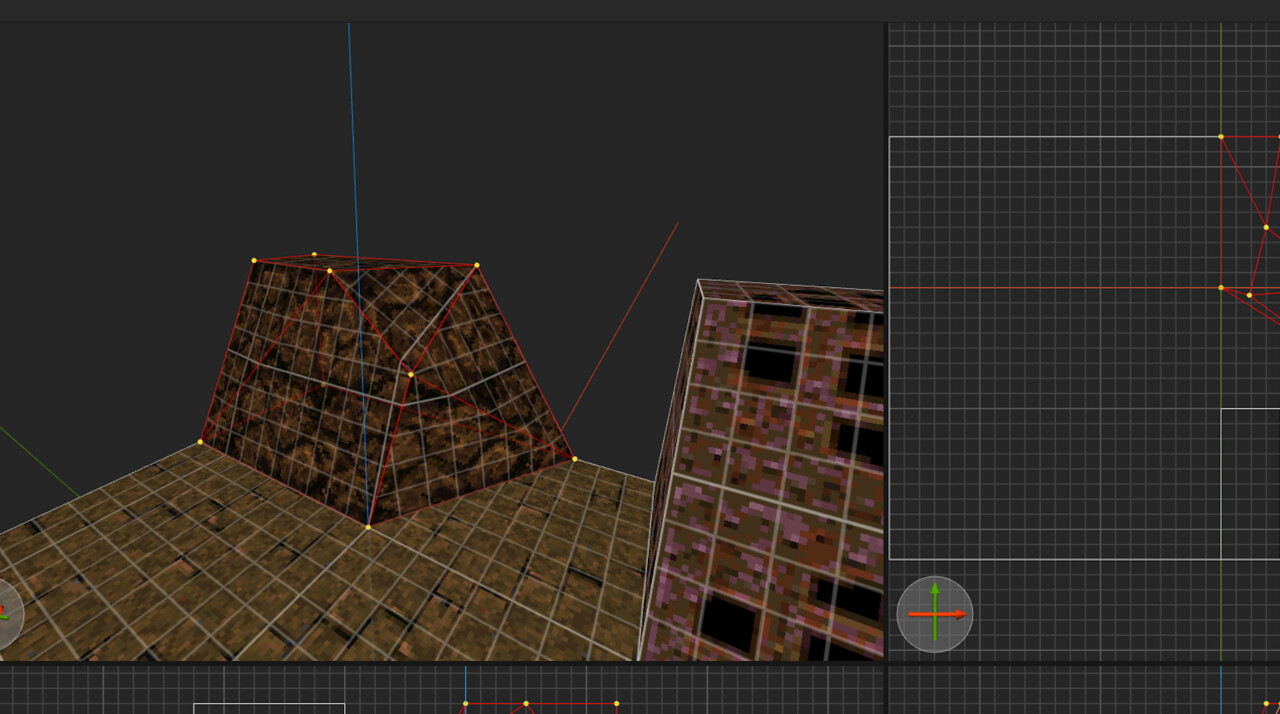
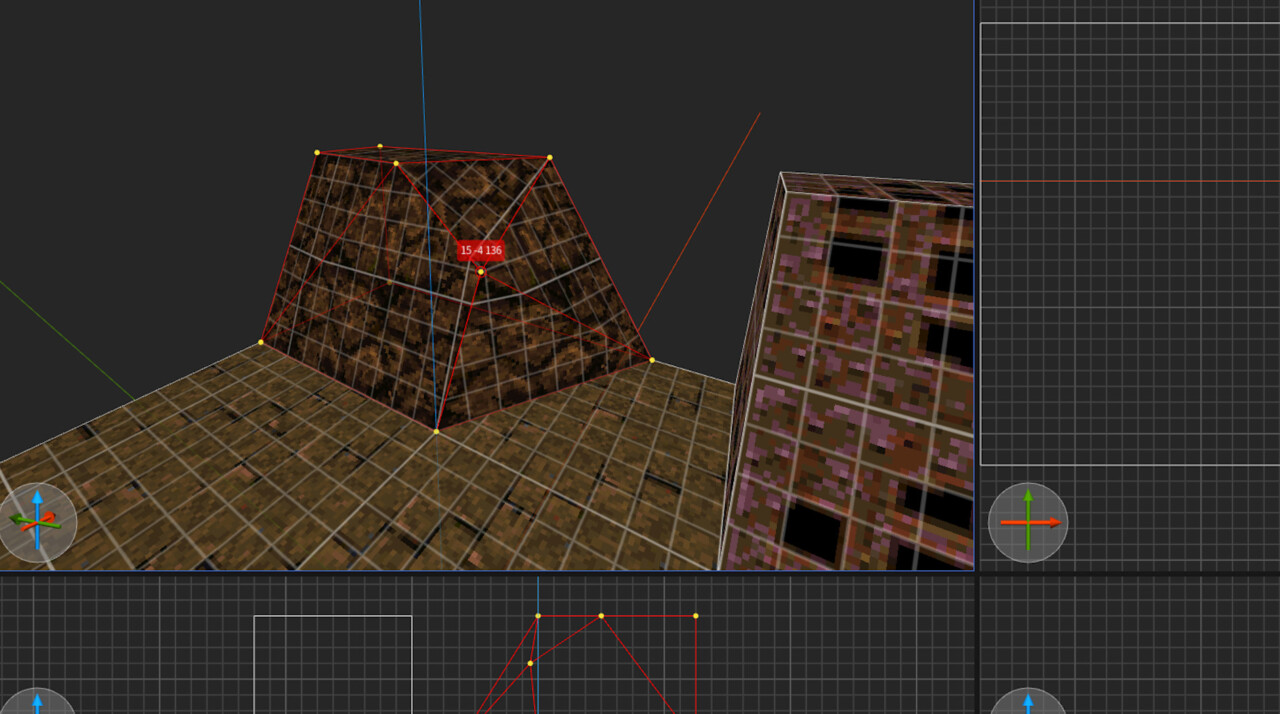
In this post, we’ll go through the basics of geometry building in Trenchbroom. I had originally intended to write this blog post as a complete guide that explored all aspects of the engine (viewport navigation, hotkeys, brush creation, entities, custom WADS etc.), however this felt incredibly boring and redundant as there already is extensive documentation out there presented in a much more engaging way. It also felt a little unintuitive as the best way to learn how to use an engine is not to read pages of documentation but to simply boot it up and start experimenting with it. With this in mind I’ve pivoted the blog post to focus more on the basics of Brush Geometry and helping first time users get used to the editor so as to get you started and walking (you’ll be running in no time).
I’ll be ignoring a lot of the nuances of the engine (partly as I am still learning myself, but also to avoid cognitive overload of features that might not be needed for a new user). Dumptruck_ds’ tutorial playlist provides short tutorial videos that go into more detail on each of the tools of Trenchbroom which I highly recommend watching if you want a deeper understanding of specifics. And of course the Trenchbroom 2026.1-RC3’s reference manual should cover almost anything else you could possibly want to know about the engine.
So, lets get started.
Navigating your way around the editor
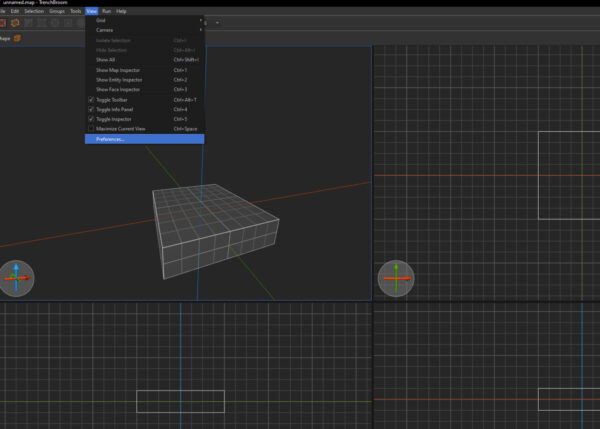
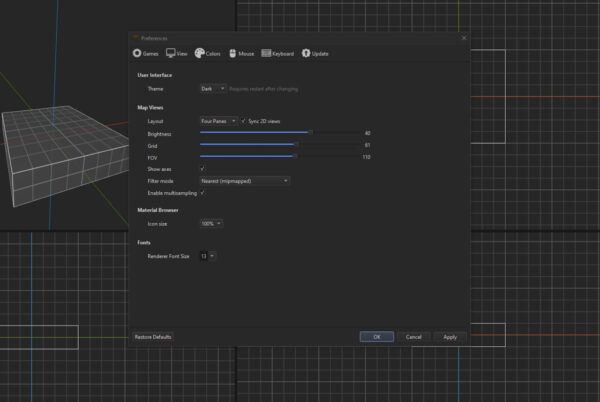
Lets start by learning our way around the editor and the viewports. By default Trenchbroom loads up with a single 3D perspective view; For a brush-based map that’s built to a grid, this feels clunky as I prefer to do a lot of work on the orthographic views. So my first suggestion would be to select “view -> preferences”, and in the View tab, adjust the layout configuration to “Four Panes”. This will give you the 3 orthographic views; front, top and side. Whilst you’re here, you should also set your Theme to “Dark” mode because you’re not a barbarian. There are other accessibility settings you can play around with in this mode, and this Preferences window is where you can also edit hotkey shortcuts (which might be applicable to your workflow). I’ve edited some of my hotkeys to closer align with other more standard engines, but in this blog post, I will always refer to their default hotkeys.
Some icons in the UI are context sensitive. You will see this with the tools icons at the top that are currently greyed out. To enable those icons, select the default brush in the scene and notice the icons become selectable. You can select the icon to switch tool mode or hover over the icons to see their name and associated hotkey (you don’t need to memorise the hotkeys now as that will come with time and experience within the engine, but the sooner you learn them the quicker your mapping workflow will become). Selecting a tool will sometimes bring up a secondary row of options below (i.e. degrees of rotation snapping on with the Rotate Tool or scale factor with the Scale Tool) and these can further refine your usage of the selected tool.
Down the right hand side of the editor you the Inspector Tabs; Map, Entity and Face.
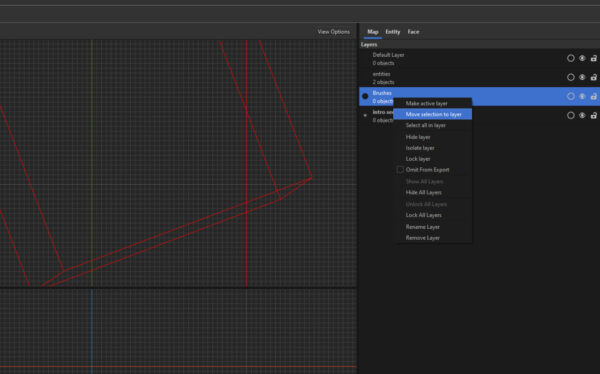
Within the Map tab you have the Layers window, which is useful for organising your work and aiding in your work flow. It sort of works like a primitive hierarchy you would find in Unity and Unreal. You can create new layers, name them and add objects from your scene into them. These layers can be locked, turned on and off and omitted from your compile entirely should you wish. You can add a new layer by clicking the little + symbol at the bottom of the layers window, and items can be added to the layers by selecting them, right clicking on the layer and selecting “Move Selection To Layer”. There’s also Map Properties and Mods windows below, however I won’t cover those in this post.
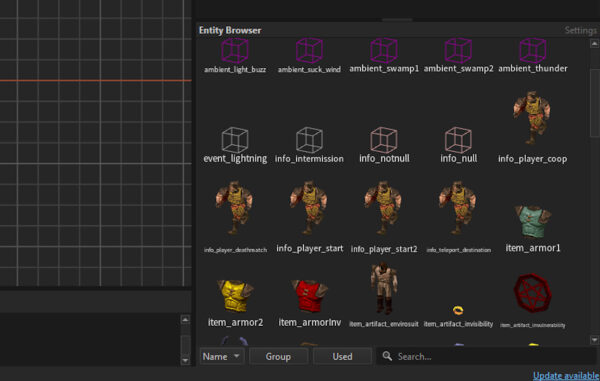
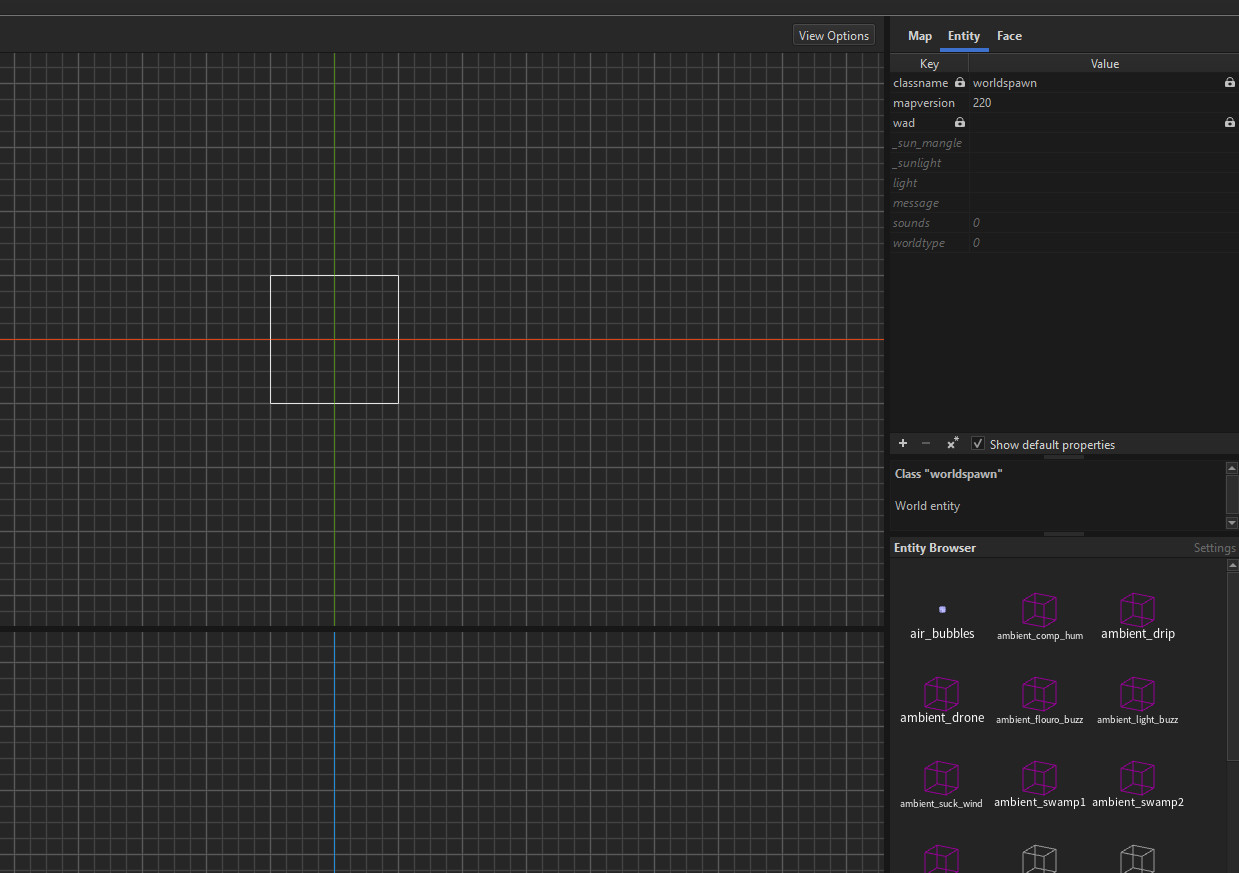
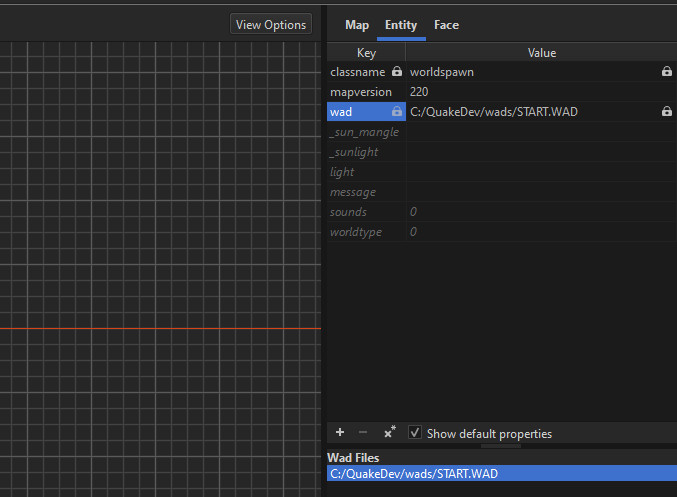
To the right of Map there is the Entity tab. This is the library of entities we can work with when making our map. This is also where we can add WAD files, a collection of textures used to texture brushes, to the project (I briefly mention how to add WADs to your project in the Getting Started blog post, so best refer there for more information if you need). The main window we’re concerned with for this blog post is the Entity Browser.
Entities are packaged up pieces of game logic that can be used to turn a map of brushes and geometry into a functioning game level. Basic entities range from weapons and item pickups to enemies, lights and triggers relays. Alone these pieces of game logic will function, but the true creative power comes from how these entities can interact with one another. I will cover entities, the creation of new entities, brush entities and how to use trigger and relays, in much greater detail in a future blog post; but for now, just know that if you want to place a simple enemy spawn, item pickup or point light, you will want to navigate to this window.
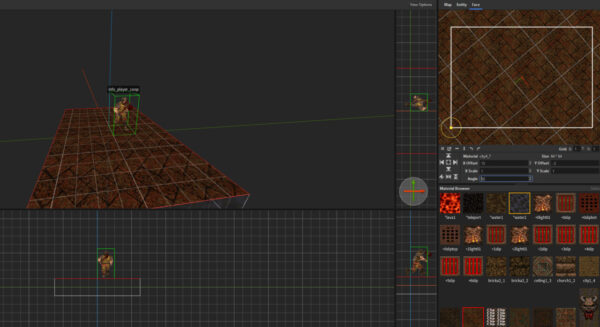
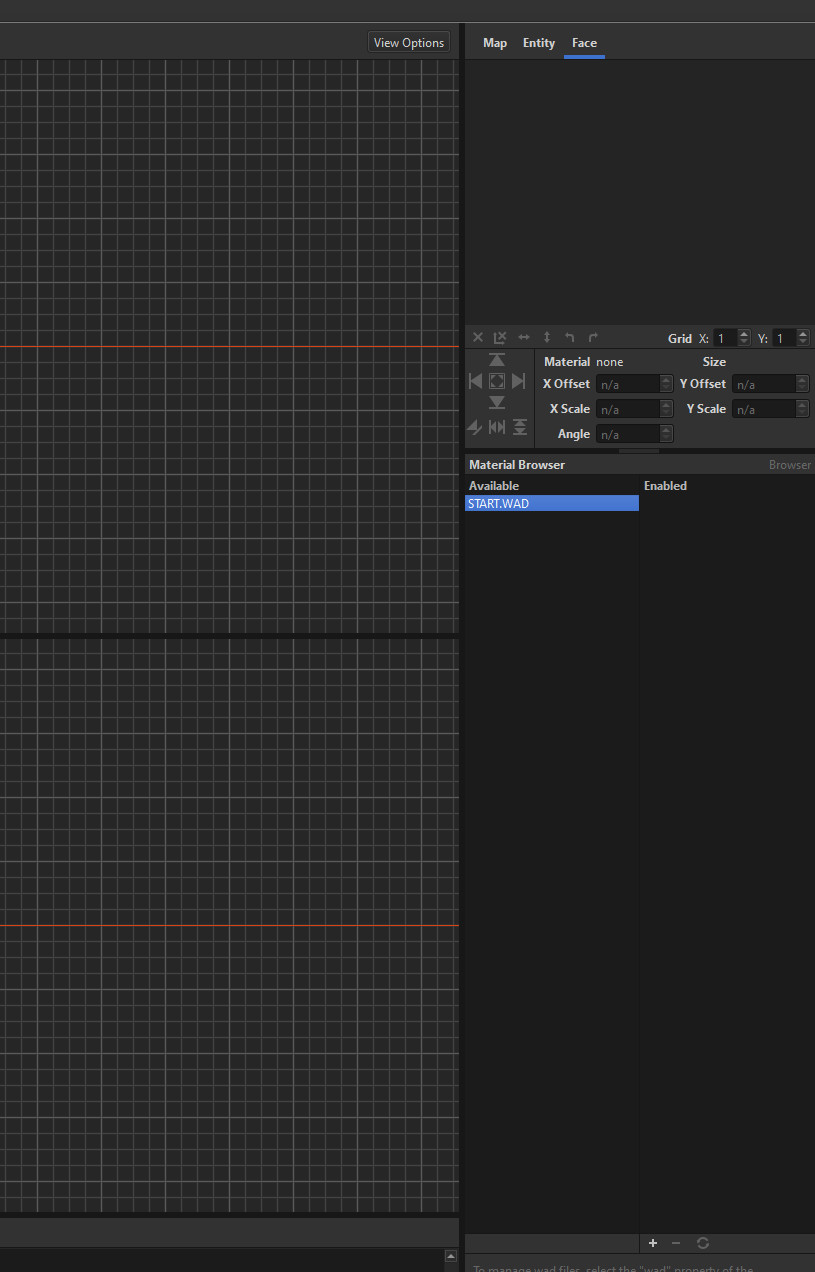
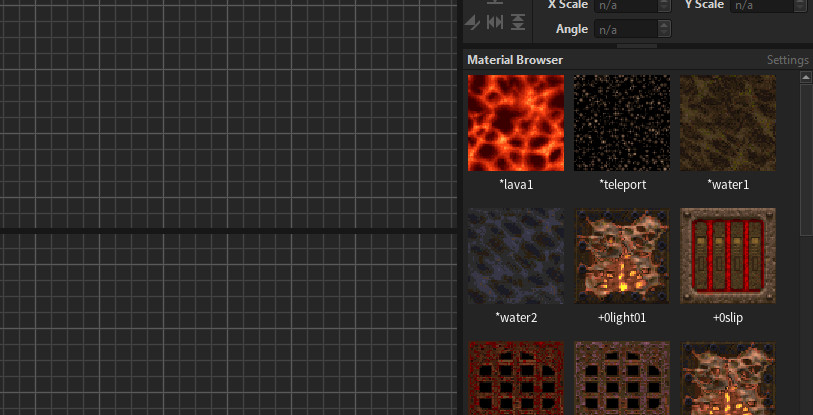
Next to the Entity tab there is the Face tab. This contains the Material Browser which holds all of the textures within the WAD files we’ve added to the project. When applying a texture to a face of a brush, we use this Face tab to select the texture we want, and how to scale, align and rotate the material when its applied to the face. Its something which is better observed through practise than text so:
- Select the the default scene brush with a left click
- Hold shift and left click the top face (it should be highlighted in yellow)
- In the Material Browser, select a random texture
- Notice how the texture has been applied to the selected face of the brush
- Above the Material Browser there are tools to manipulate the material on the face of the brush
- Experiment around them and see in the 3D viewport how this directly affects the look of the brush
- You can Move the texture around the UV, you can scale it on the X and the Y and you can rotate it
Finally along the bottom of the editor is the console. This will output in Realtime a log of what is going on inside the editor along with any errors that might occur during your mapping experience. I won’t go into much detail here about the Console, but just know if you see a stream of red error text, it might be worth stopping and investigating what the issue is.
Controlling the Viewports
Lets get used to some basic controls in the viewports as Trenchbroom has slightly different controls from more standard engines like Unity and Unreal. Simply reading these instructions is an awkward way of learning, so I would highly recommend messing around in the editor yourself to learn the quirks of Trenchbroom and also referring to the Trenchbroom 2026.1-RC3’s reference manual for a reference on everything you can do (as there is a lot of stuff that I will be missing here).
Moving
- To move around the 3D viewport, hold down the right mouse button and pan around with W,A,S,D
- To speed up or down the pace at which camera moves, hold down the right mouse button and scroll the mouse wheel either towards you (to slow it down) or away (to speed it up)
- Scroll the mouse wheel by itself to zoom in and out
- Holding Q or X can be used to pan the viewport up or down
When working in the 2D orthographic viewports:
- Panning is instead done by holding down the right mouse button or the mouse wheel and moving the mouse around
- Zooming in and out uses the mouse wheel, just like the 3D viewport
Selecting
- To select a brush or an entity, simply click the left mouse button on the object you wish to select
- Move the selected object around by clicking and holding down the left mouse button on the object and then moving the mouse
- You’ll notice if you do this in the 3D viewport, the object is locked to the X and Y axis
- If you want to move the brush up and down along the Z axis you’ll need to hold down the alt key whilst you drag
- For this reason alone I find myself predominantly using the 2D orthographic viewports for brush creation and manipulation (perhaps its just my years of experience within Source but it just feels more natural and less clunky – your mileage may vary)
- To select multiple objects hold the ctrl key down and click the left mouse button on each object you wish to select
- You can also hold the ctrl key down and then click and drag left mouse button over multiple brushes to select them
- Make sure you have ctrl held down before you click and drag else you’ll duplicate the brush
- To select the face of a brush hold down the shift key and select a face by clicking the left mouse button.
- Like with objects you can select multiple faces by also holding down the ctrl key
- Select all objects within the scene by holding down ctrl pressing A
- Note: Only objects that aren’t hidden or locked will be selected
- To deselect everything hold down ctrl + shift whilst pressing A
Creating and manipulating Brushes
The core geometry of the level is built using CSG (or BSP brushes as they are more commonly referred as). There’s no need to go into huge detail about what the brushes are, just know that they are the building blocks of your level. They can be placed, scaled, rotated. You can manipulate each of their vertexes, you can add additional vertexes. You can apply materials to each individual face, and you can even turn them into entities that can have game logic applied to them. This is what 80% of your time in Trenchbroom will be spent working with so its best to get used to them. I’ll go over some of the very basic controls and tools you need to get started:
Brush Tool (B)
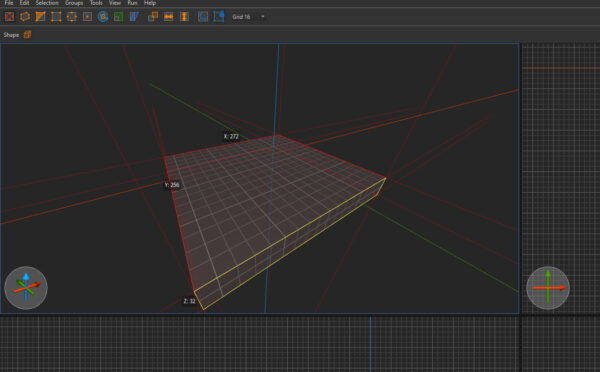
Pressing B selects the Brush tool. To create a simple brush:
- Ensure no other object is selected by deselecting everything either by holding Ctrl+Shift+A or pressing Esc
- Hold down the Left Mouse Button anywhere in any of the viewports and drag out the shape
- Whilst still holding down the Left Mouse Button, hold Alt and drag up to give the brush a bit of height (this will only work if you’re creating the brush in the 3D Perspective Viewport
- Release the Left Mouse Button to create the brush
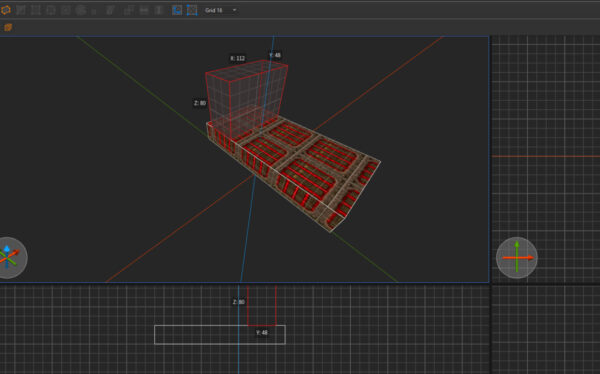
To manipulate the shape and the size of the brush we can move the individual faces in the same way:
- Hold Shift + Left Click on the face of the brush you wish to move
- Click and drag the face in the desired direction (Notice that the face is locked to its oriented axis)
- Release the Left Mouse Button to finalise the edit
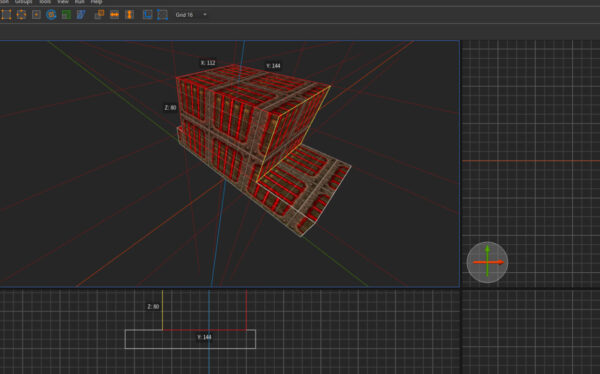
The Scale Tool (T) can also be used to achieve the same effect as above, however I personally find this to be a little more awkward than simply holding shift (but maybe you might find it a better method).
Brush Shapes
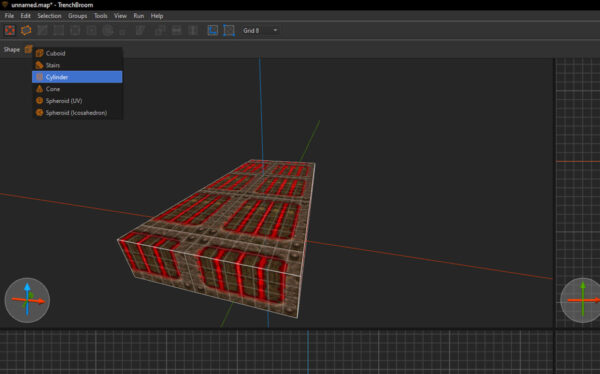
Underneath the Brush Tool icon, you’ll see a little orange cube. This can actually be clicked to reveal a drop down menu of the brush shape you can build. I won’t get into every single shape in this post as there’s a few to explore and they each have their own settings, but explore and experiment with using different shapes to see what interesting geometry you can create.
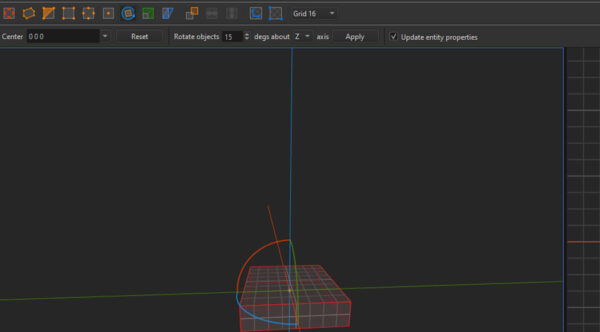
 Rotate Tool (R)
 Rotate Tool (R)
This tool is pretty self explanatory, it allows you to rotate a selected brush or entity:
- Select the object you wish to rotate
- Select the Rotate Tool or press R
- To rotate the object either:
- Click and drag the widget on the desired axis or
- Hold alt and use the arrow keys to rotate around the X and Y and Page Up / Down to rotate around the Z
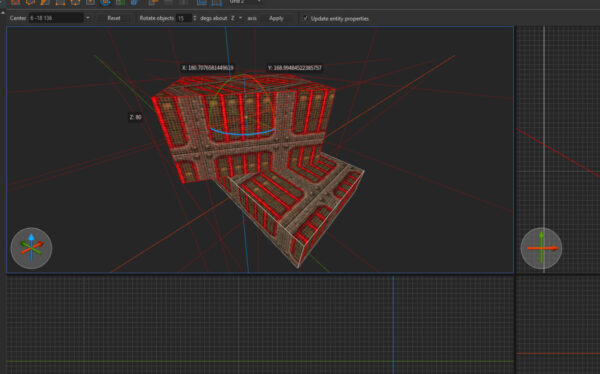
Notice that some additional options have appeared below the tools bar, and these can be changed to give you more control over the rotate options:
- The first is the pivot point around which you want to rotate the object
- The initial value is the centre of the brush
- 0 0 0 is the origin of the map
- or you can put your own 3 values in if there is a specific point you wish to rotate around (just hit Return when you have entered your 3 values)
- In most cases however you’ll like just want to rotate around the centre pivot of the brush, and if the pivot has been placed in a position you don’t want you can click the reset button to return it to the centre
- The second option is the degree of snapping you want when rotating an object
- I personally would ignore the third and fourth option, but this is if you just want to have the rotation be applied a single time around a certain axis by a click of a button
Clip Tool (C)
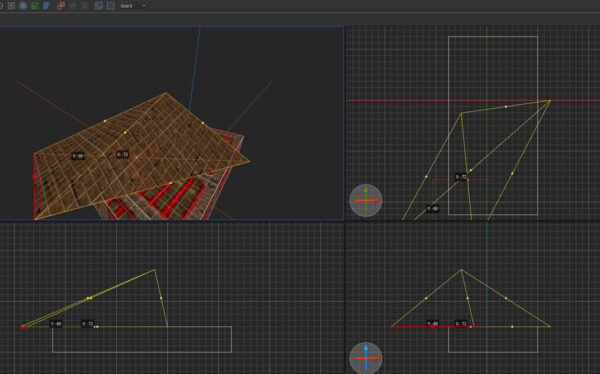
The Clipping tool allows for the slicing up of brushes (again something better demonstrated than explained):
- Create a new brush
- Select the Clipping Tool by pressing C
- Notice how a little orange dot has appeared and snaps to various points on the grid
- Select the first point anywhere on the mesh to set the anchor point. This will determine where the slice will start
- Select a second point on the mesh to specify where you want the slice to finish
- This might get a little awkward in the 3D perspective viewport, so I typically use the orthographic viewports for this
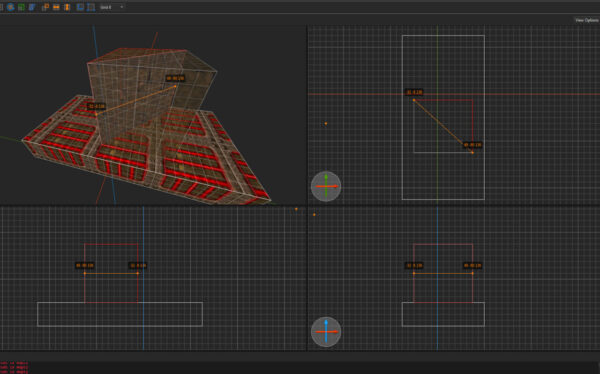
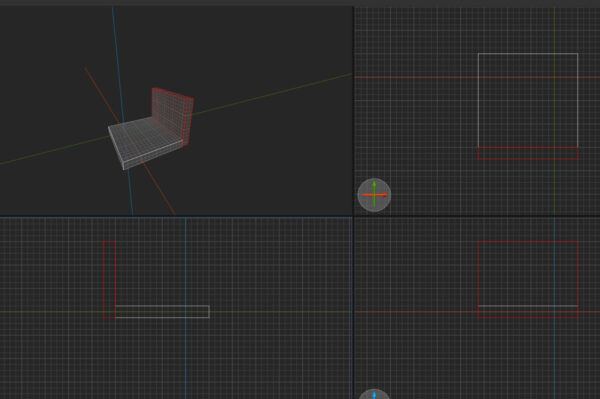
You’ll notice that one side of the slice has now turned translucent (see above). If we were to complete the clip right now, the Opaque side of the brush will remain, whilst the translucent side of the brush will be removed.
- We can switch which side of the brush we want to remove by holding ctrl and pressing Return to cycle between all 3 options
- Remove Side 1, Keep Side 2
- Remove Side 2, Keep Side 1
- Remove neither side but add a new edge where the slice would be made creating two separate brushes
- Once you’re happy with what slice you want to make press Return to complete the action
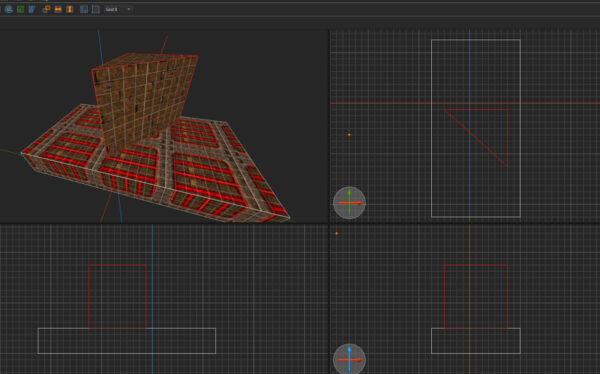
Vertex Tool (V)
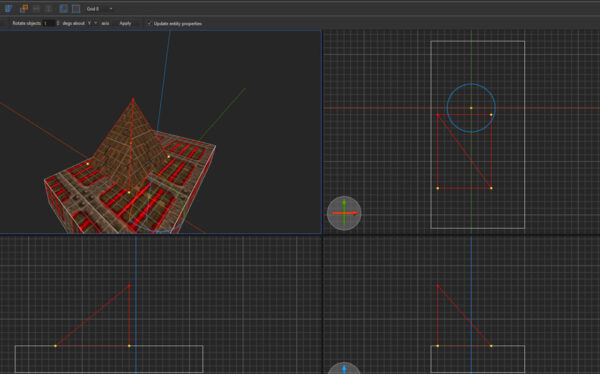
The Vertex Tool gives us the freedom to manipulate the brushes into more interesting shapes by moving individual points of the brush. When combined with the clipping Tool this can very interesting geometry:
- Select the Vertex Tool by pressing V
- Notice that individual vertexes you can manipulate appear in yellow
- Select one of the vertexes by pressing and holding the left mouse button
- Drag the vertex in the direction you want to skew the brush
- Notice that if this is done in the 2D Orthographic Viewport, it will select all vertexes on that specific point irrelevant to their depth
- If you wish to move a specific vertex on that specific point, it must be done in the 3D Perspective Viewport
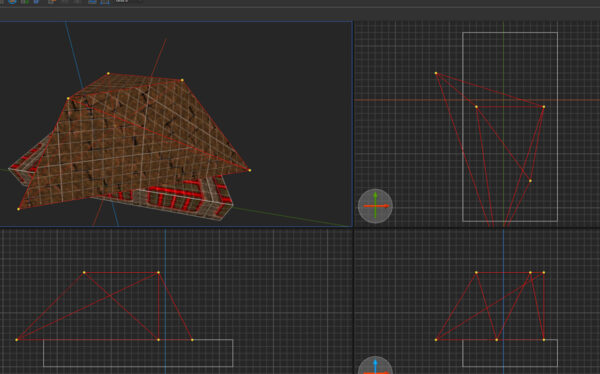
- You can add a new vertex to any edge of a brush by holding Shift and then clicking and dragging the left mouse button from a point along the edge of a brush
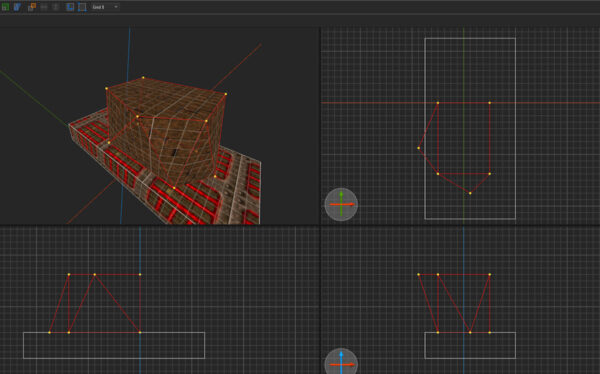
If you wish to merge two vertexes together:
- Select the first vertext
- Hold Shift + Alt and click on the vertex you wish to merge it to
- Notice how it merges the first vertex to the second’s location
- Its important to note, that if at any point vertexes overlap with one another, they are automatically merged into one single Vertex
Edge (E) and Face (F) Tools
I won’t go into much detail about these specific tools, as they are relatively self explanatory but they allow you to manipulate either an entire edge or face of a brush. Selecting these tools will highlight a yellow point that you can click and drag.
Useful functions
Finally here are some useful little functions and hot keys that might help in your map making flow:
Isolating and Hiding Brushes
This function can be very useful when you want to focus on a small section of a much larger map as it cleans up the orthographic viewports making them easier to use:
- You can isolate an individual/group of brushes by holding shift and pressing I
- This will hide all other brushes allowing you to just focus on the brush(es) that you had selected
- You can hide an individual/group of brushes by holding ctrl + alt and pressing A
- This will hide the brush(es) you had selected
- If you want to unhide all other brushes from either command hold ctrl + shift and press I
Grouping Brushes
This combines numerous brushes into a single group of brushes. To add multiple brushes to a group:
- Select all the brushes you wish to add to the group
- Hold ctrl and press G
- Give the group a helpful name (it doesn’t have to be unique)
- Notice how a purple bounding box now surrounds the group
- Clicking on a single object within the group will select the whole group
- If you wish to edit the group, double click the left mouse button on any brush within the group
- You are now editing only the brushes present within that group
- To exit a group, press esc
To remove a group:
- Select the group you wish to remove
- Hold ctrl + shift and press G
- This doesn’t delete the contents of the group, just the group itself
To add/remove brushes to/from a group:
- First select the brush you want to add to an already existing group
- Right click on a brush within the group you wish to add it to
- Select “Add objects to group [groupname]”
- To remove an object from a group, first double click on a brush in the group
- Select the brush you wish to remove
- Right click on the brush and selected “Remove objects from group [groupname]”
Centring The Camera
This is the equivalent of the F key in Unreal and Unity and is very useful for re-orientating yourself when your map begins to balloon in size:
- You can centre the camera on a selected object by selecting the object you wish to focus on
- Hold ctrl and press U
- This will focus the camera on the selected object
Hiding UI Elements
Lets say you want to purely work on geometry and want to maximise your screen space. You may want to remove unneeded UI elements:
- To remove the inspectors on the right, hold ctrl and press 5
- To remove the console at the bottom, hold ctrl and press 4
Conclusion
OK, I think that’s enough for now. I was very conscious about getting this blog post out before the start of the mapping jam, so there’s likely a whole handful of useful tips and tricks I’ve forgotten to write about. But the ultimate goal of this guide was to get mappers started with exploring the engine and building brushes.
Next time I’ll explore entities and turning the basic geometry of you map into something that is actually playable. Ciao
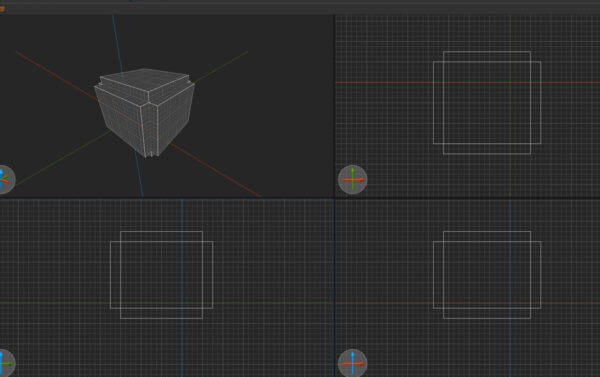
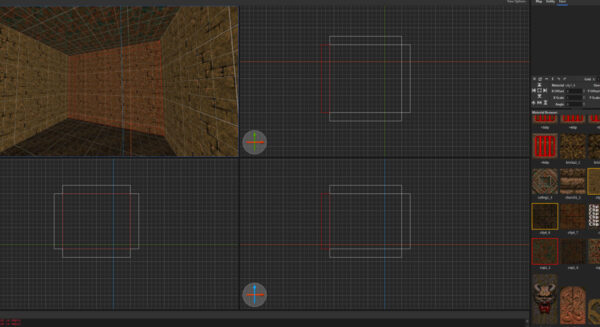
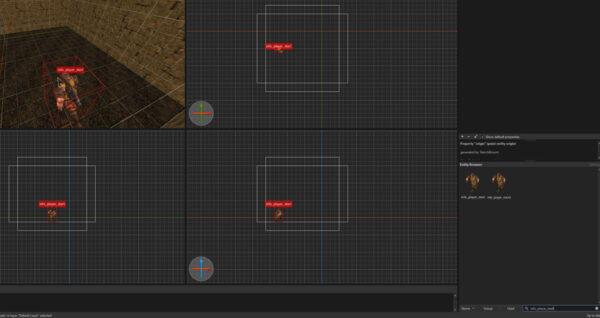
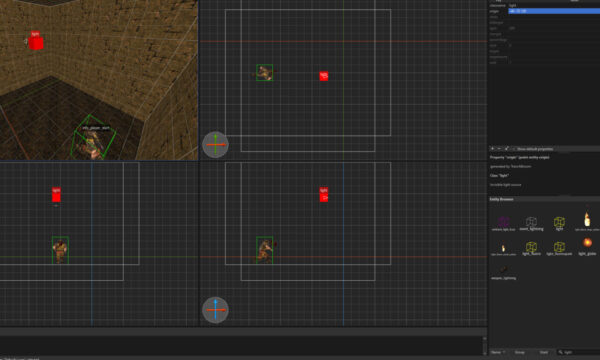
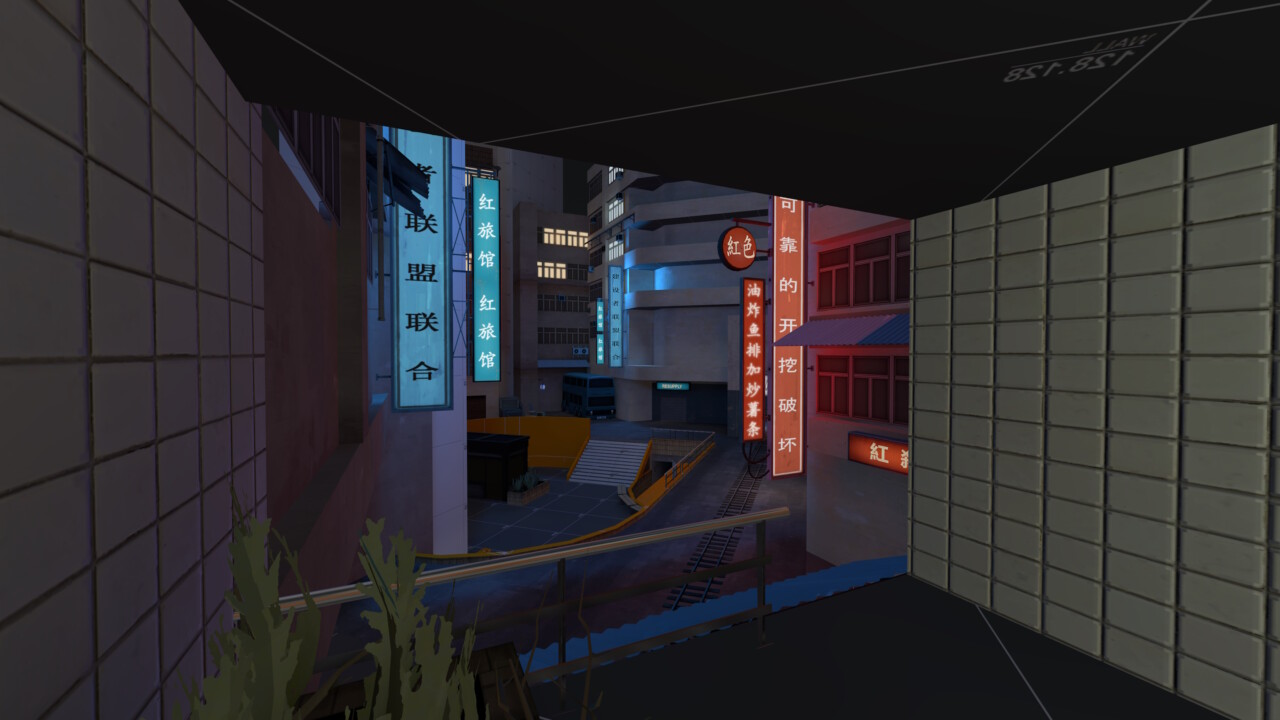
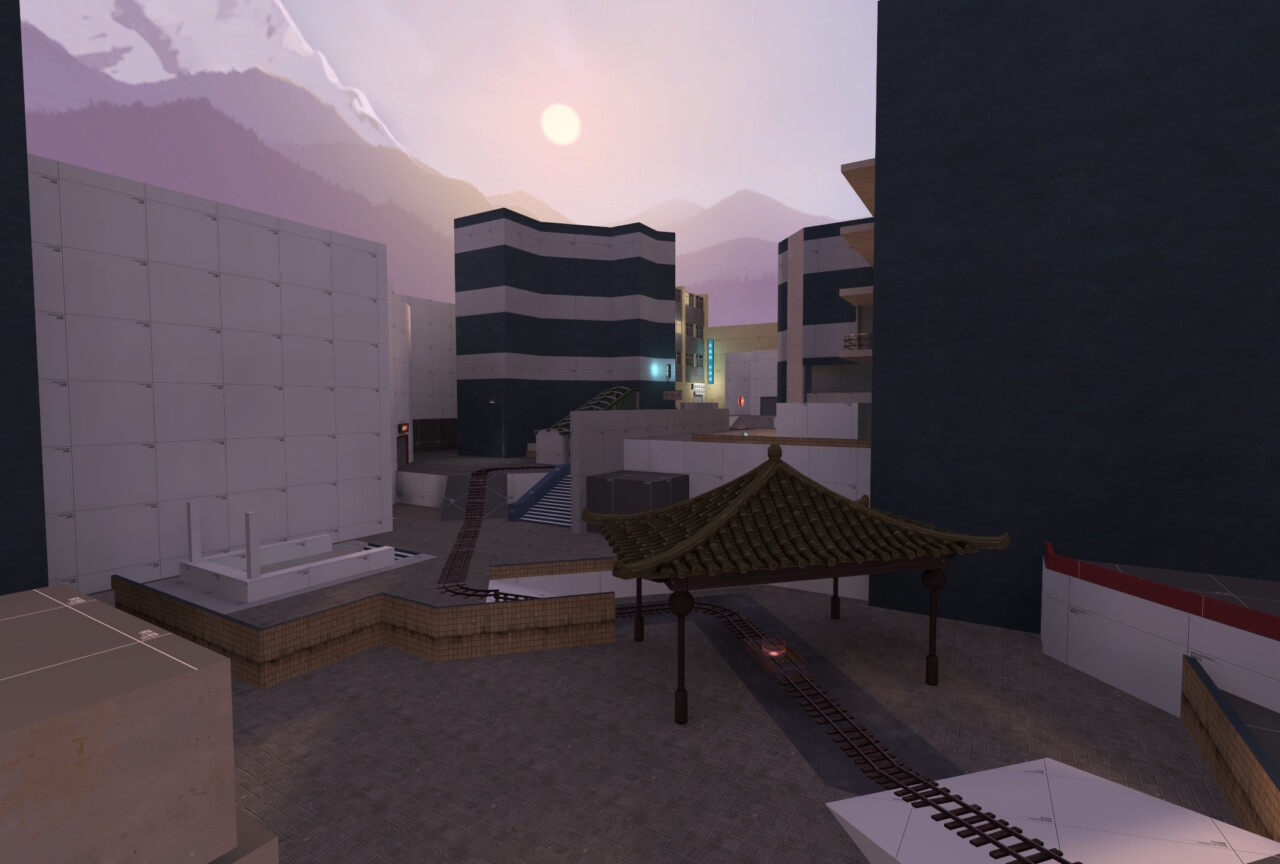
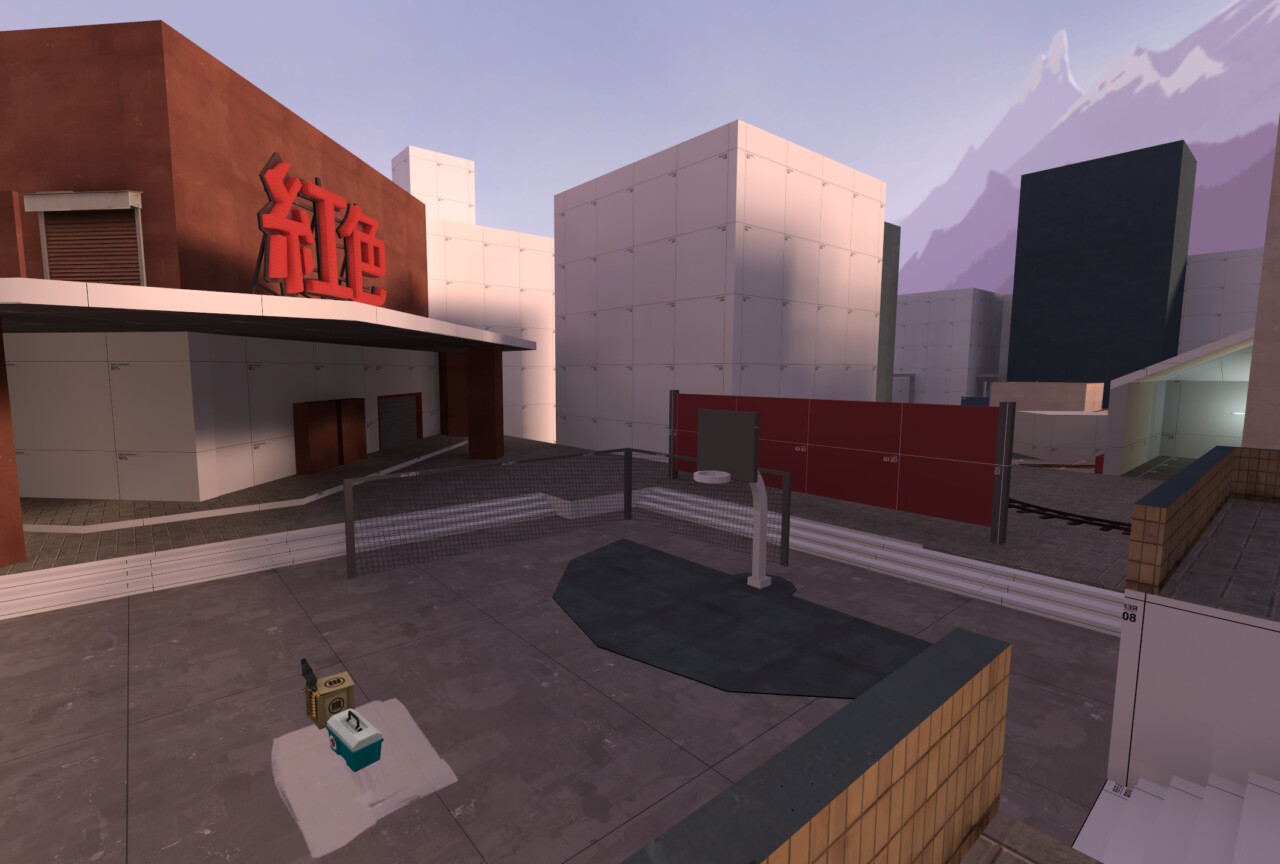
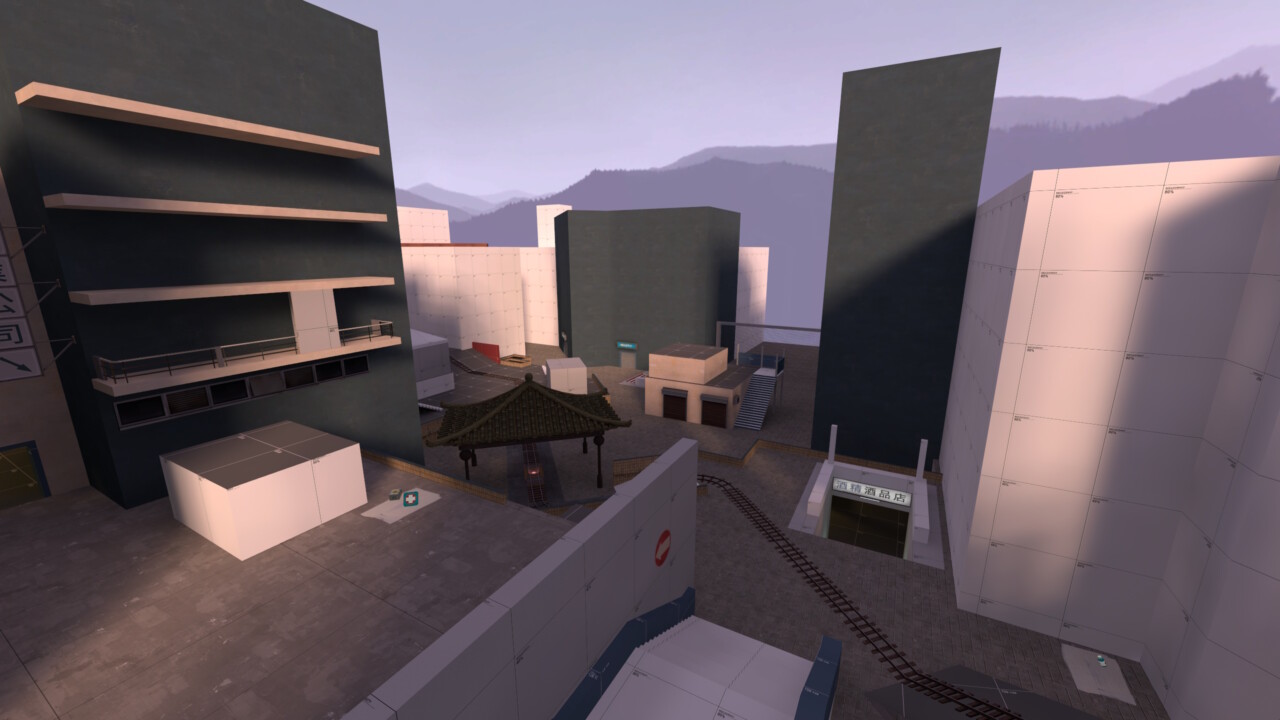
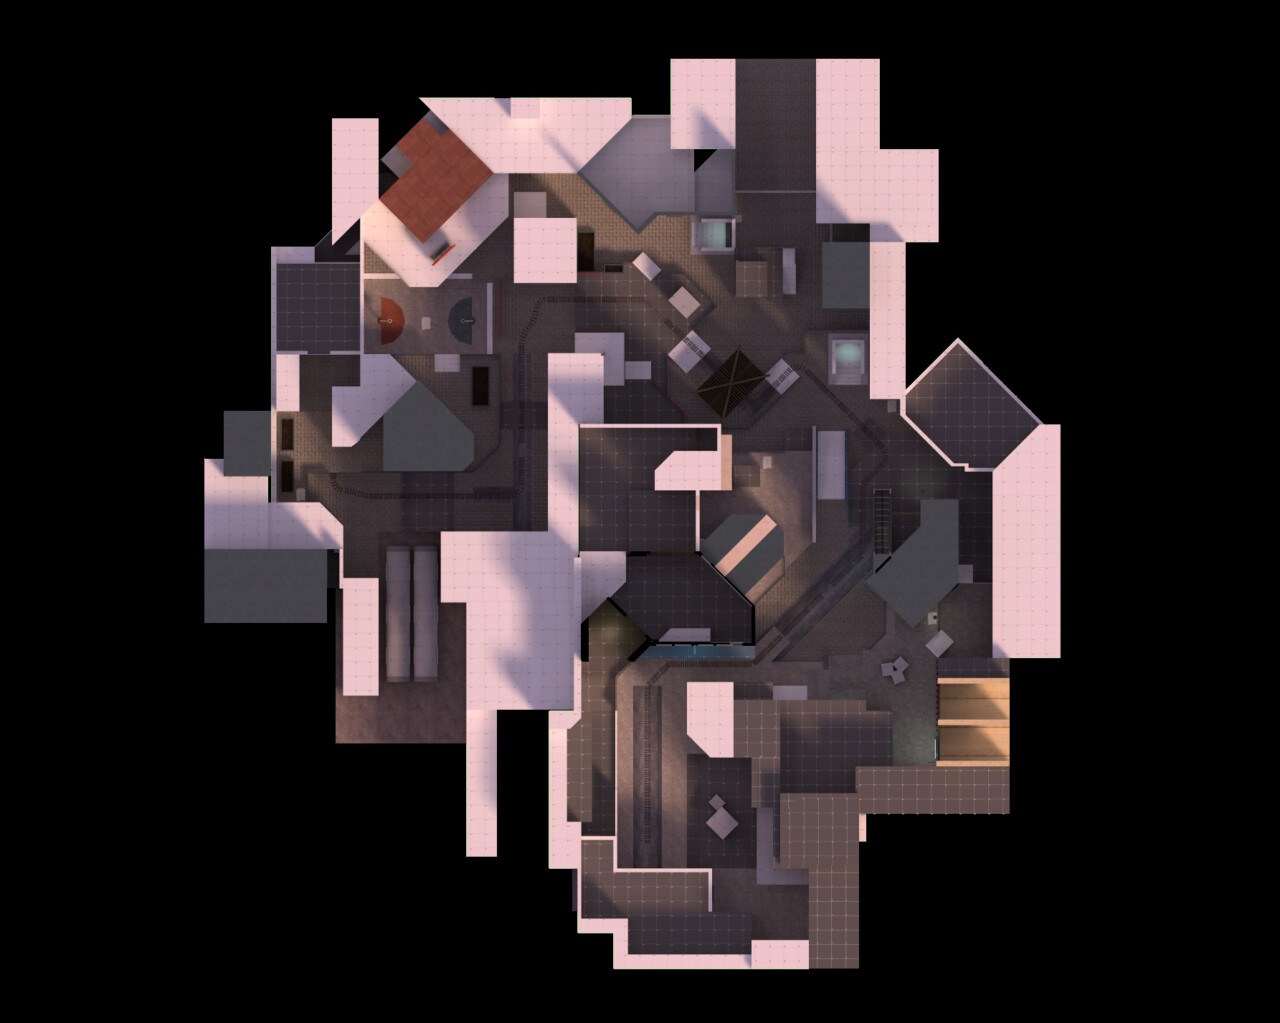
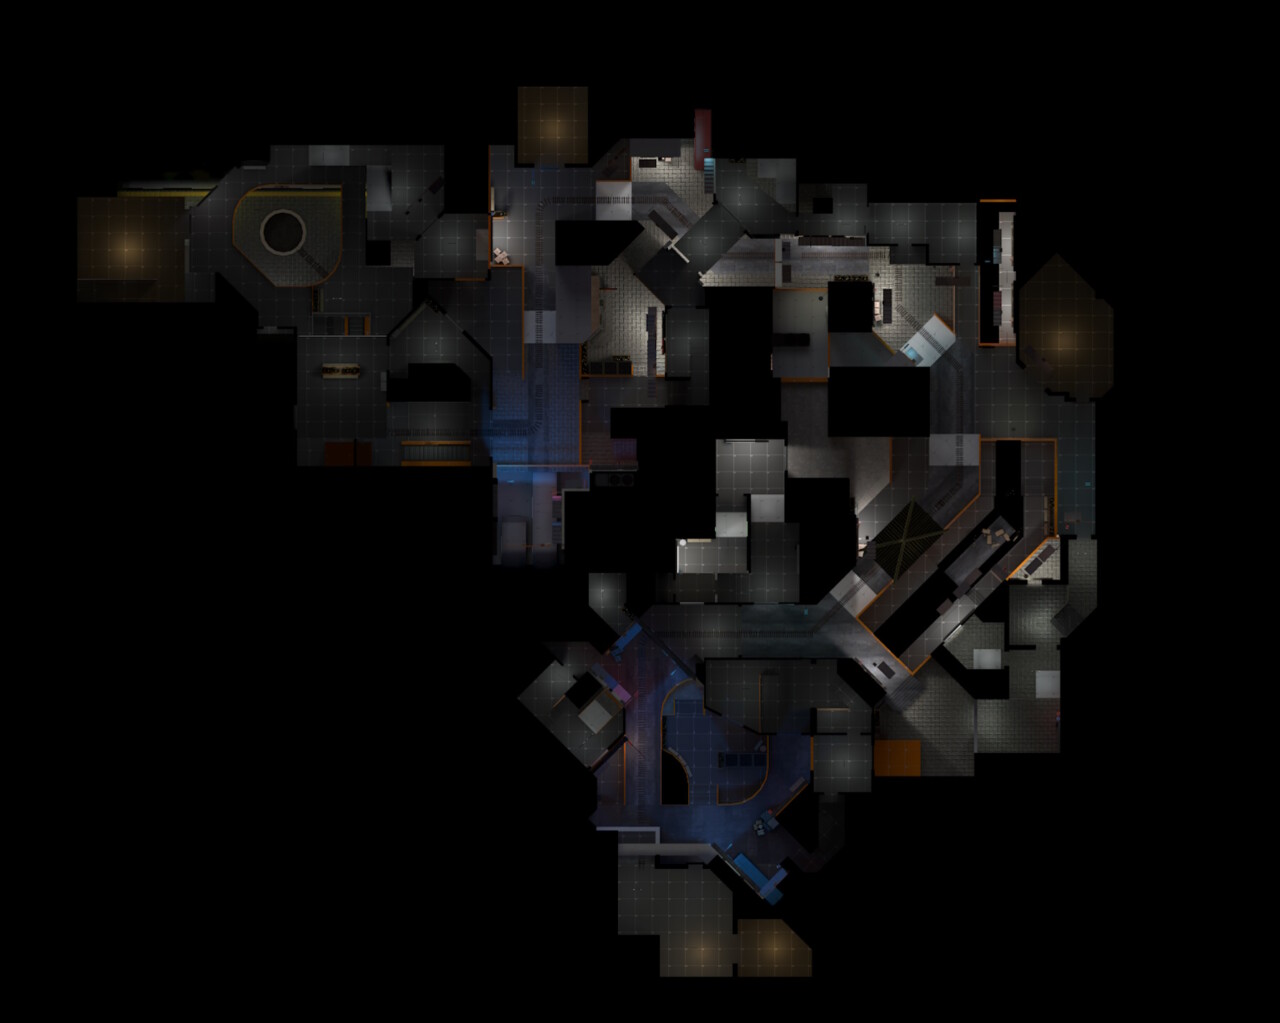
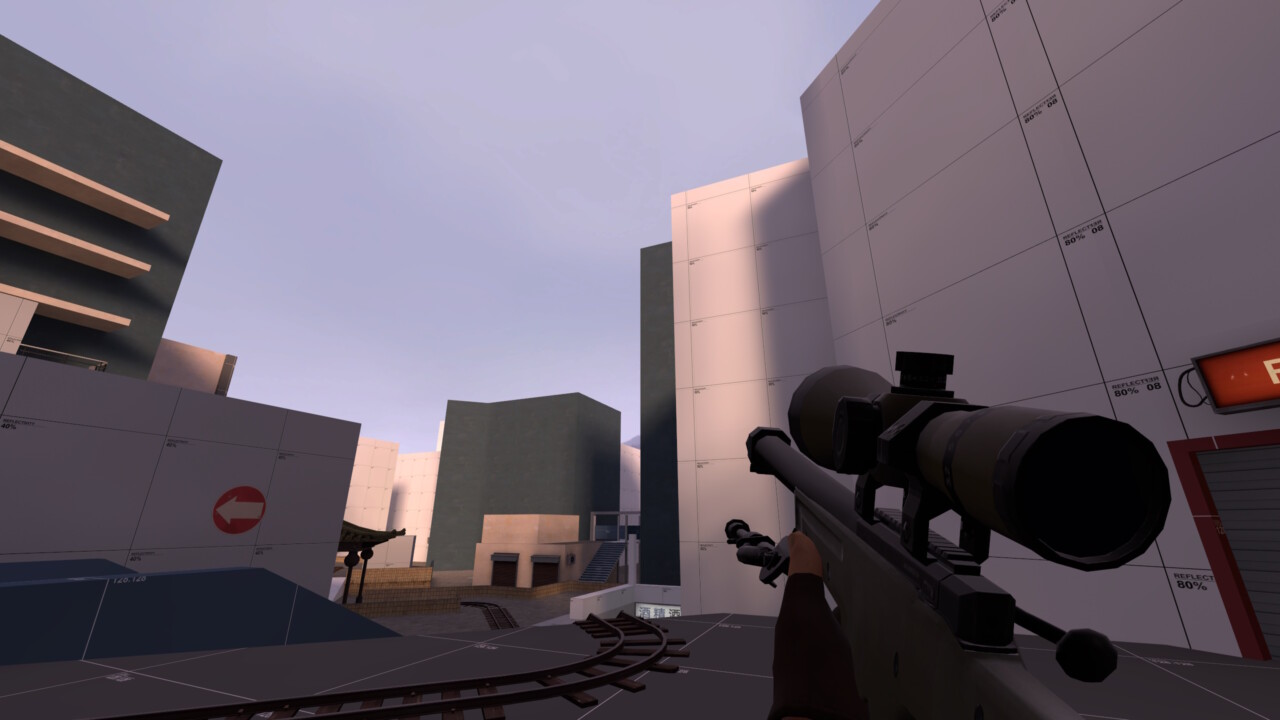
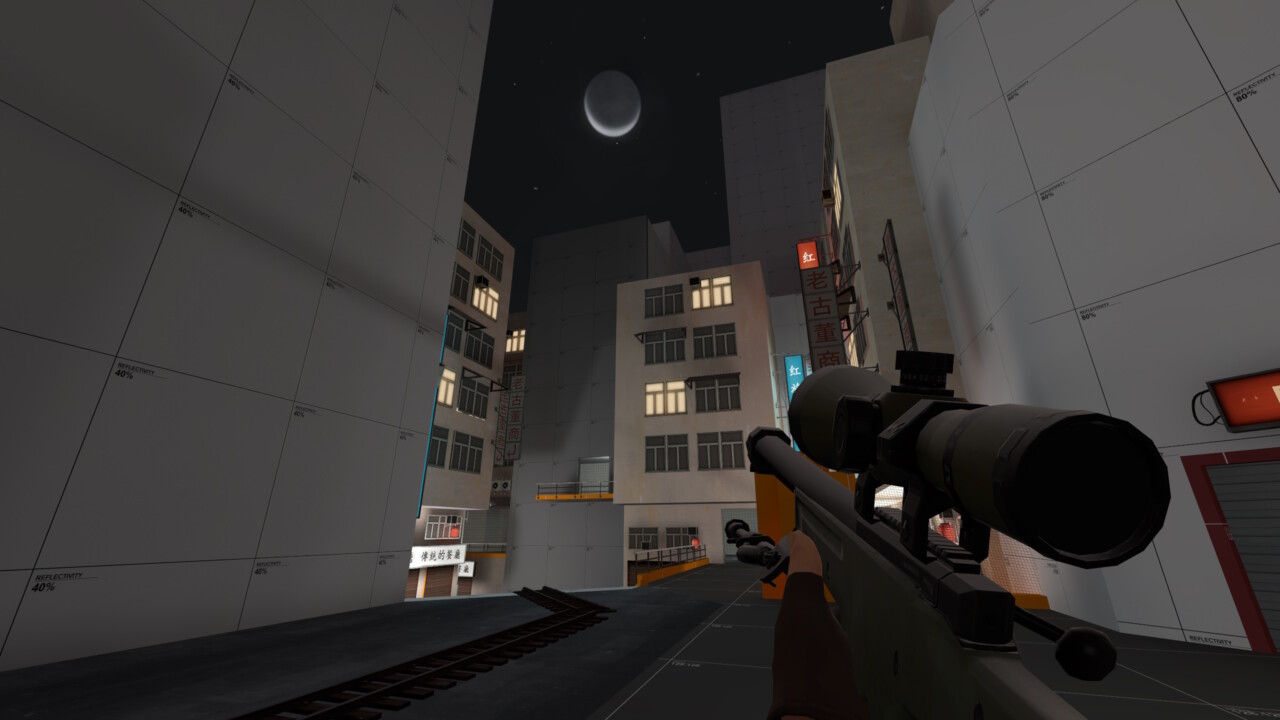
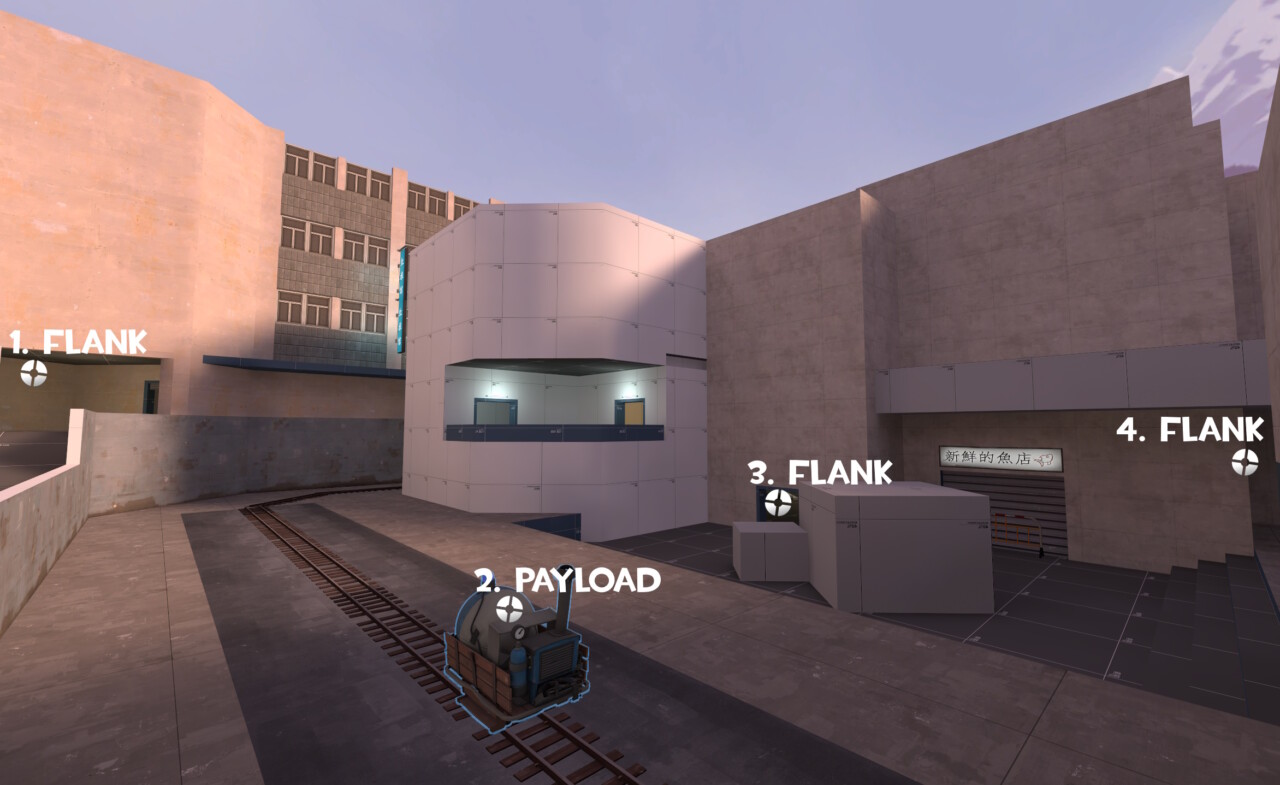
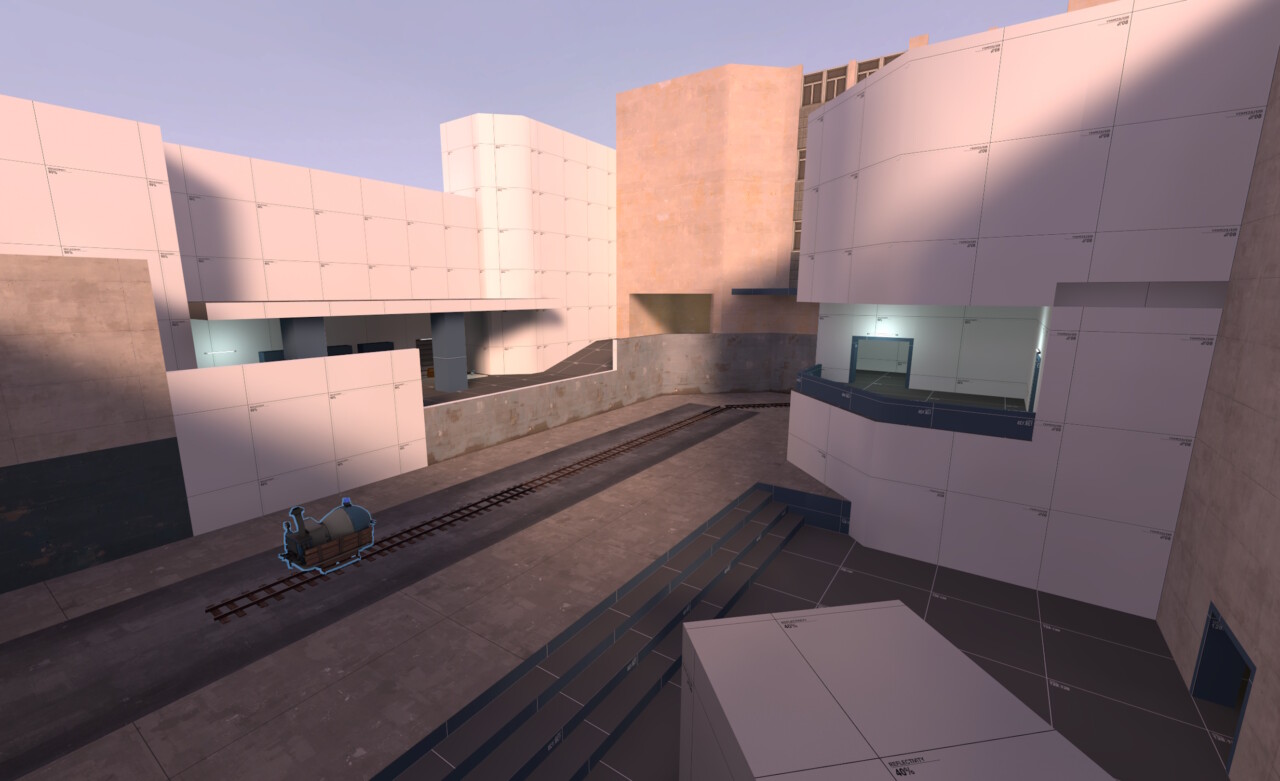
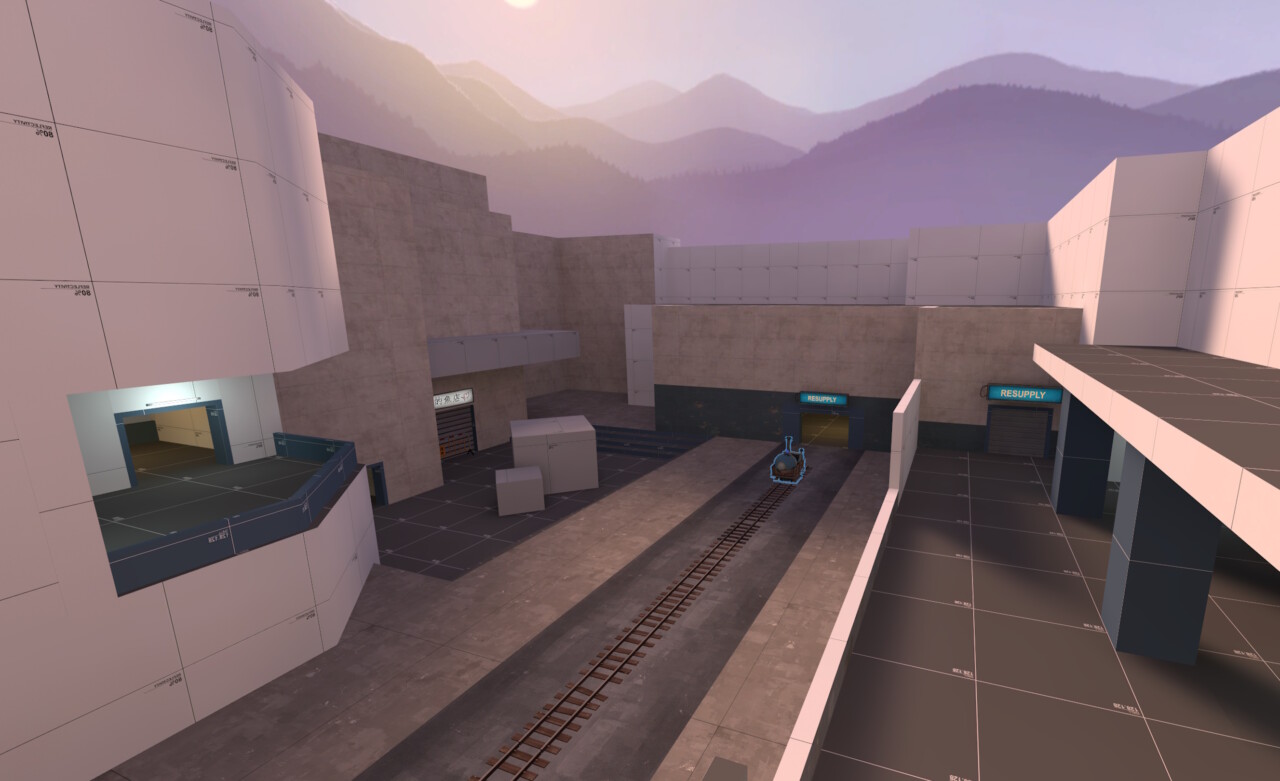
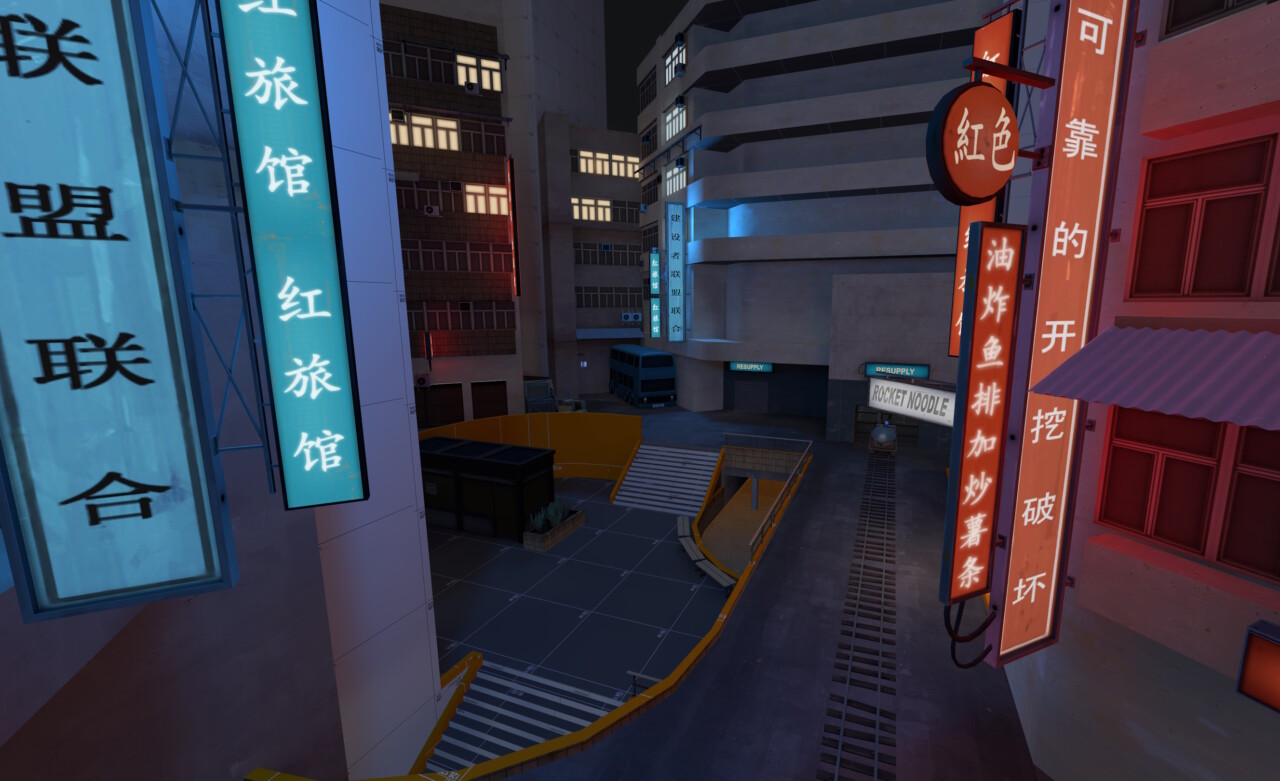
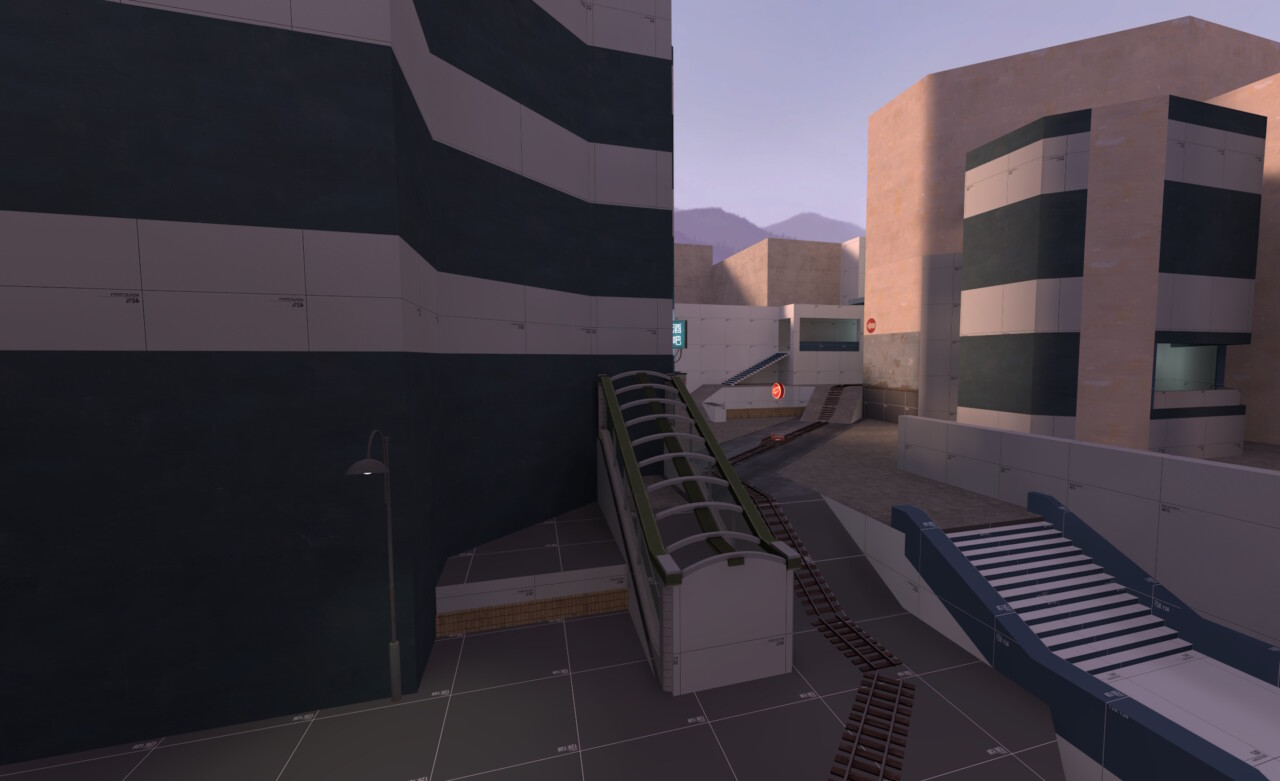
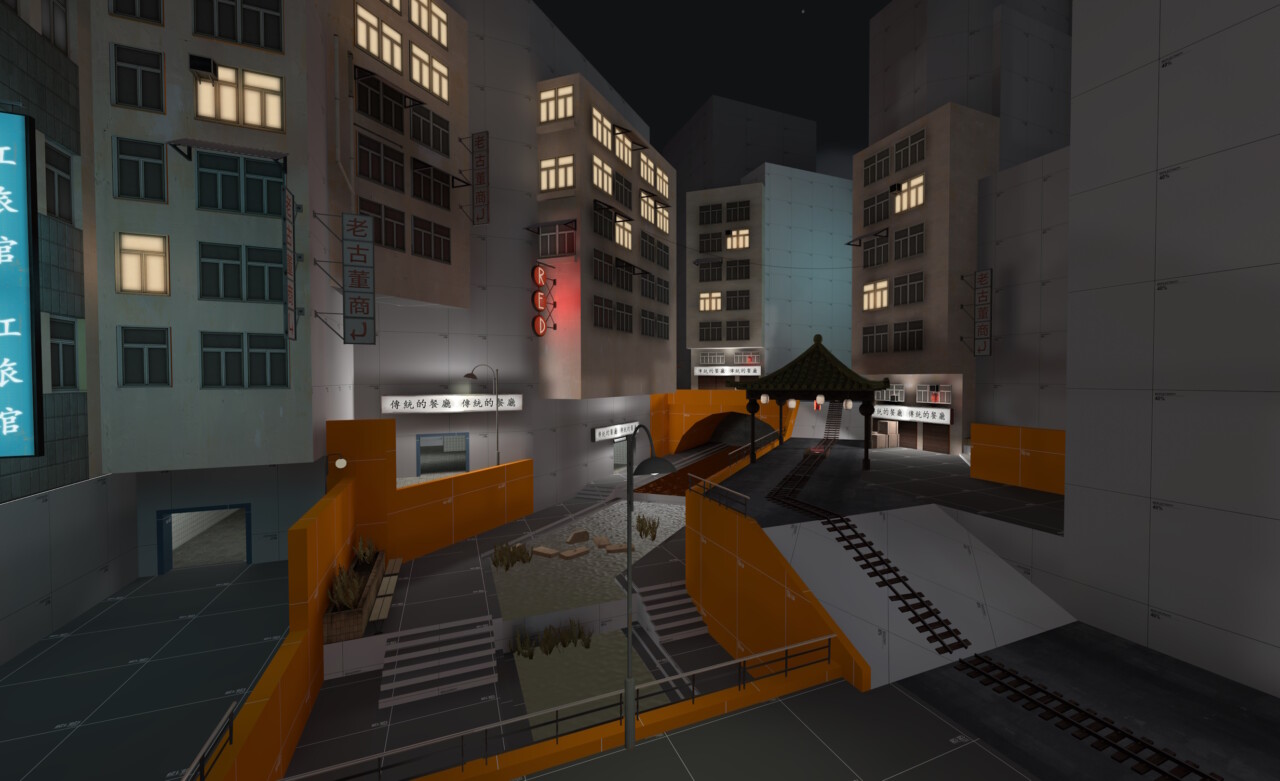
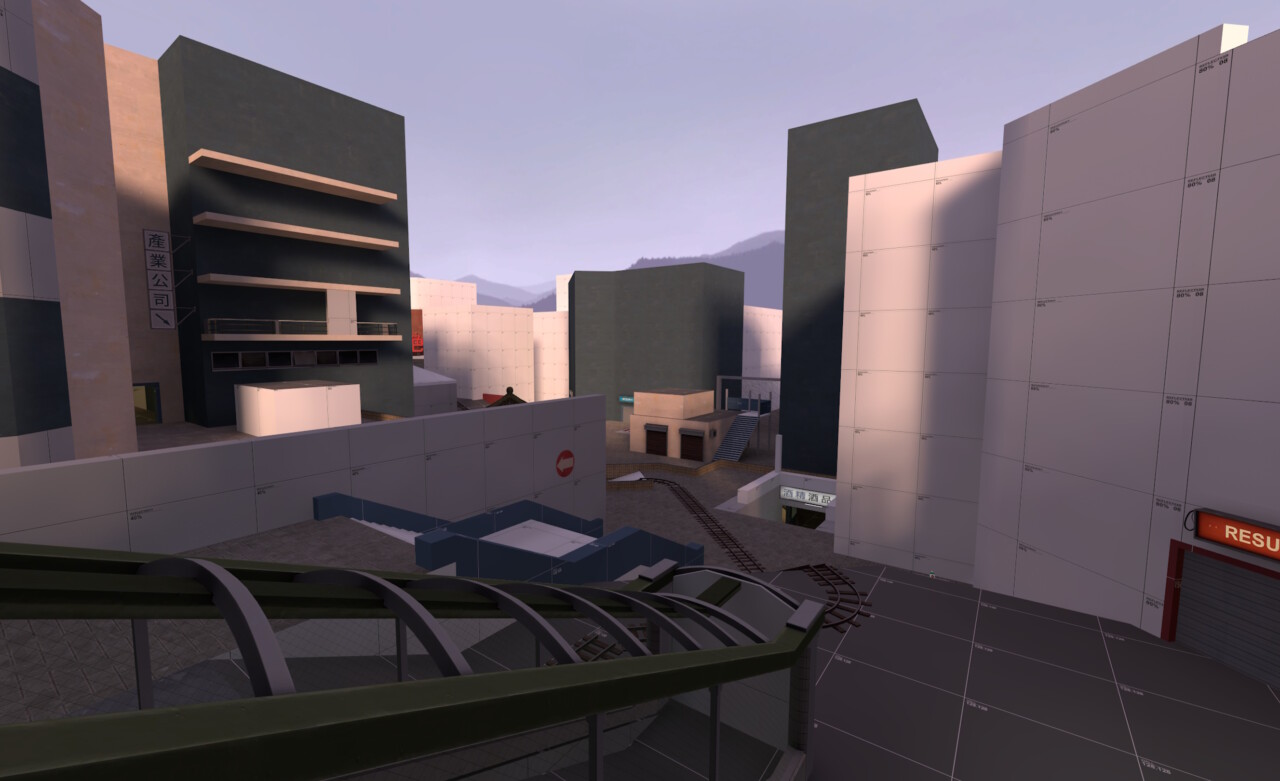
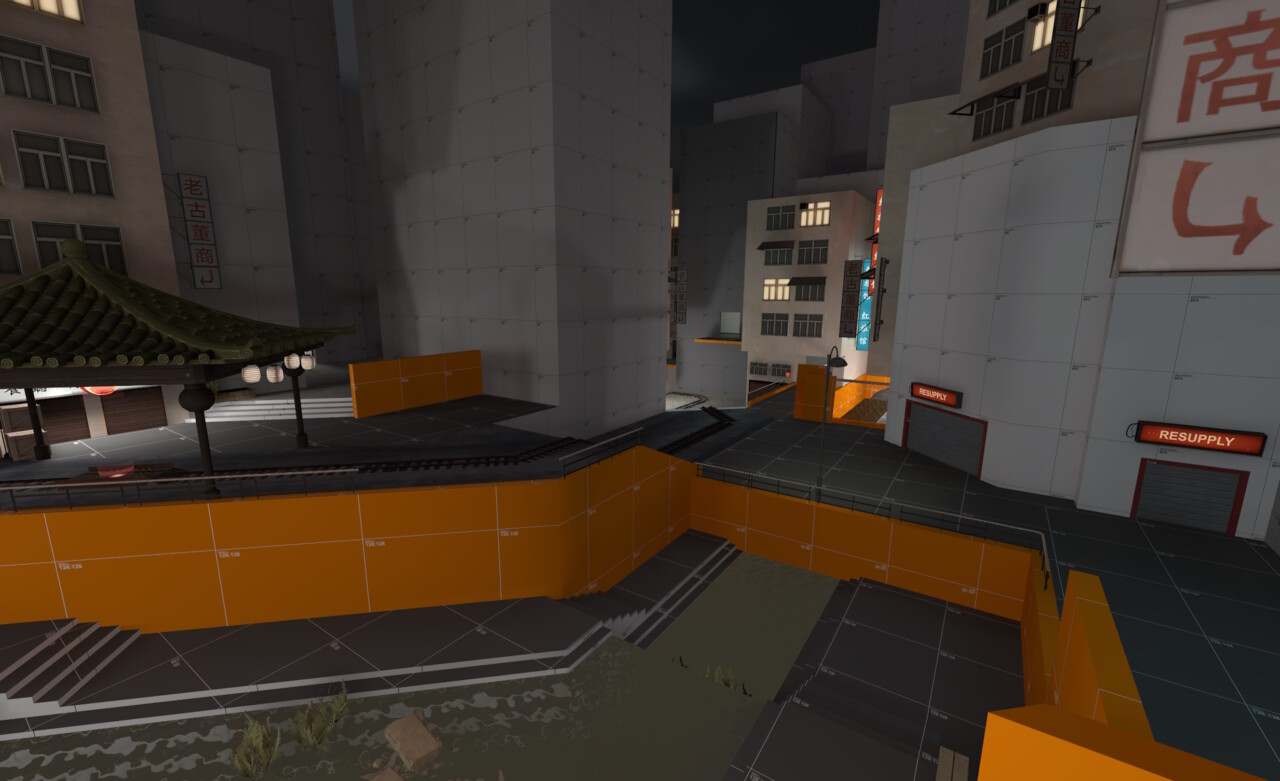
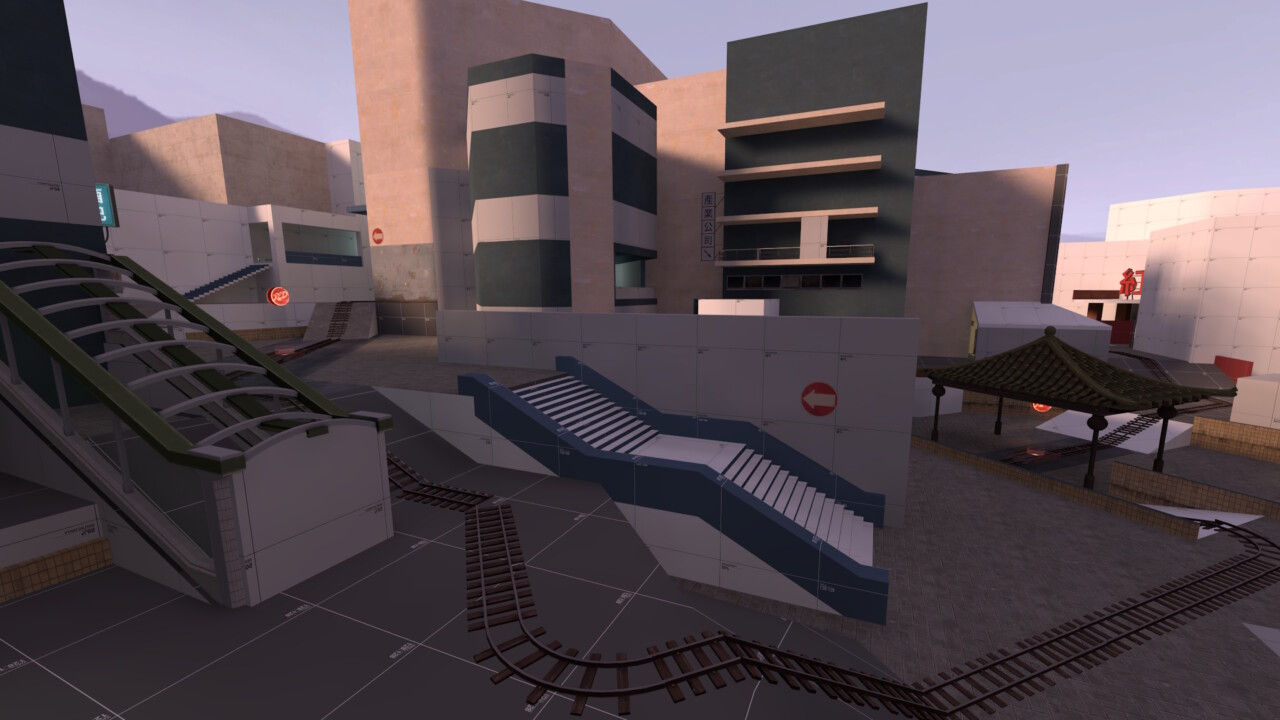
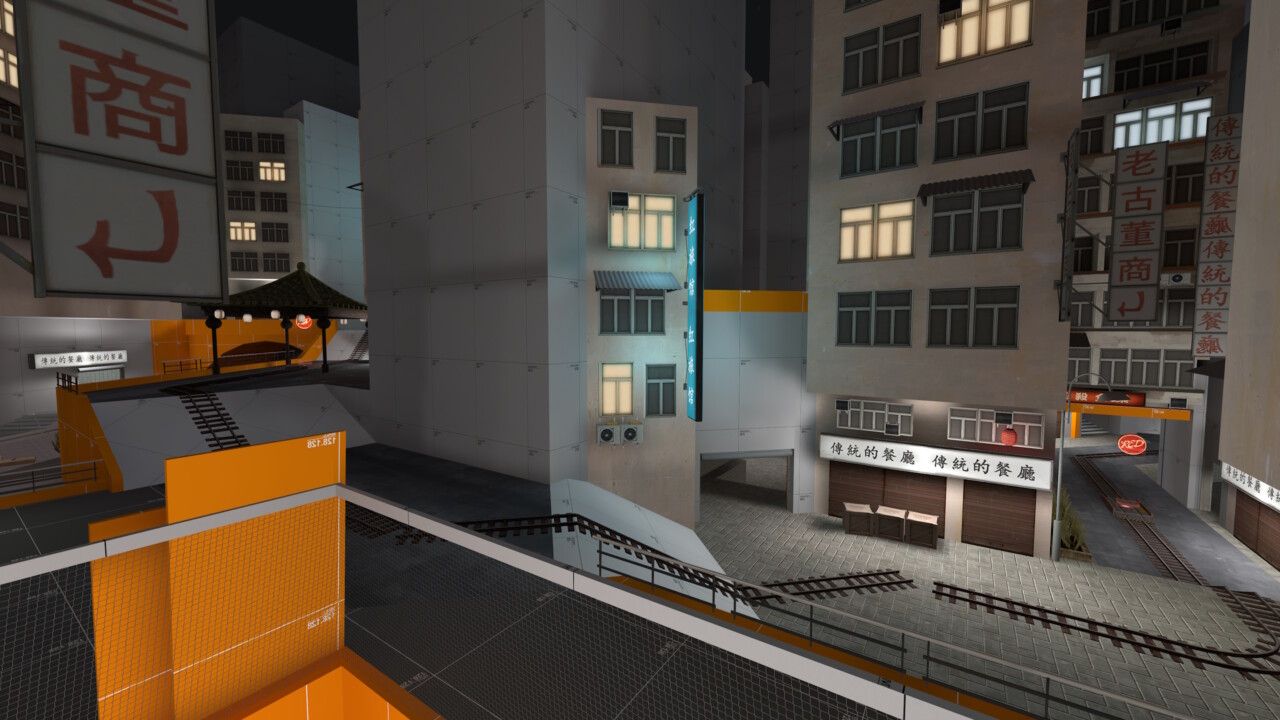
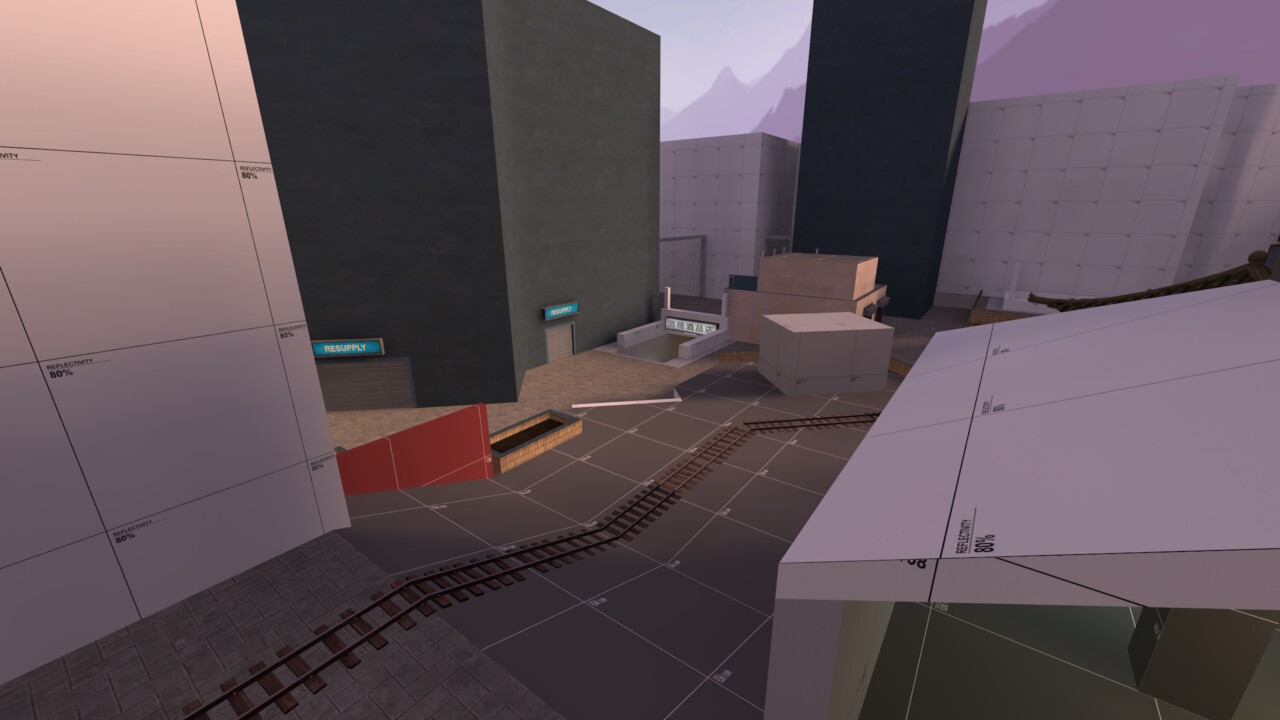
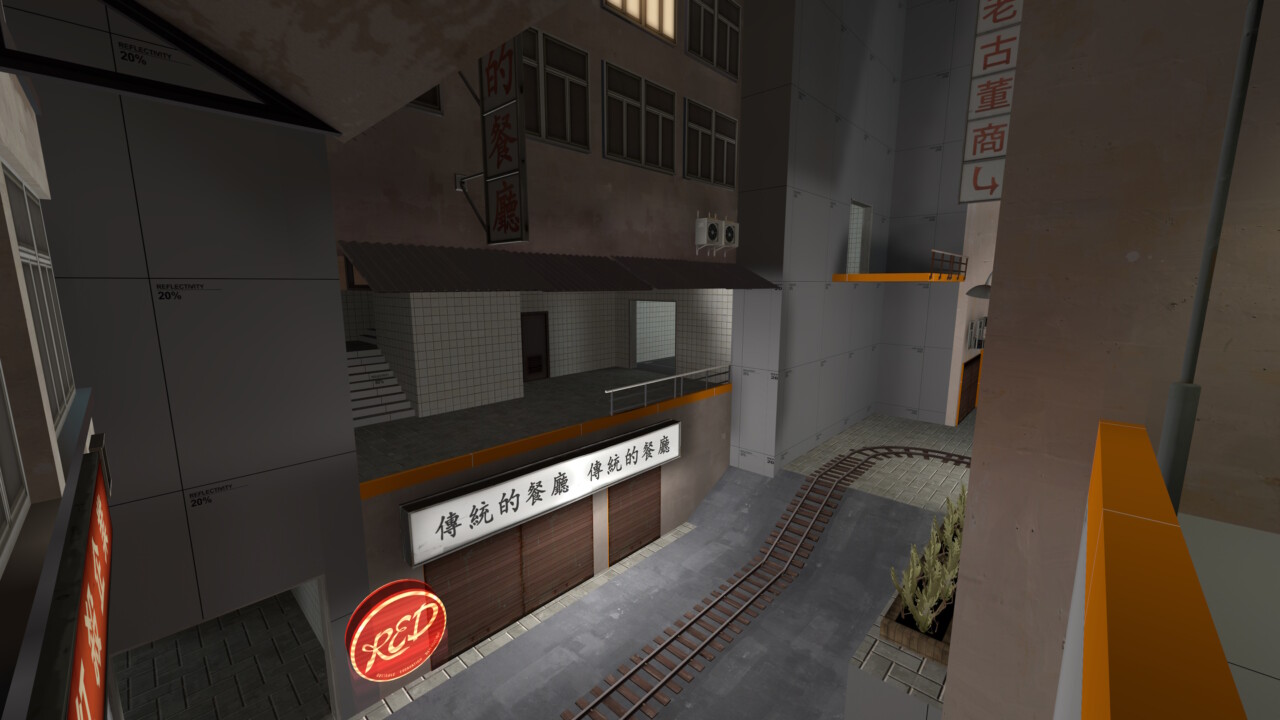
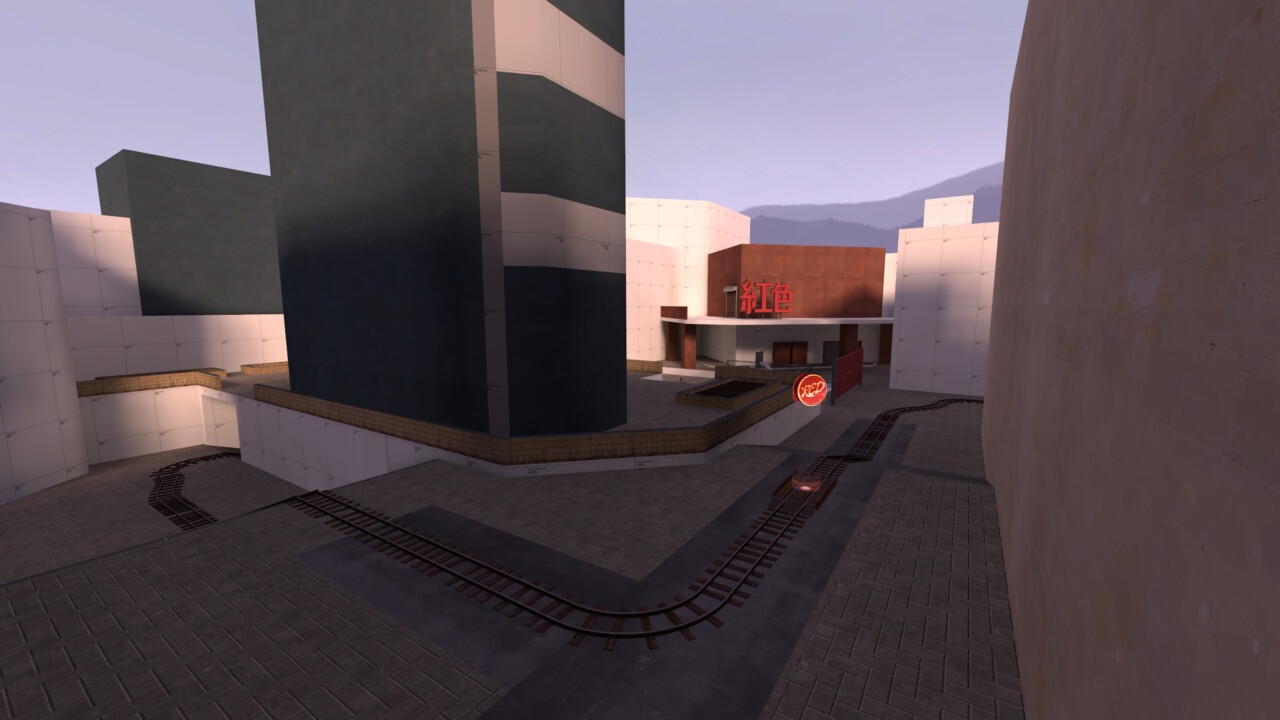
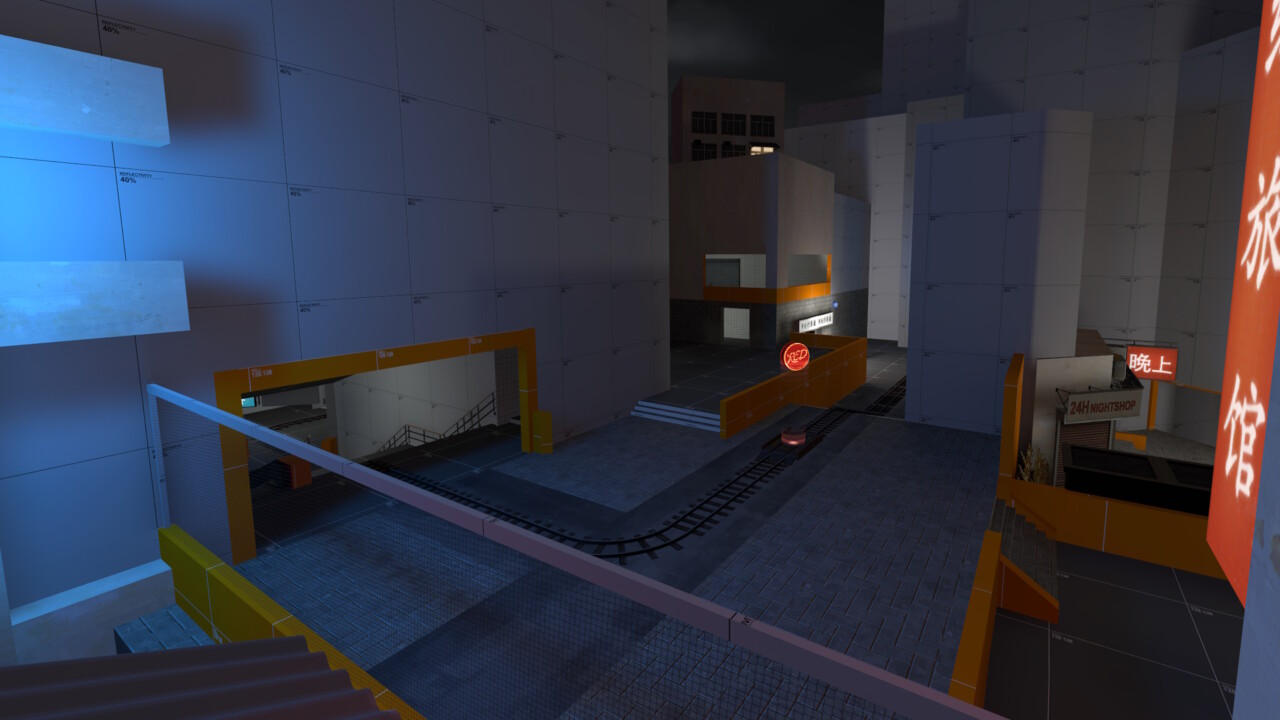
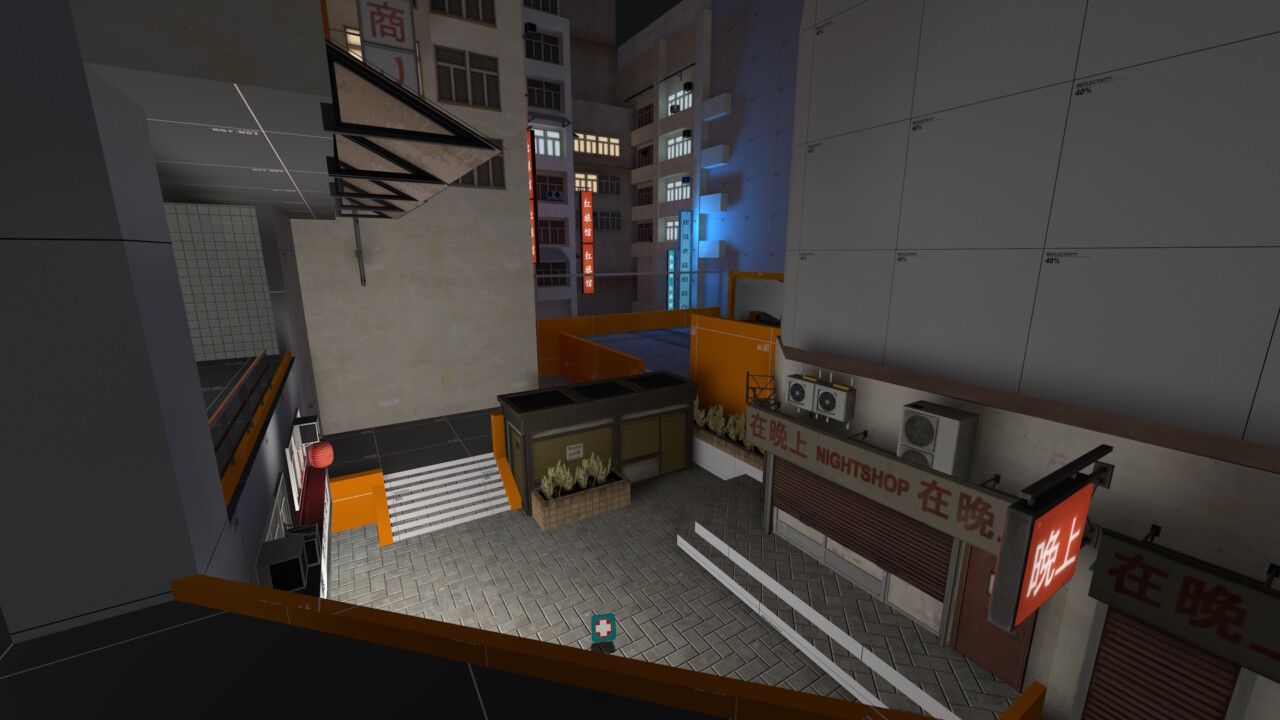
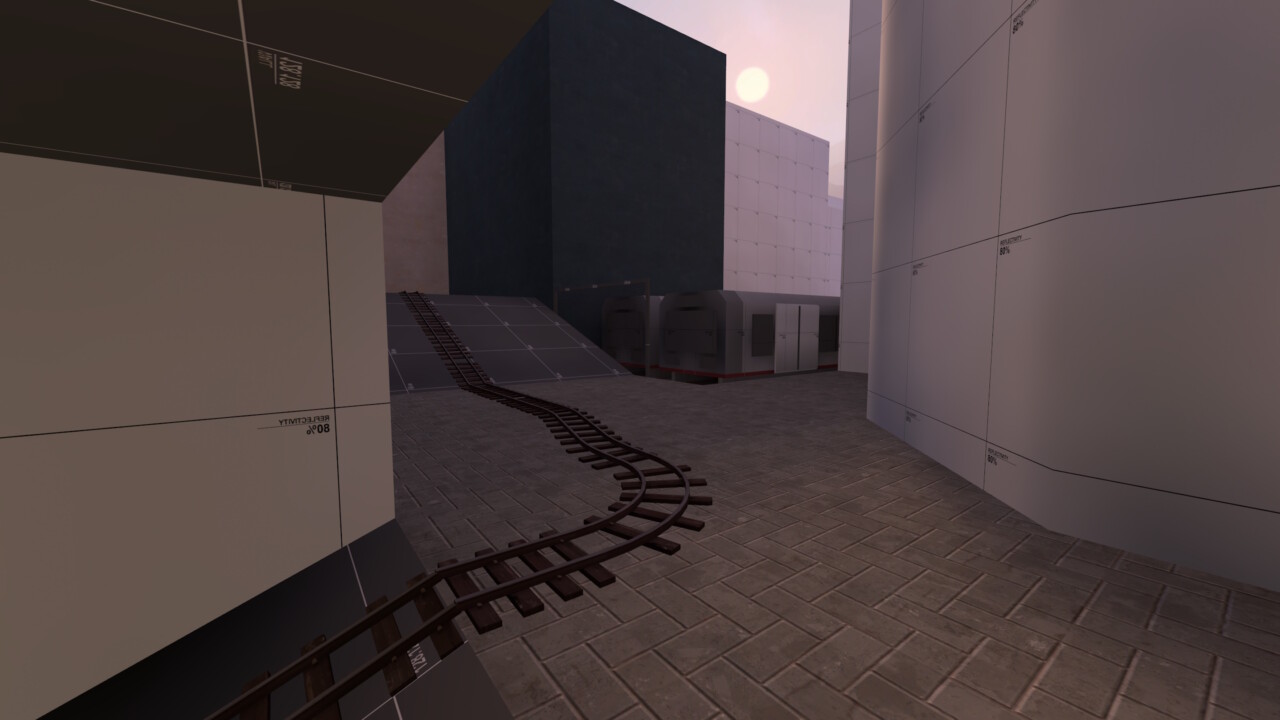
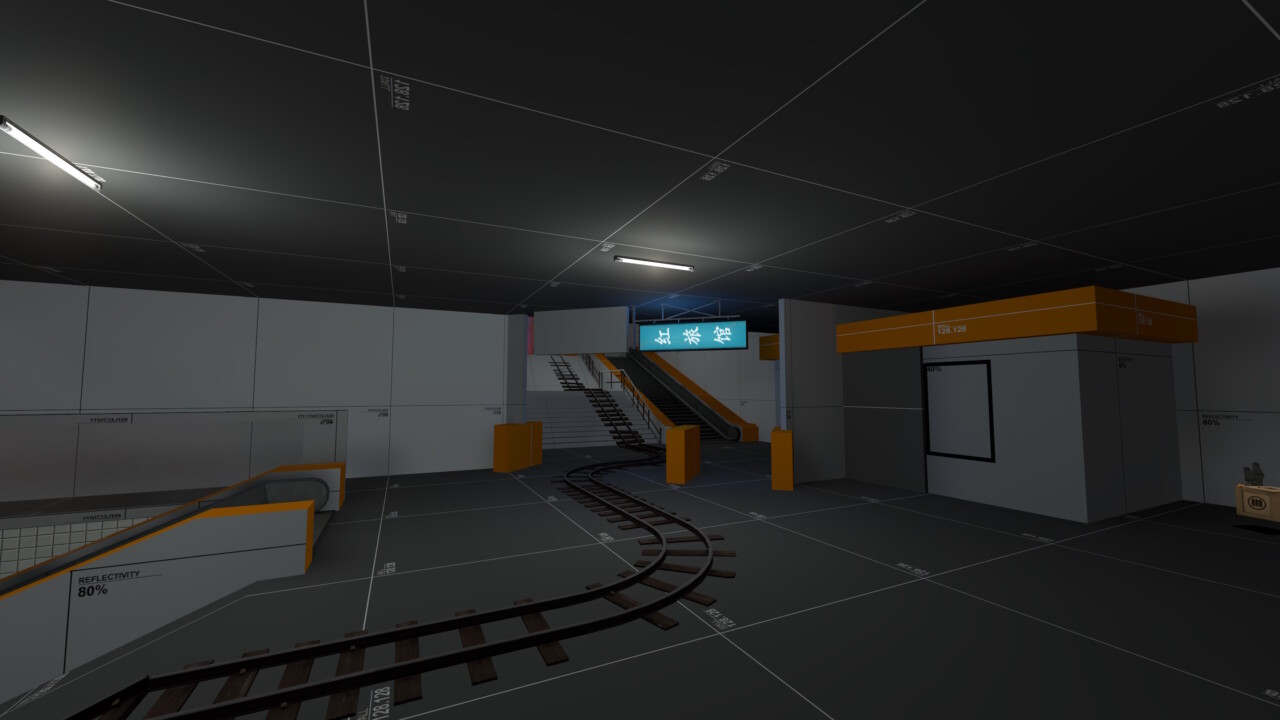
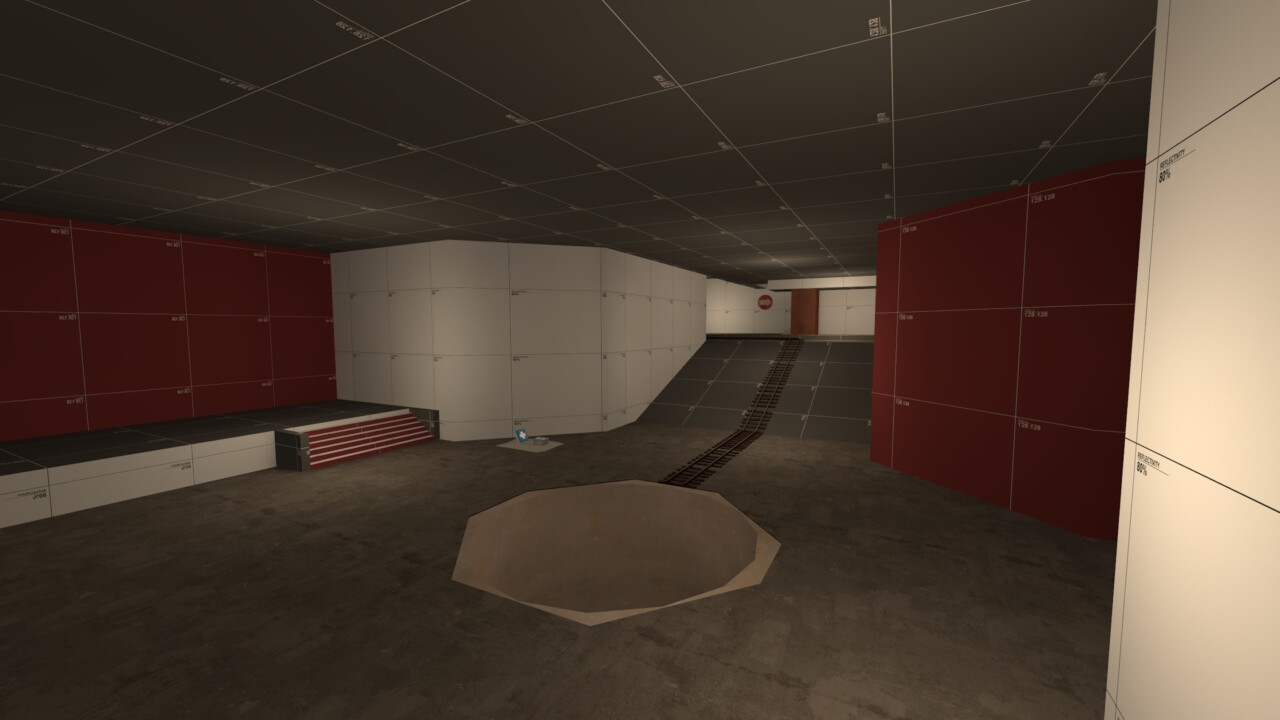
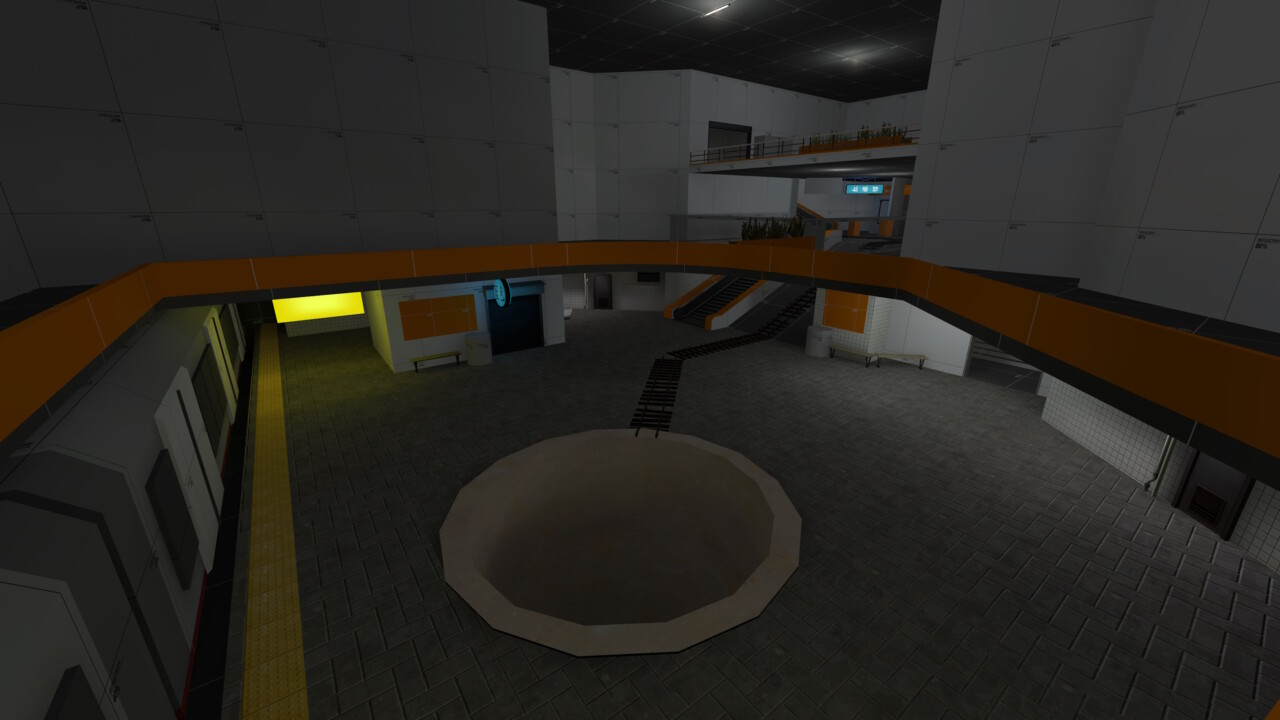
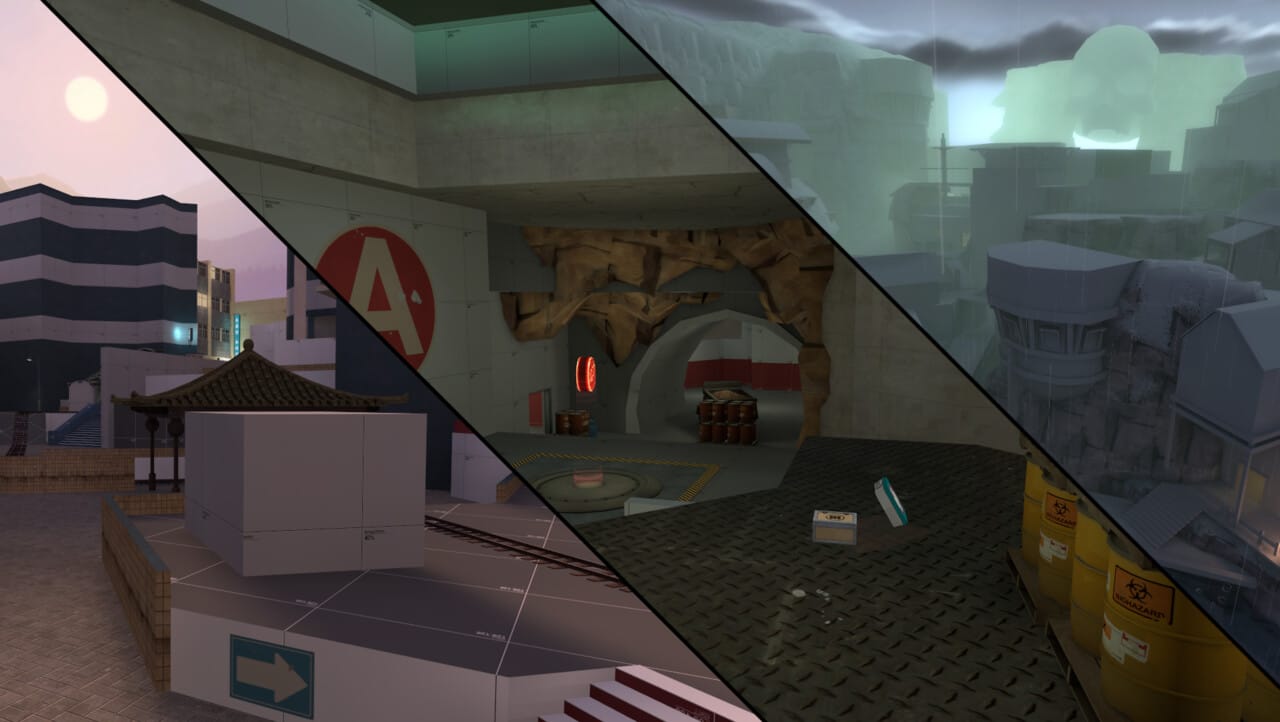
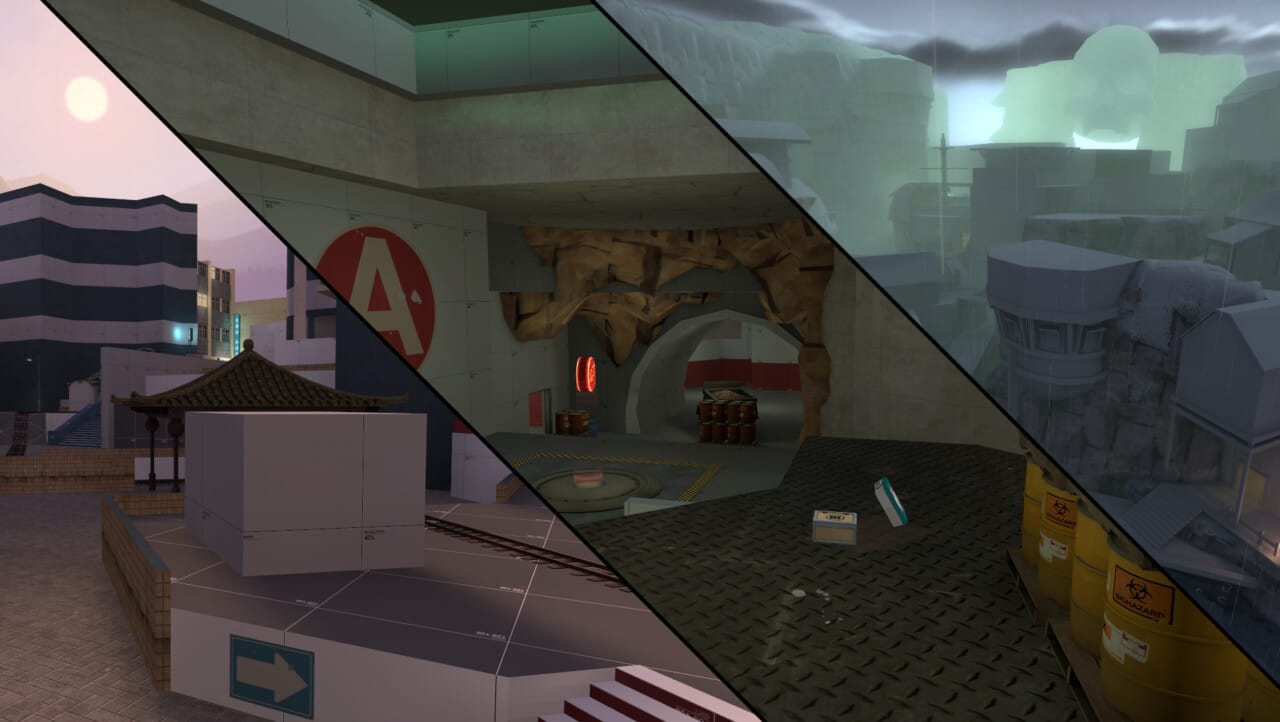
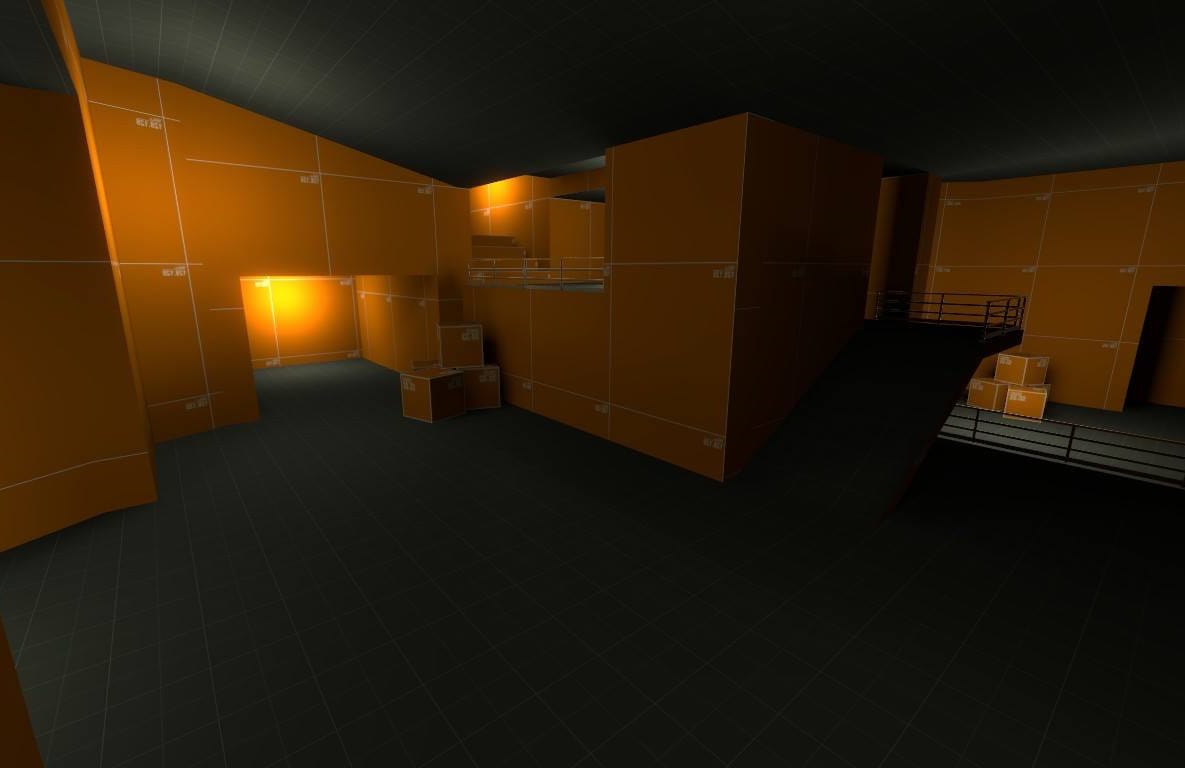
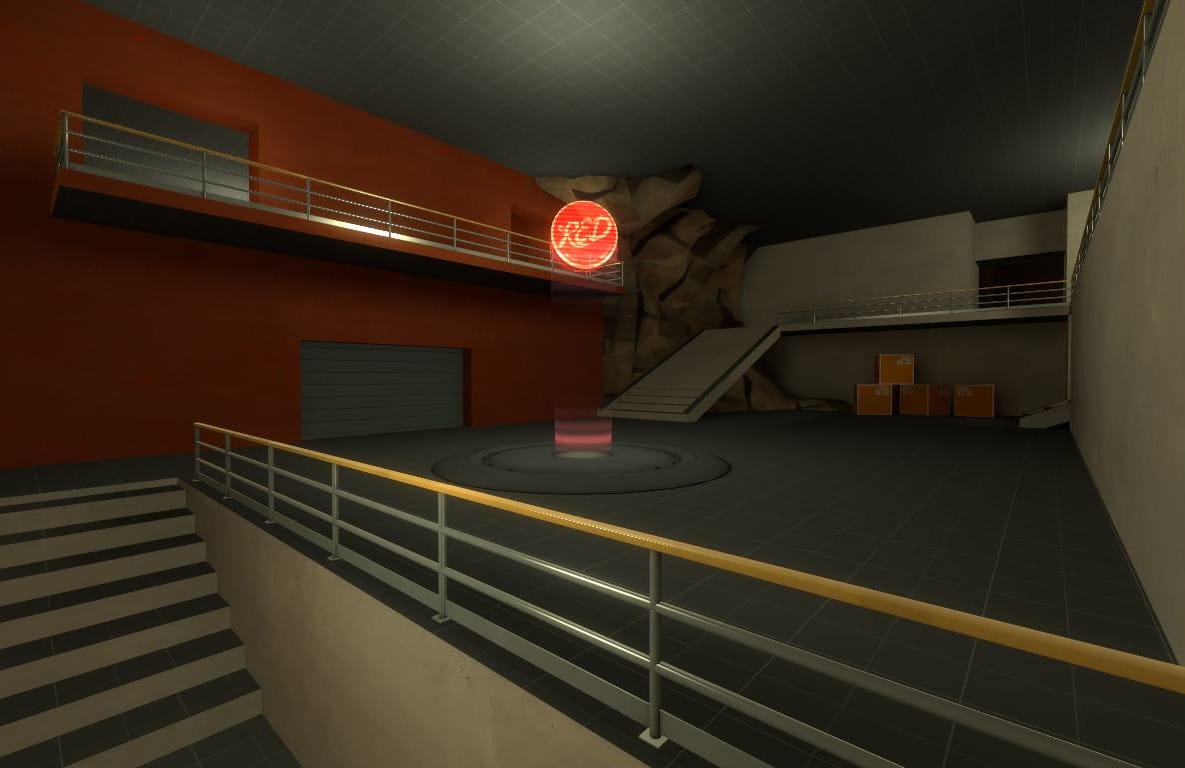
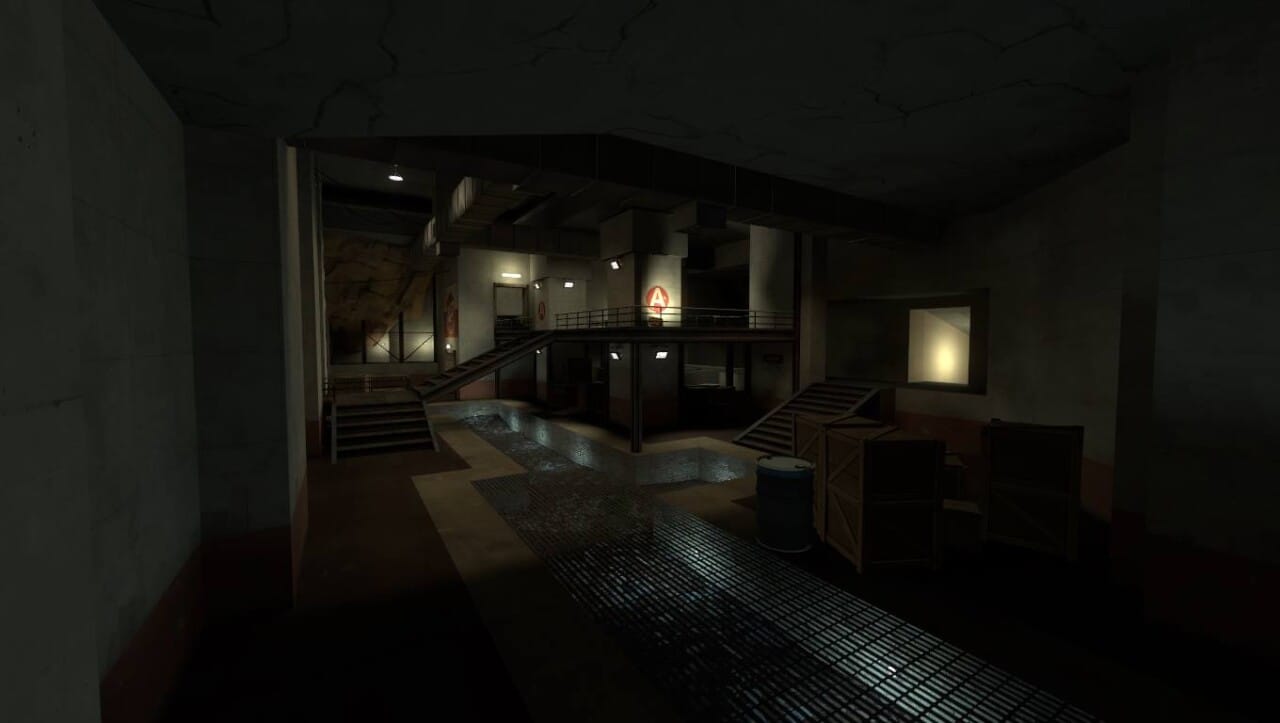
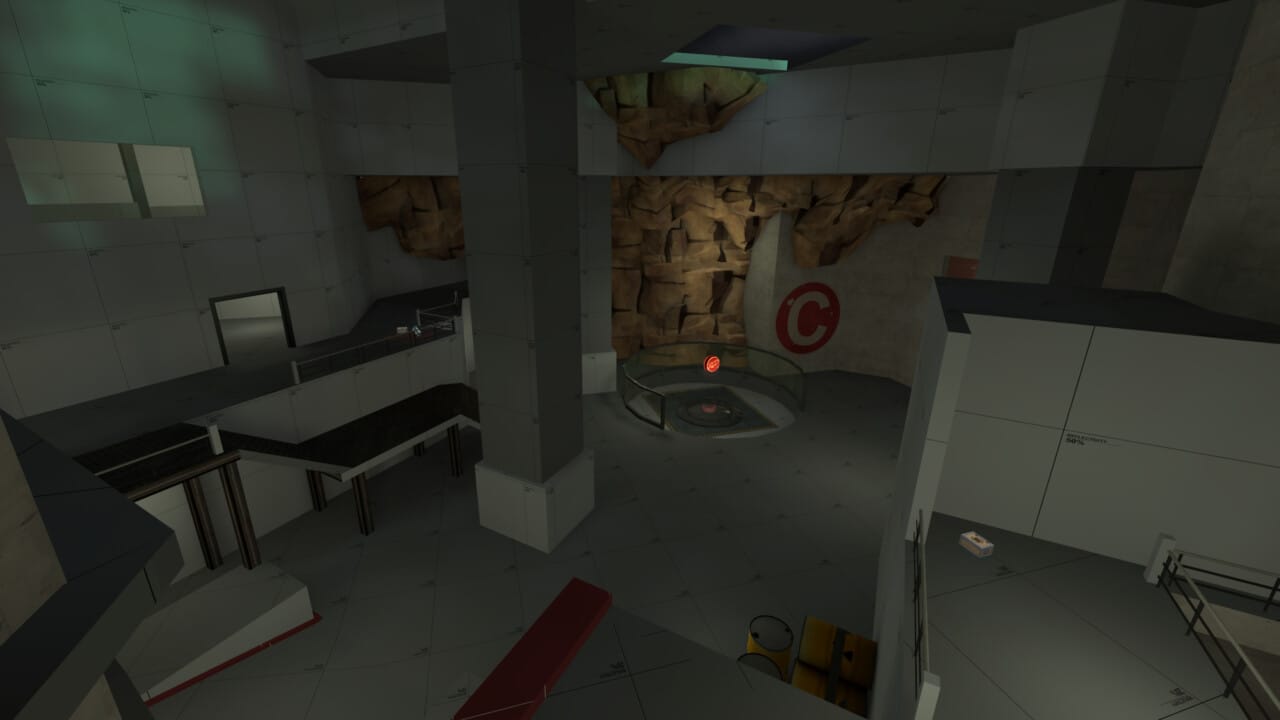
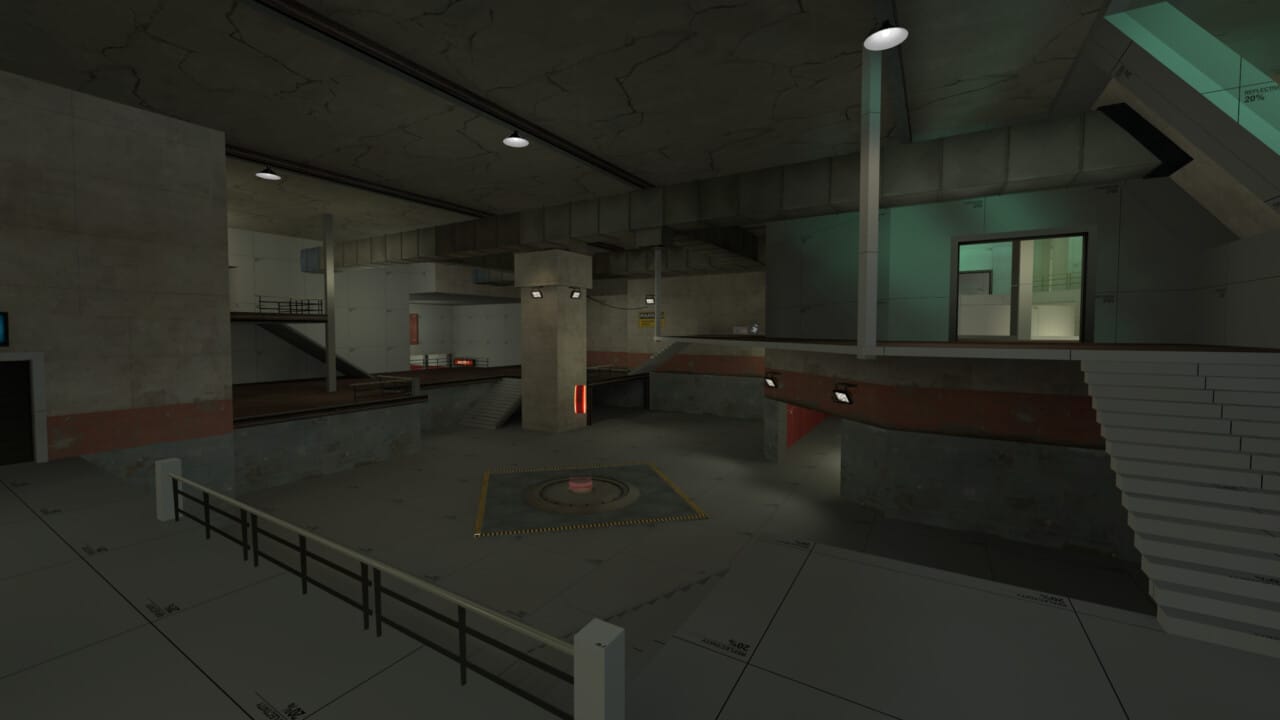
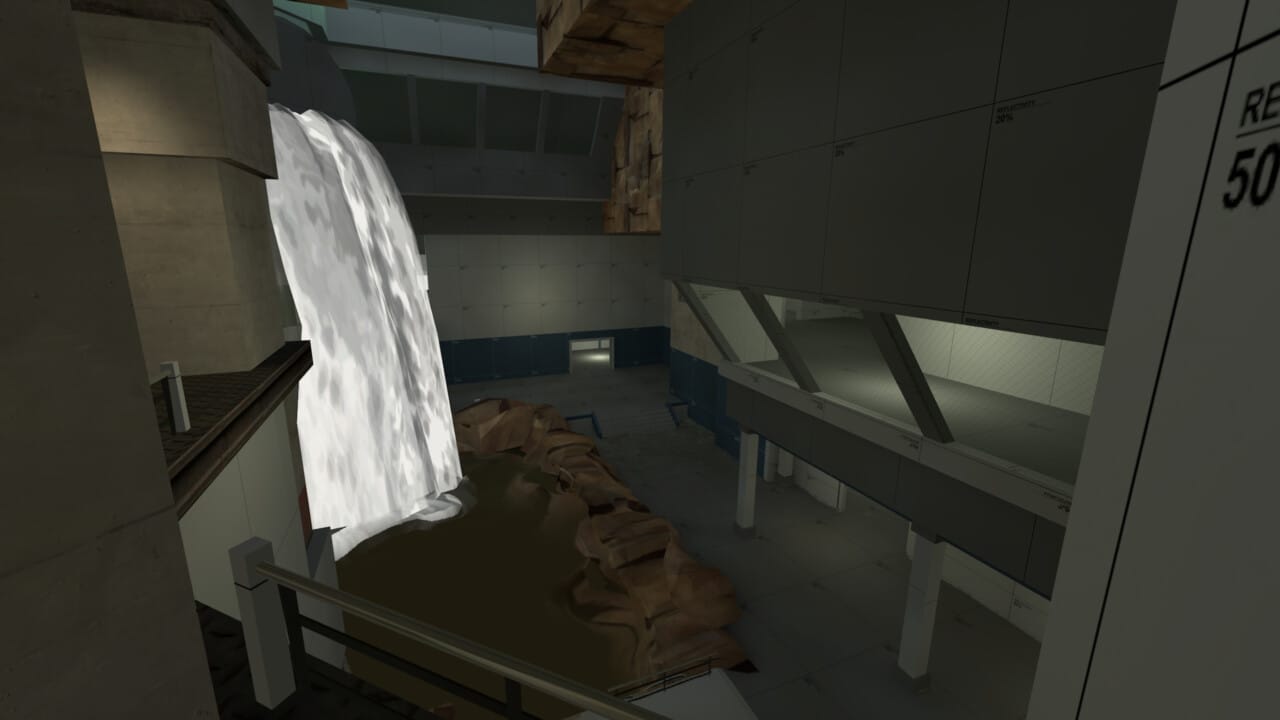
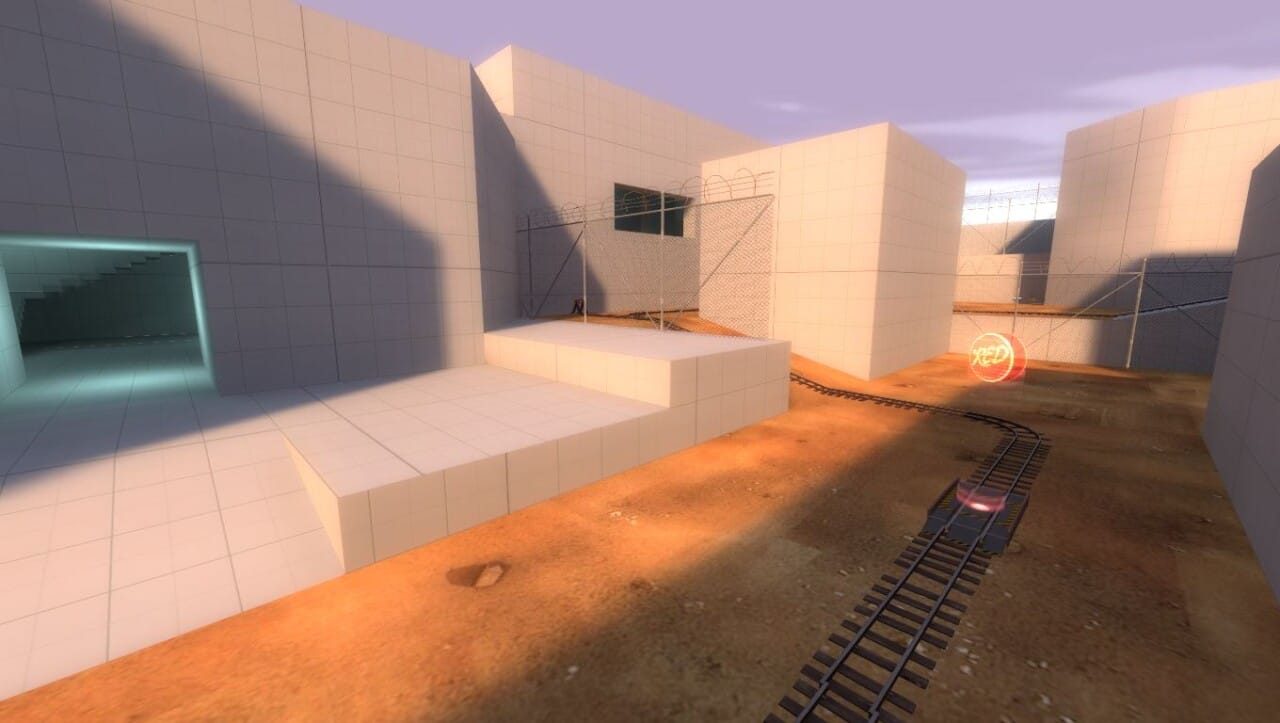
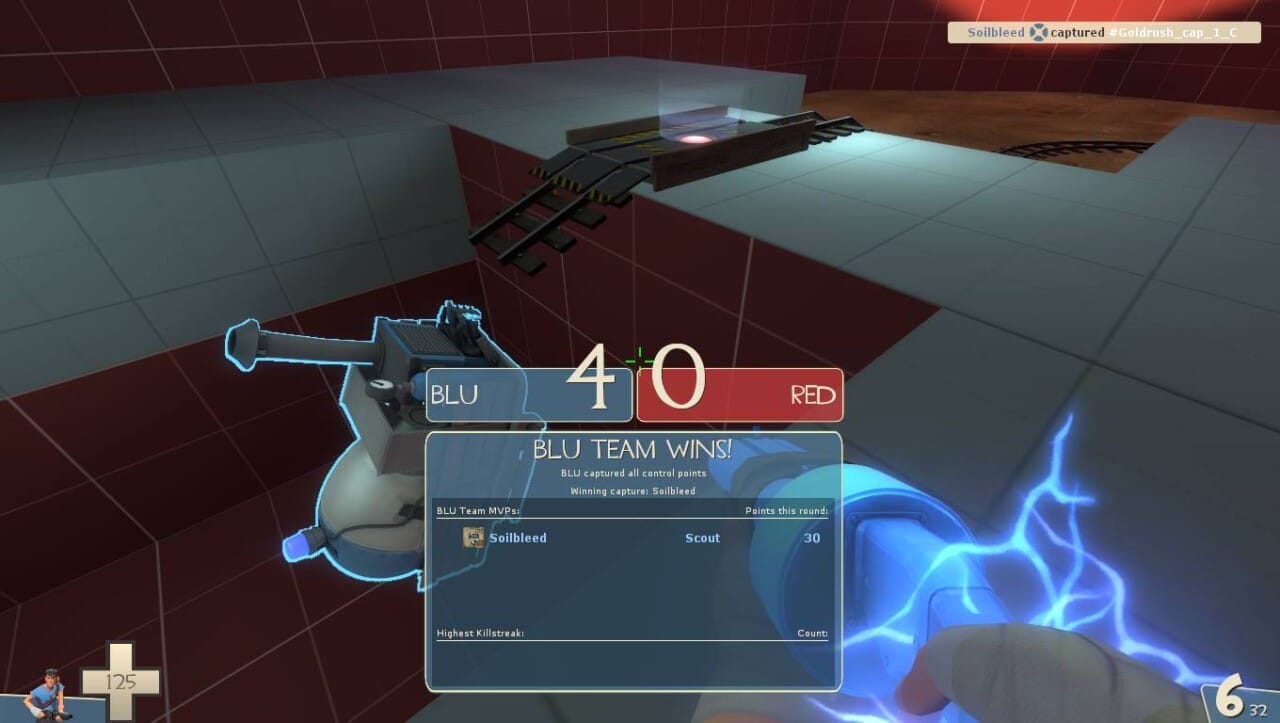
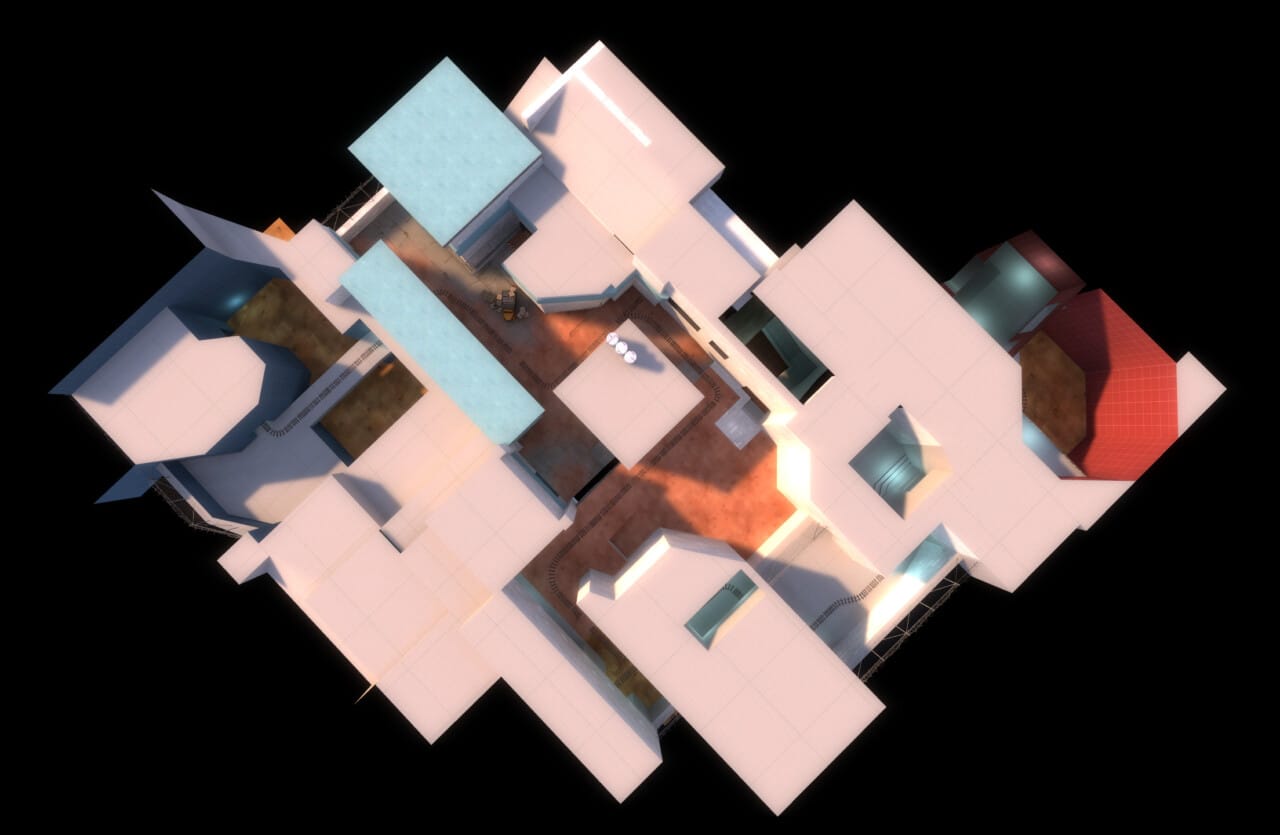
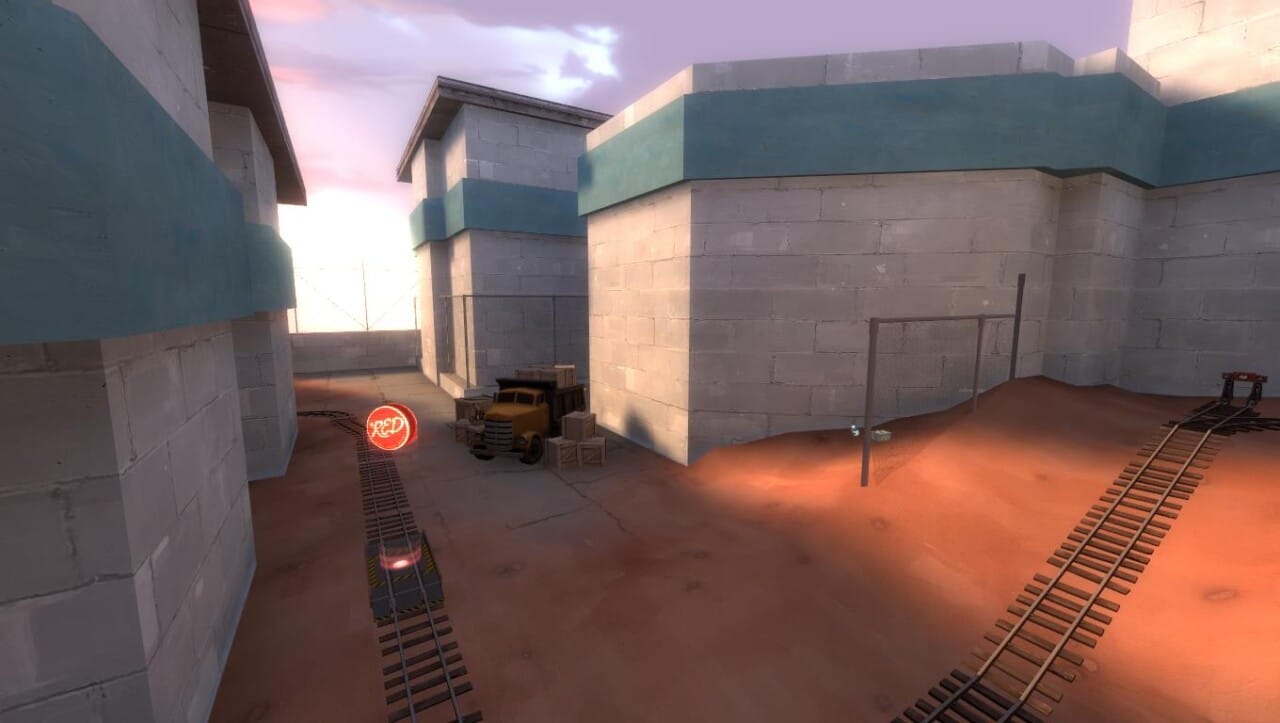
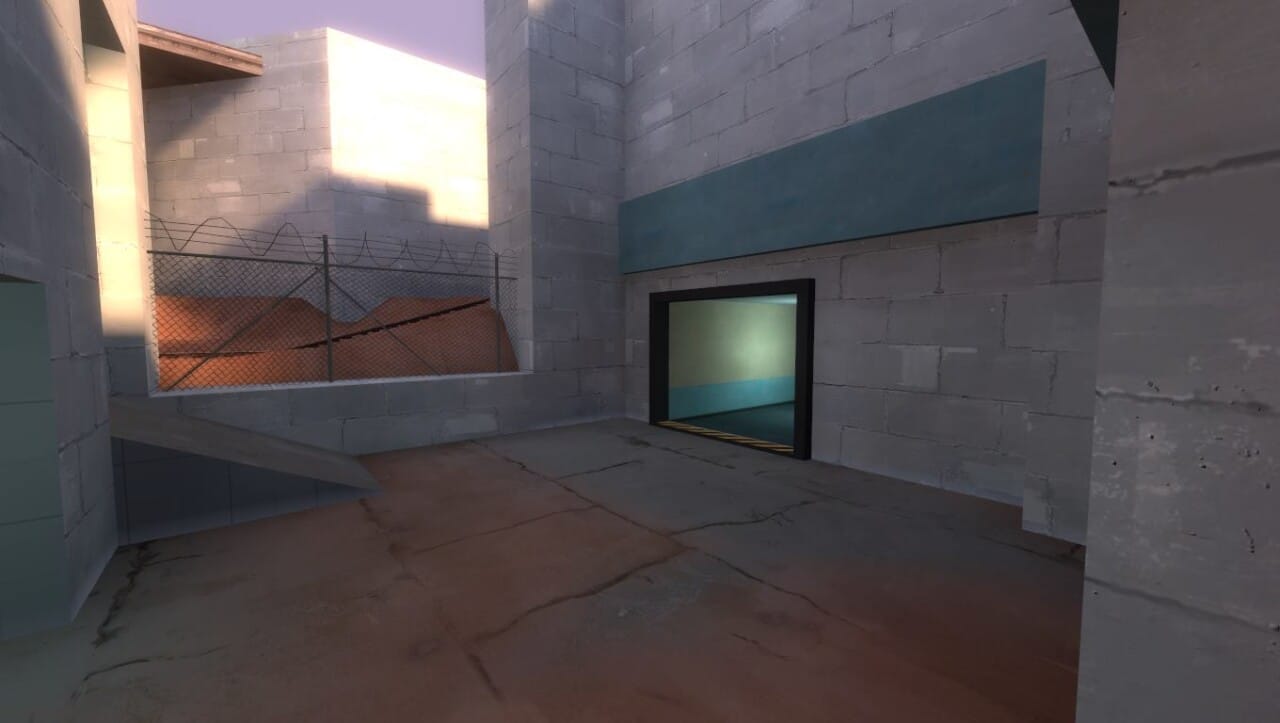
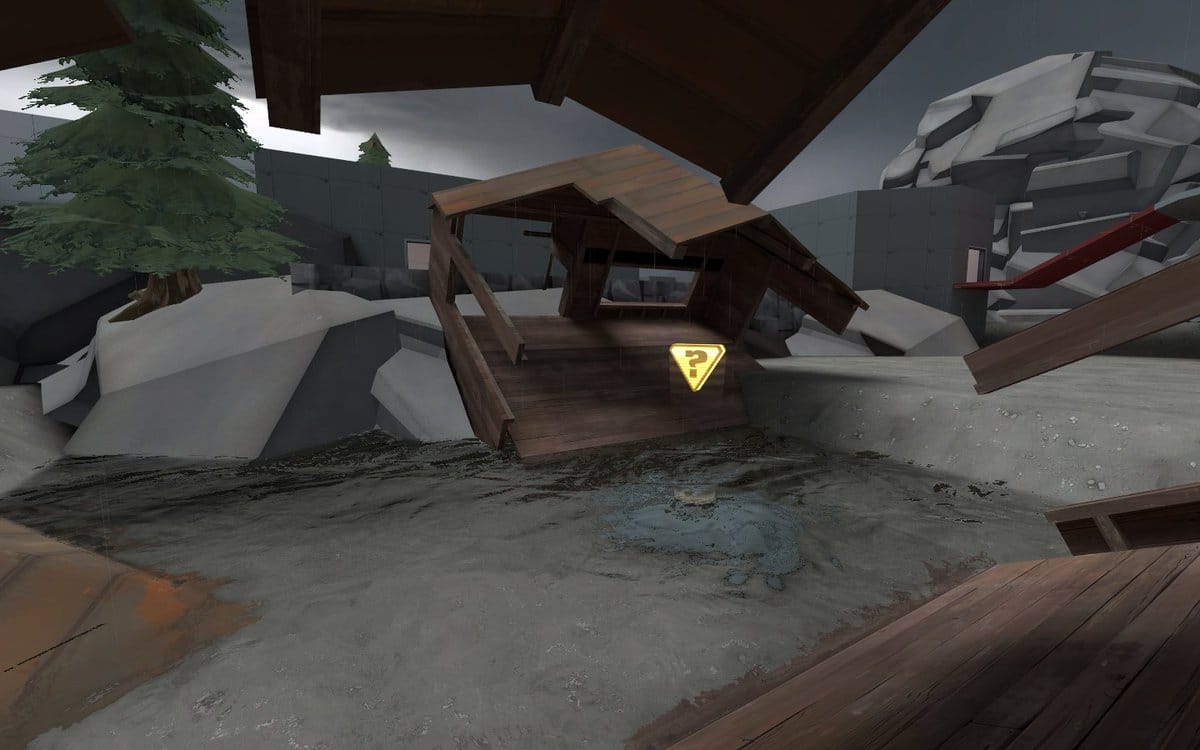
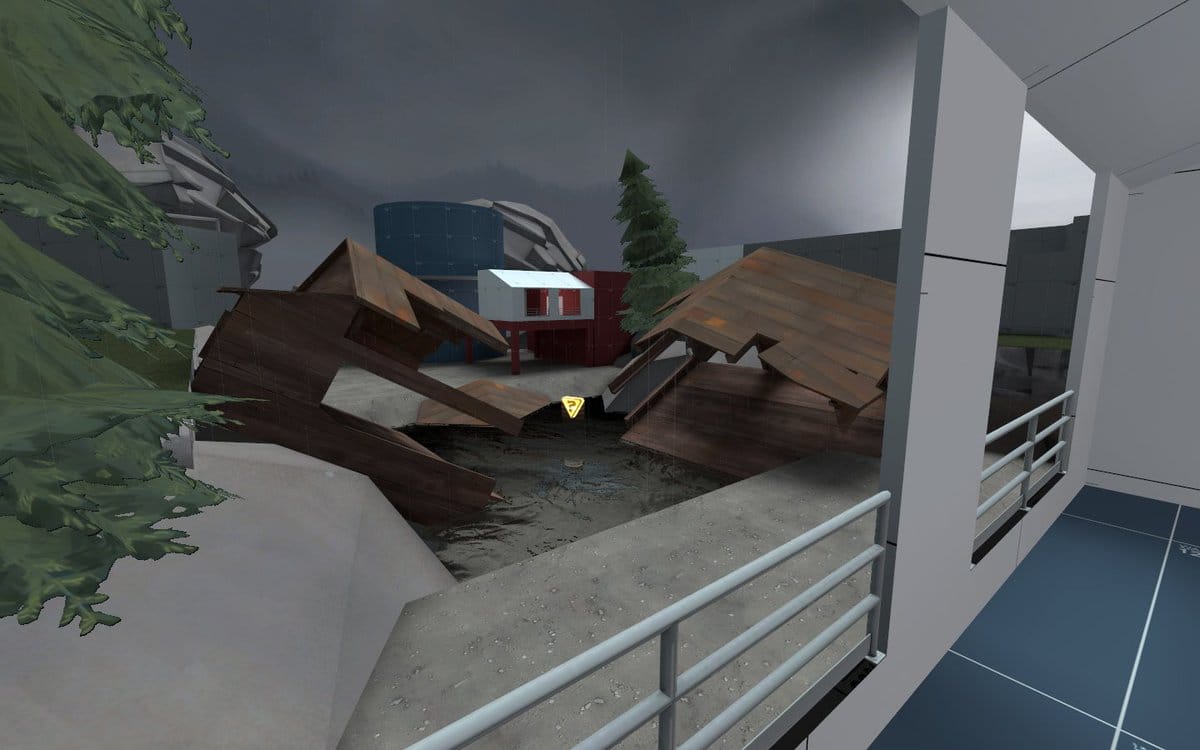
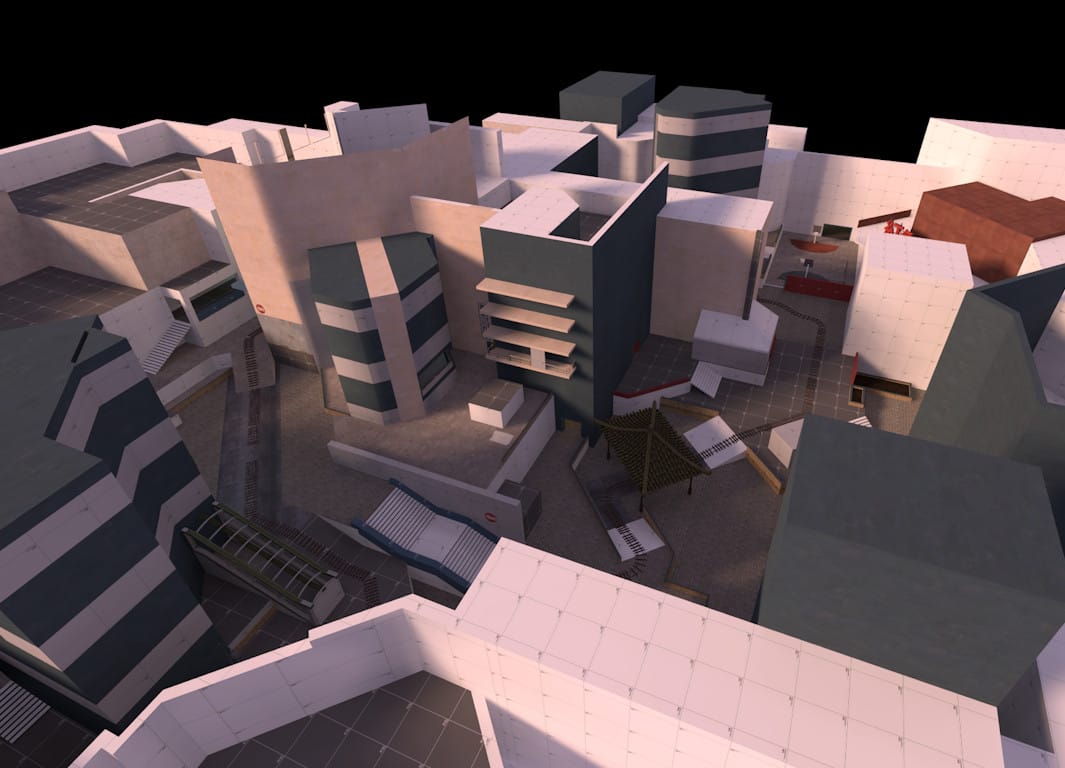
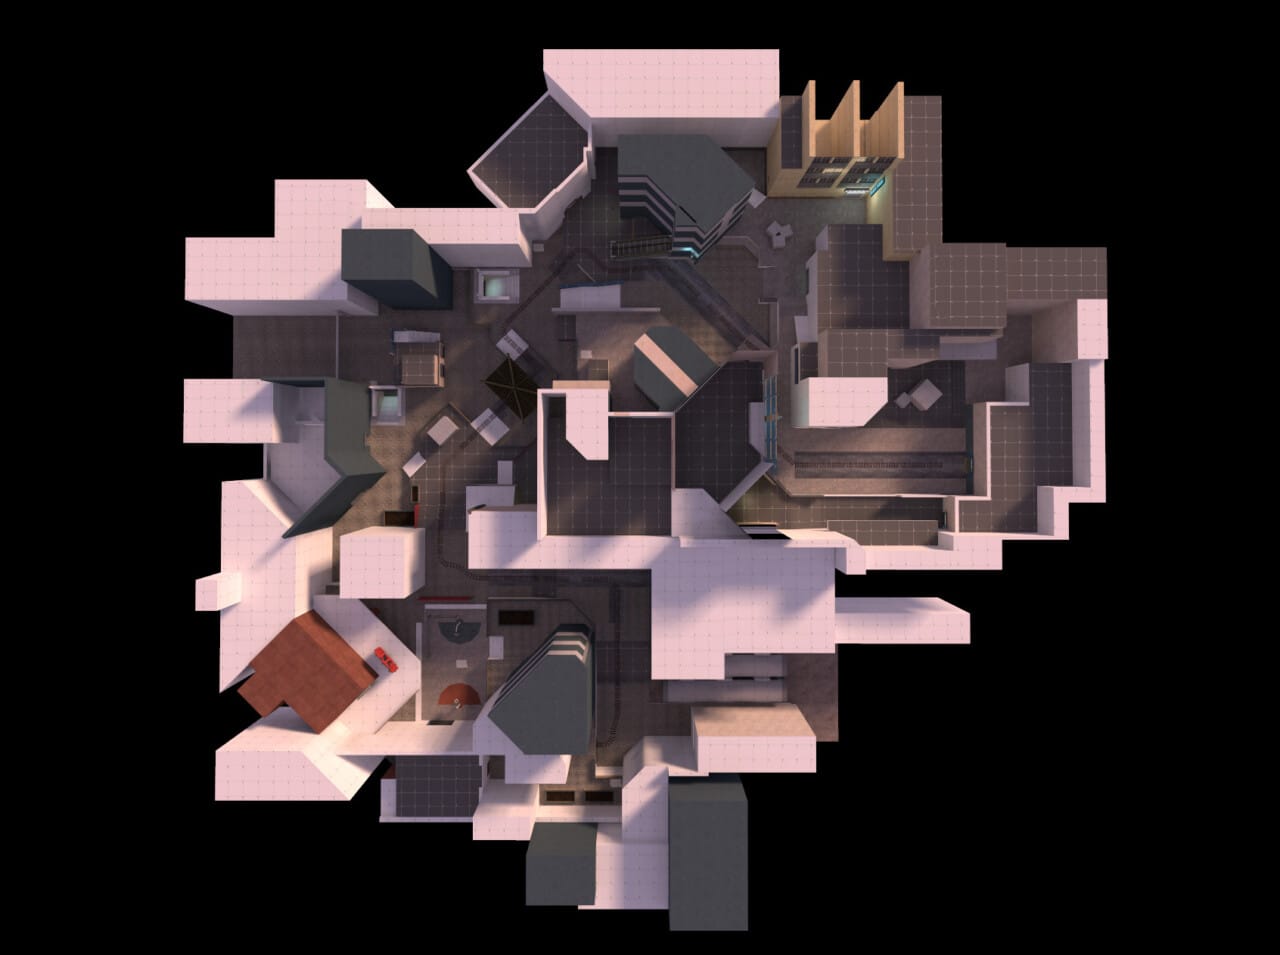
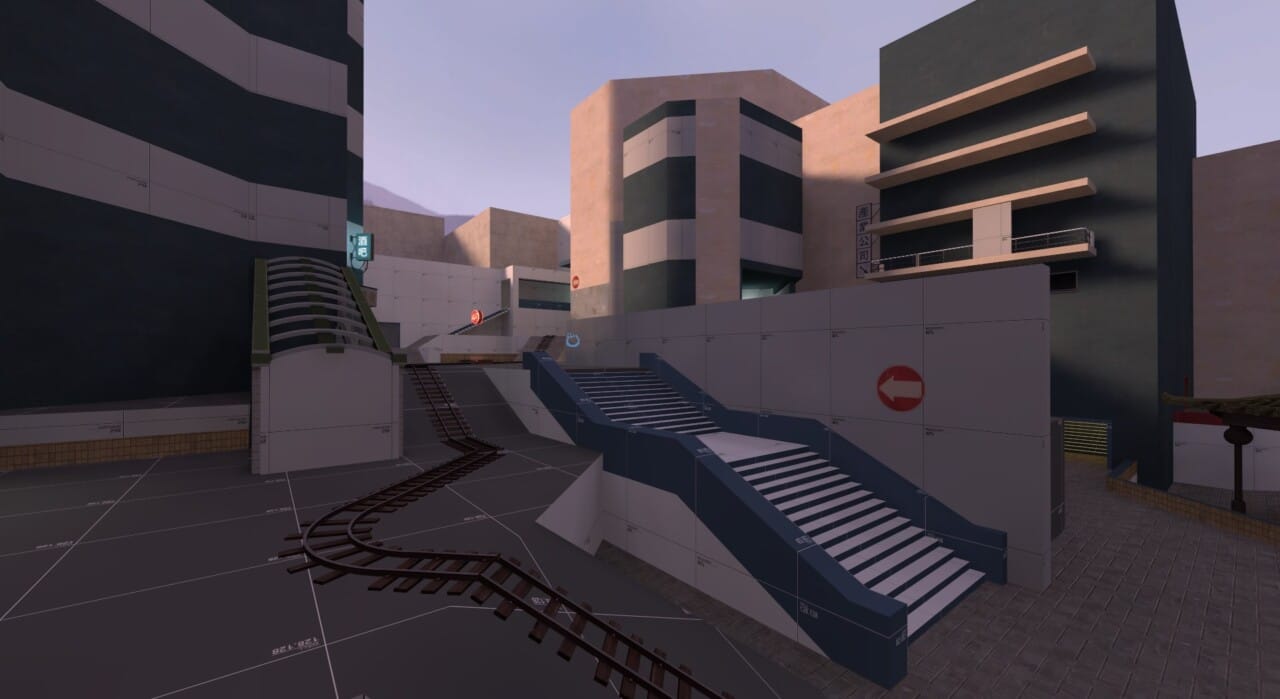
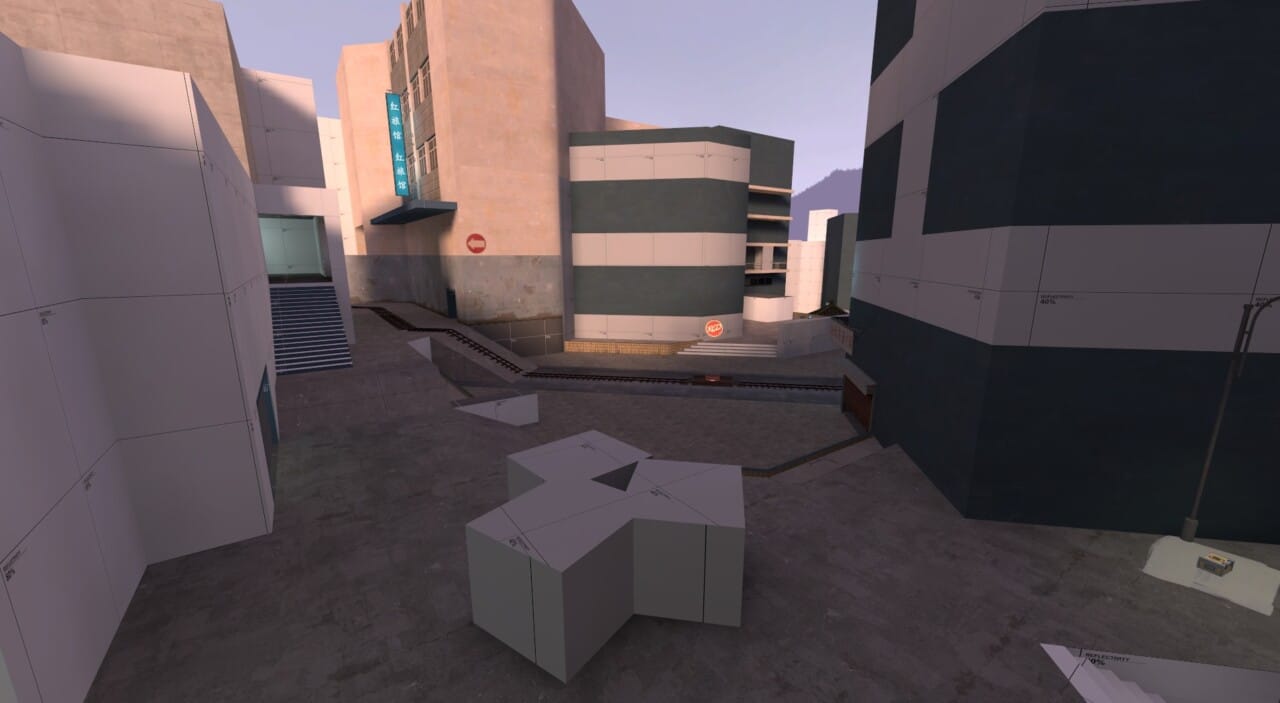
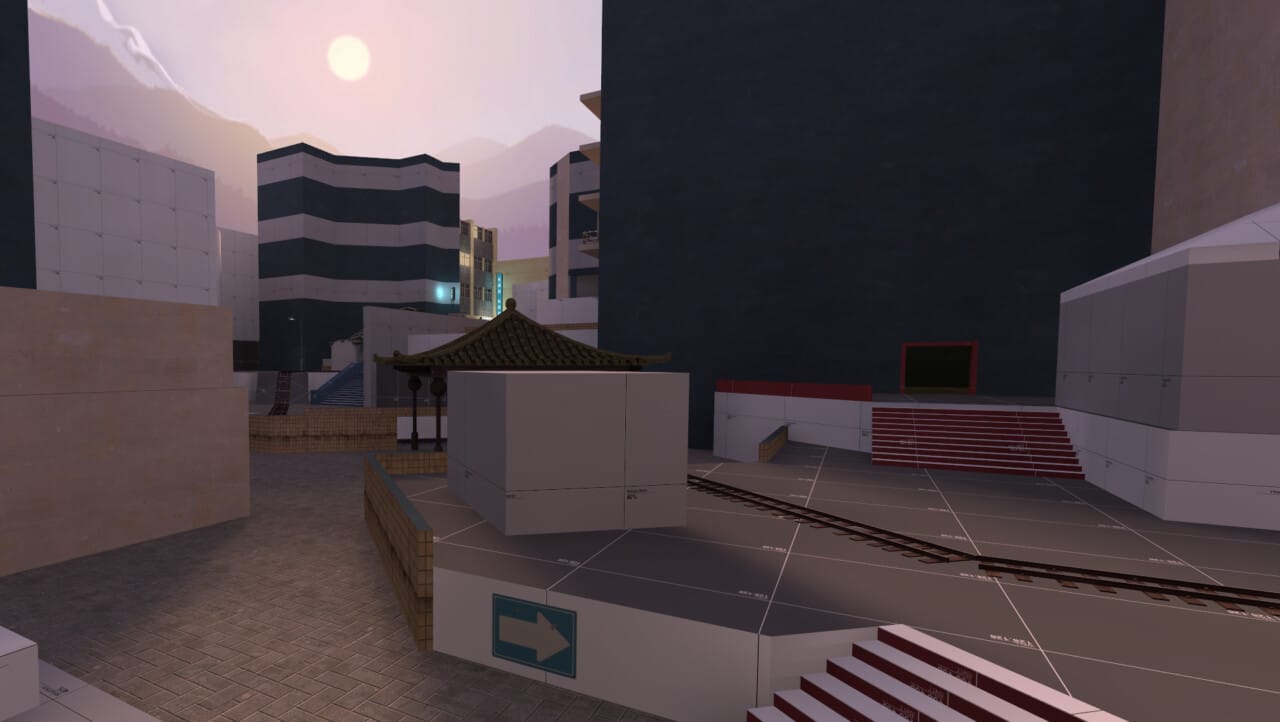
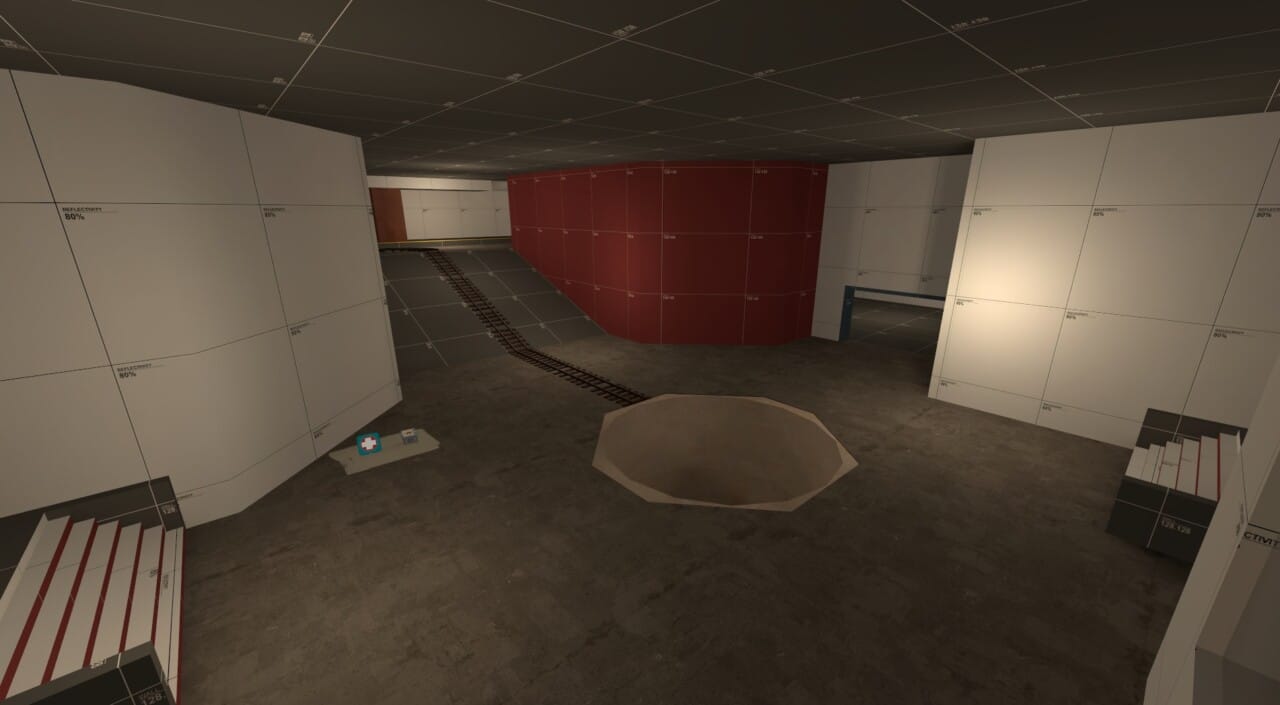
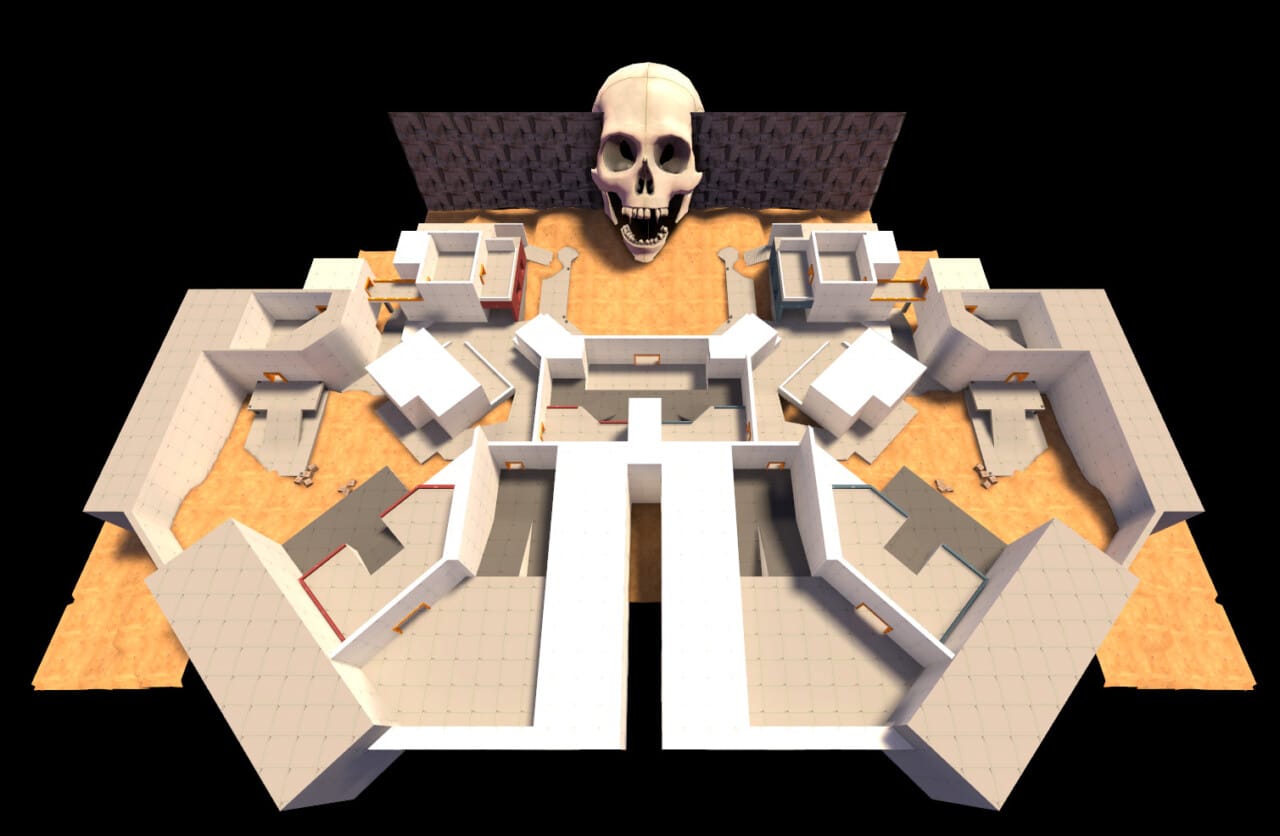
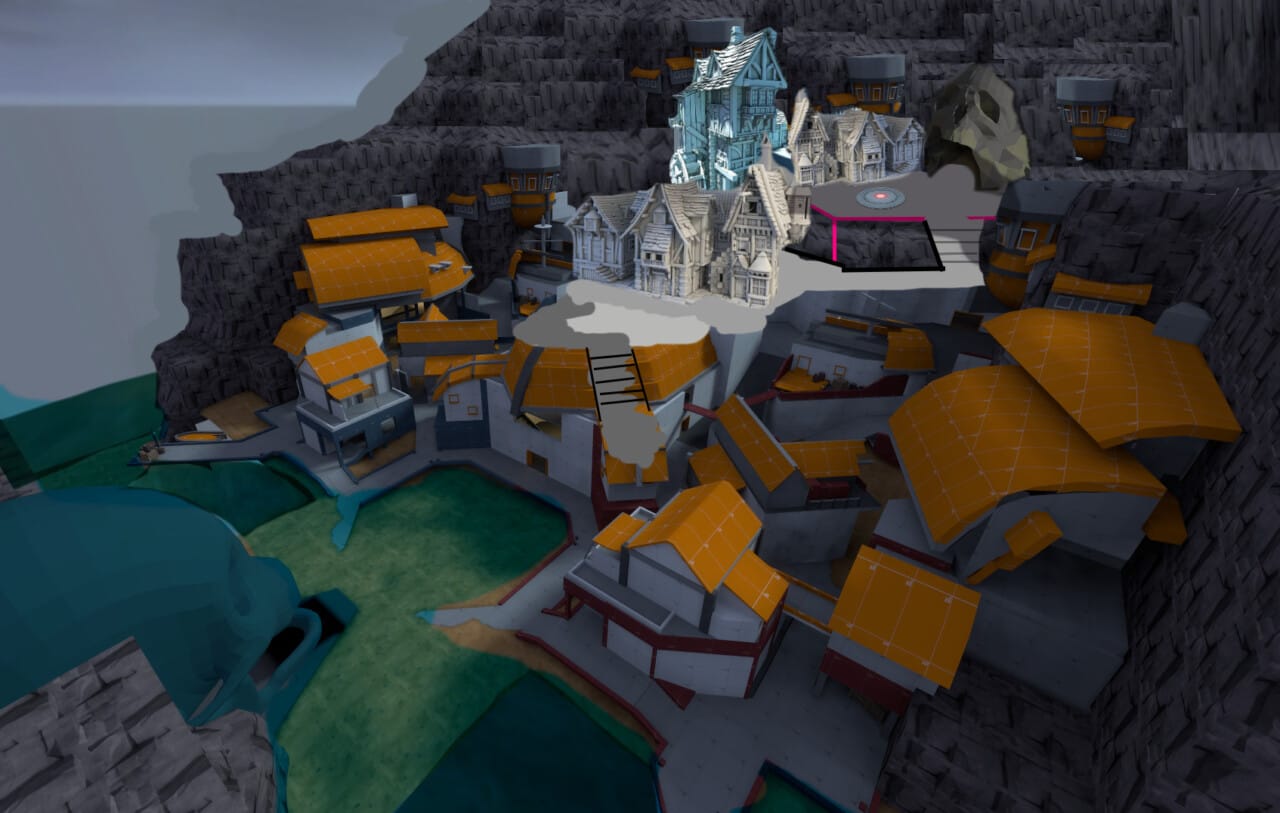
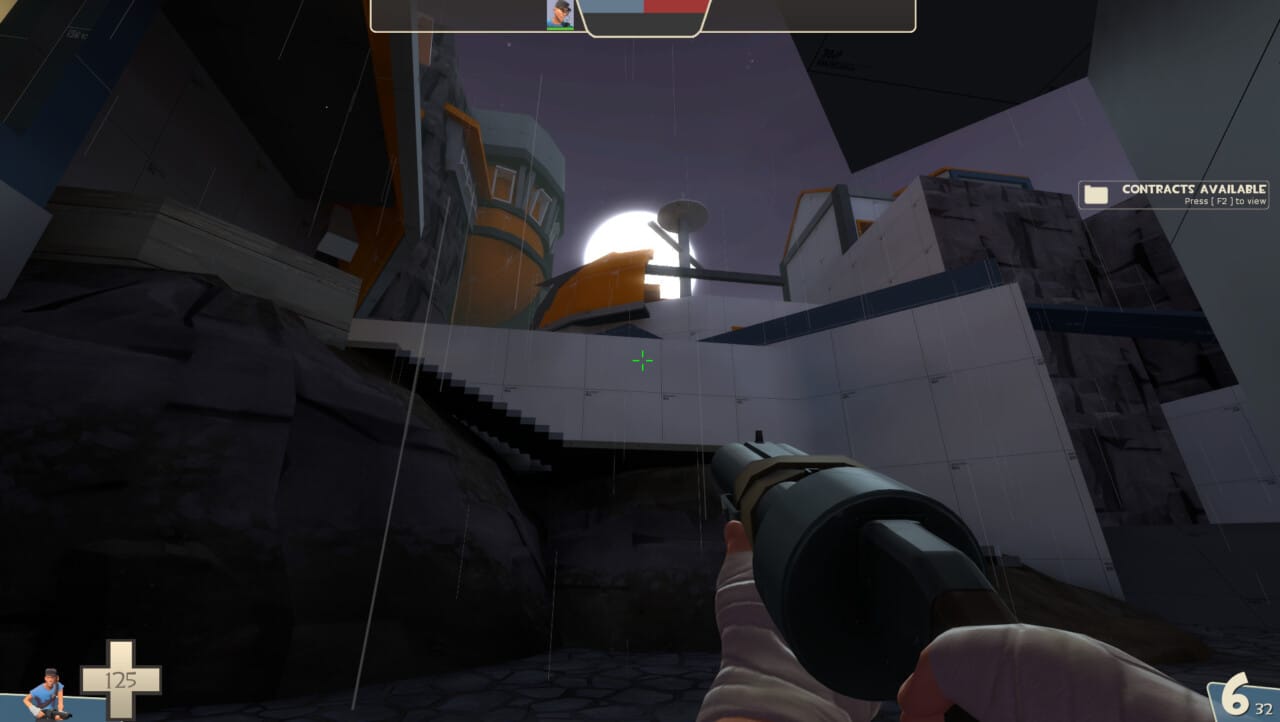
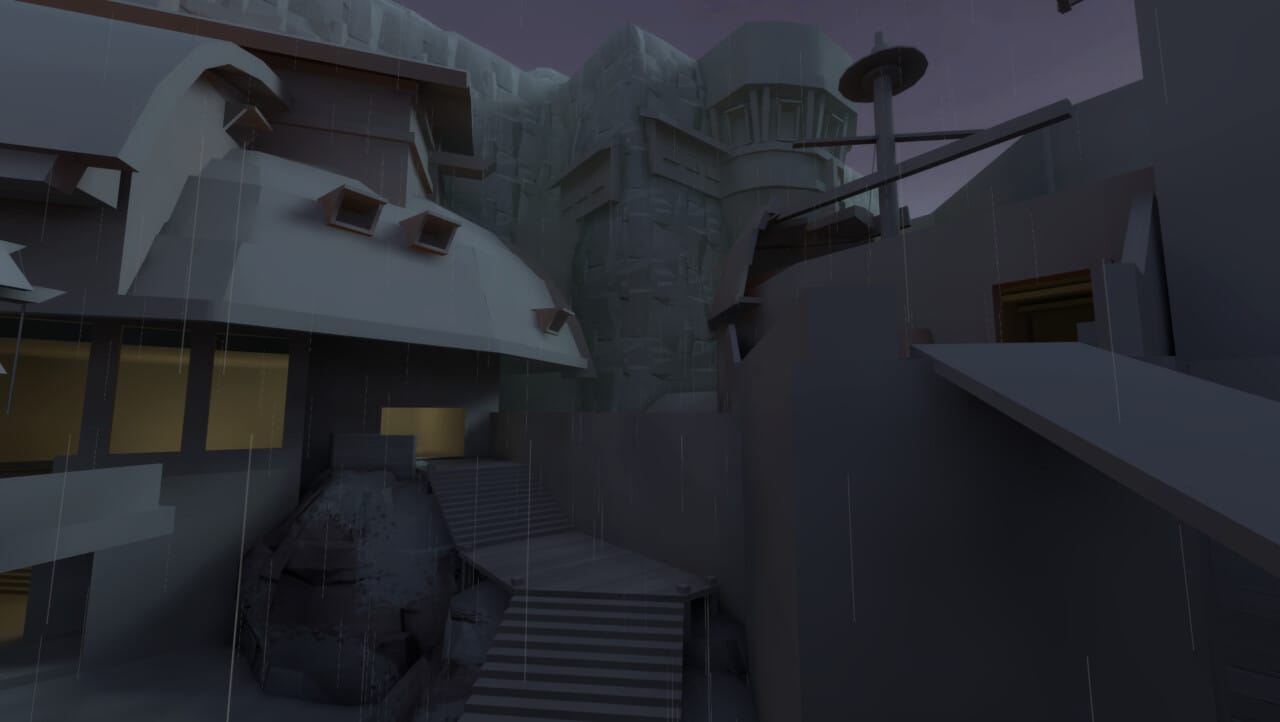
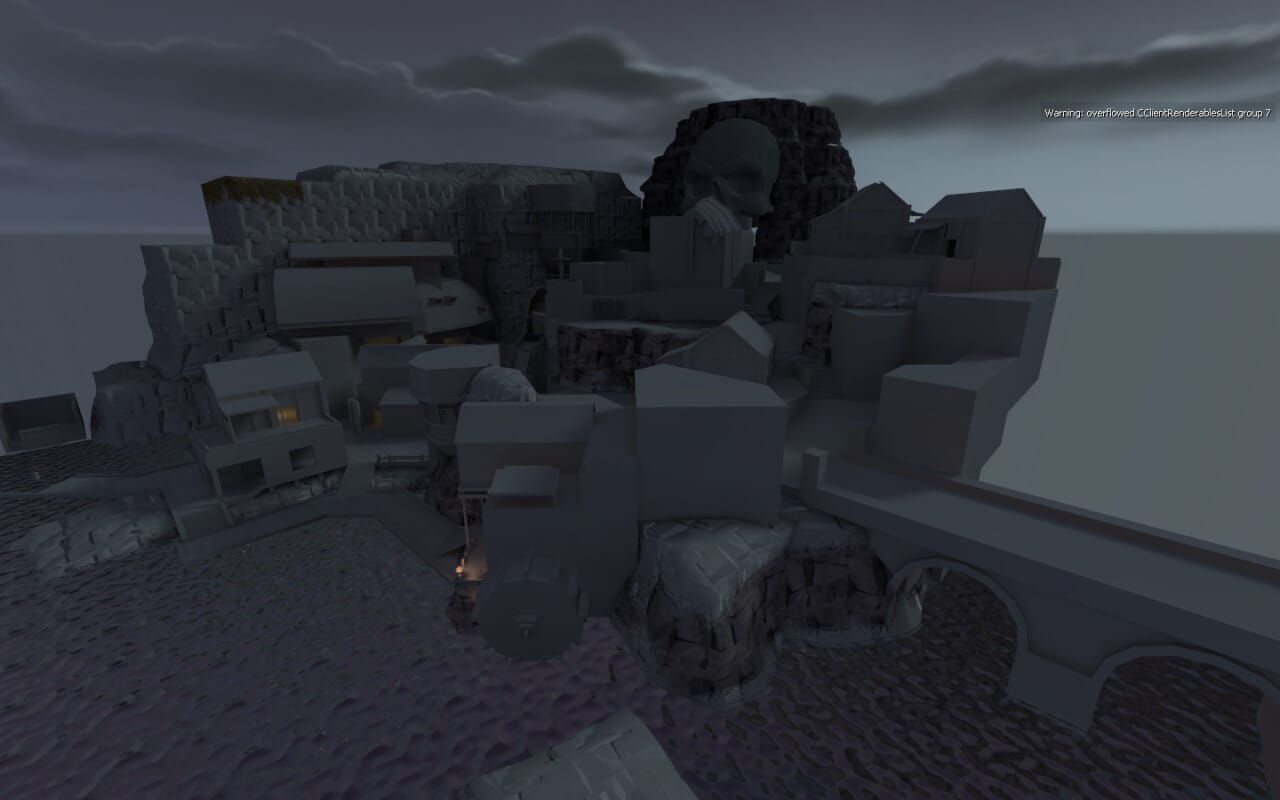
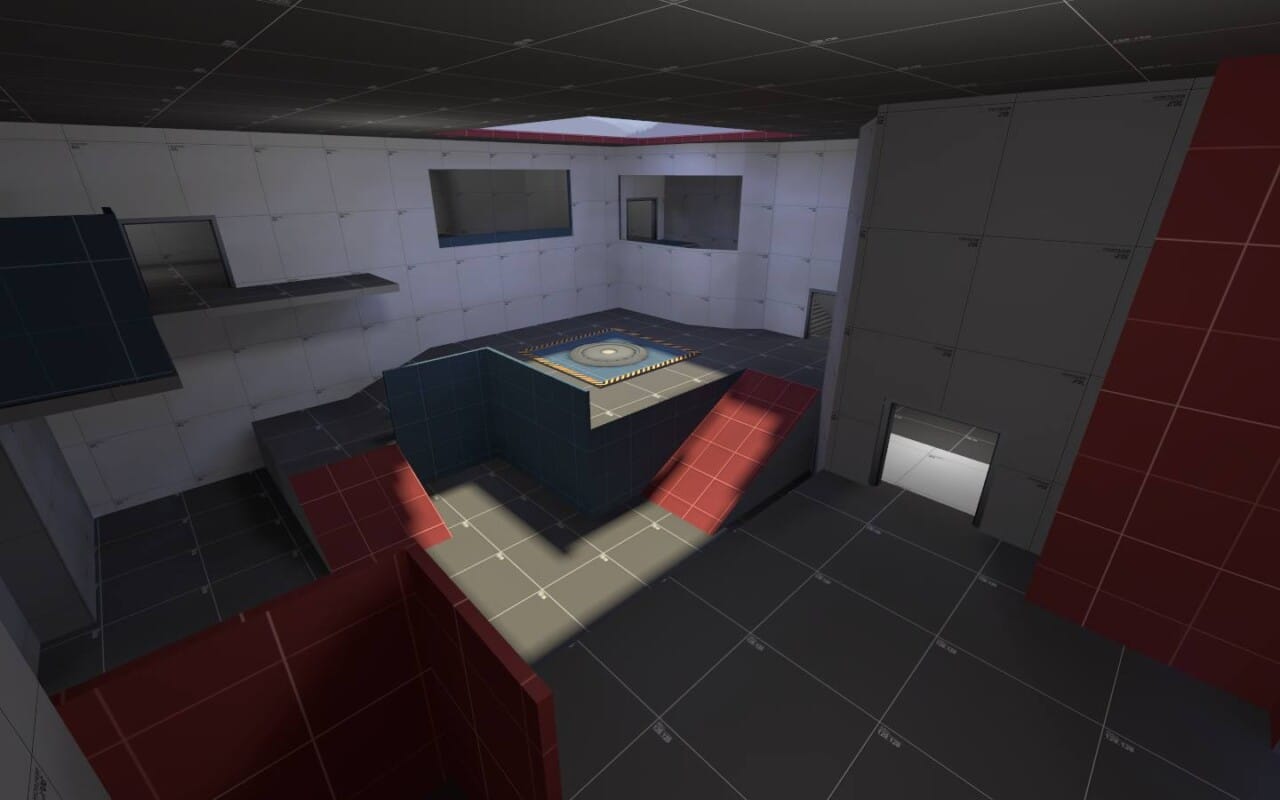
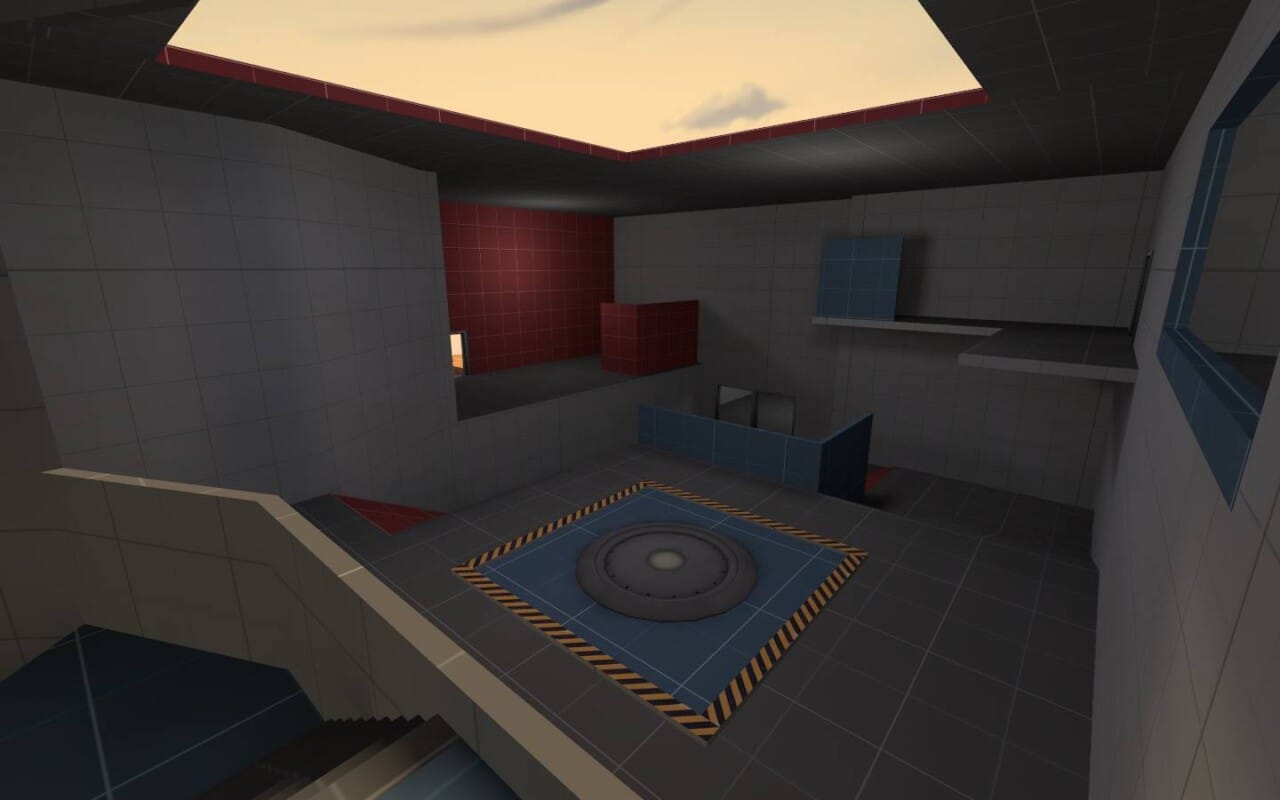
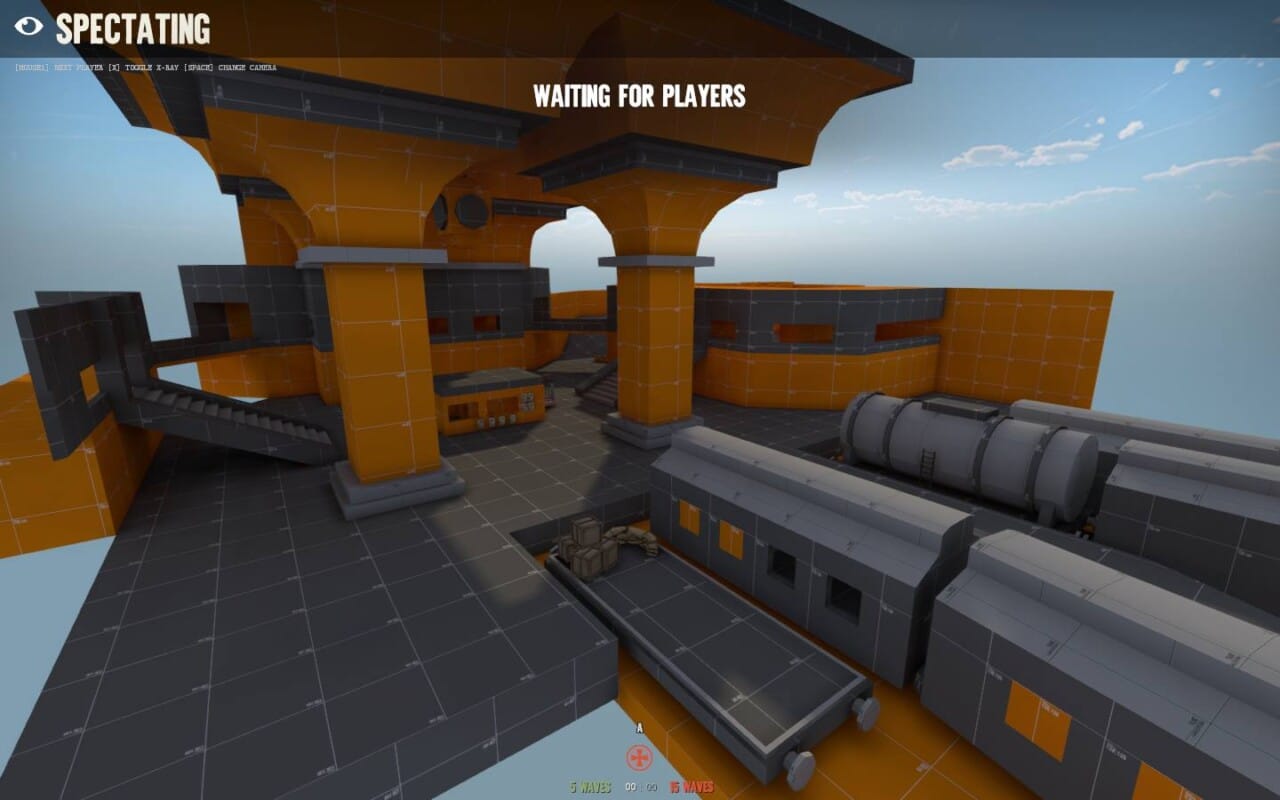
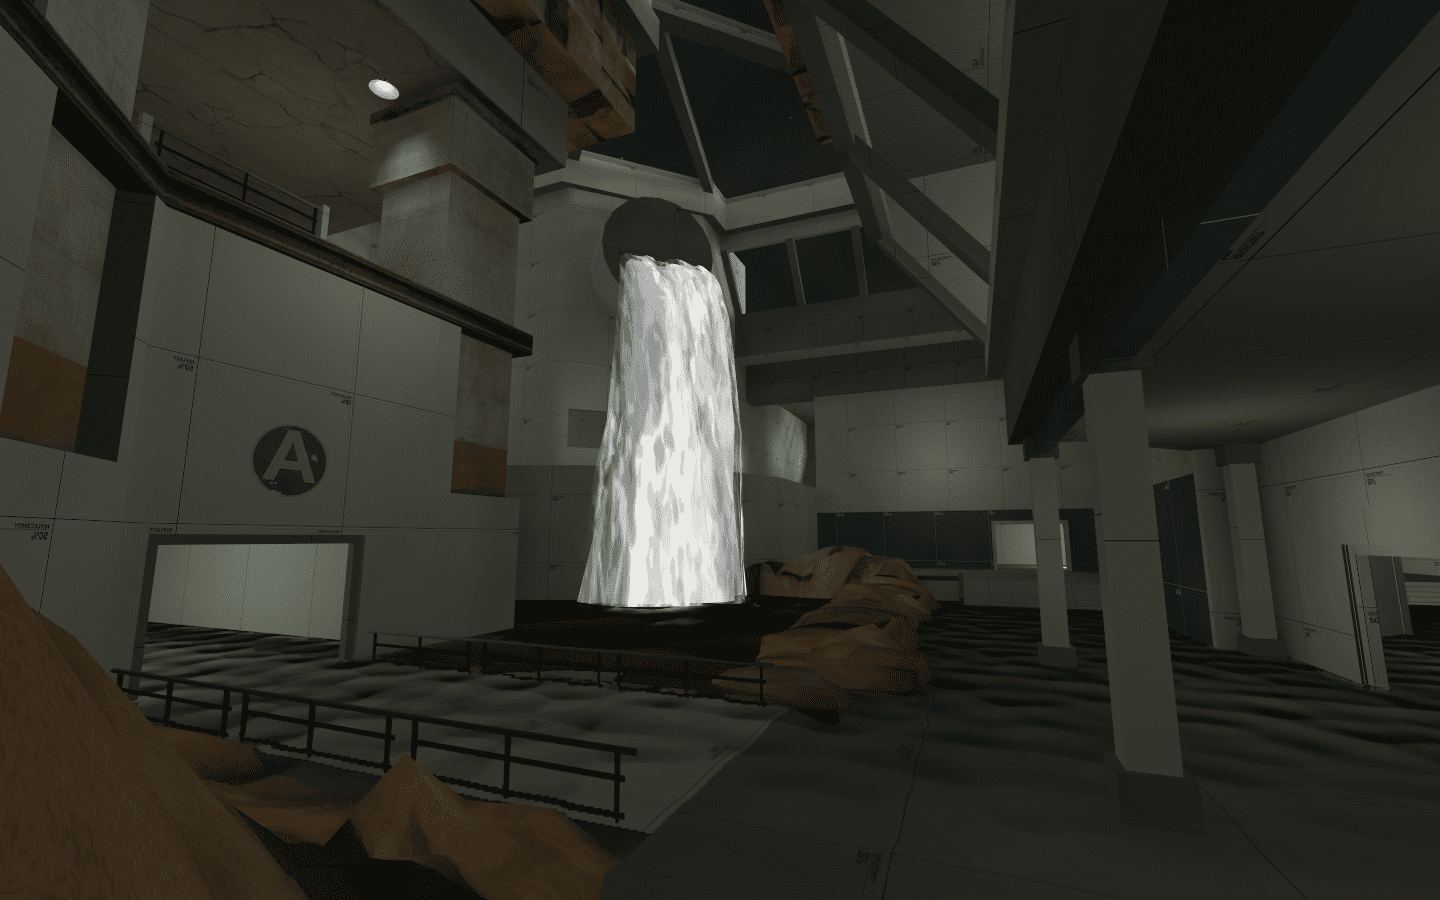
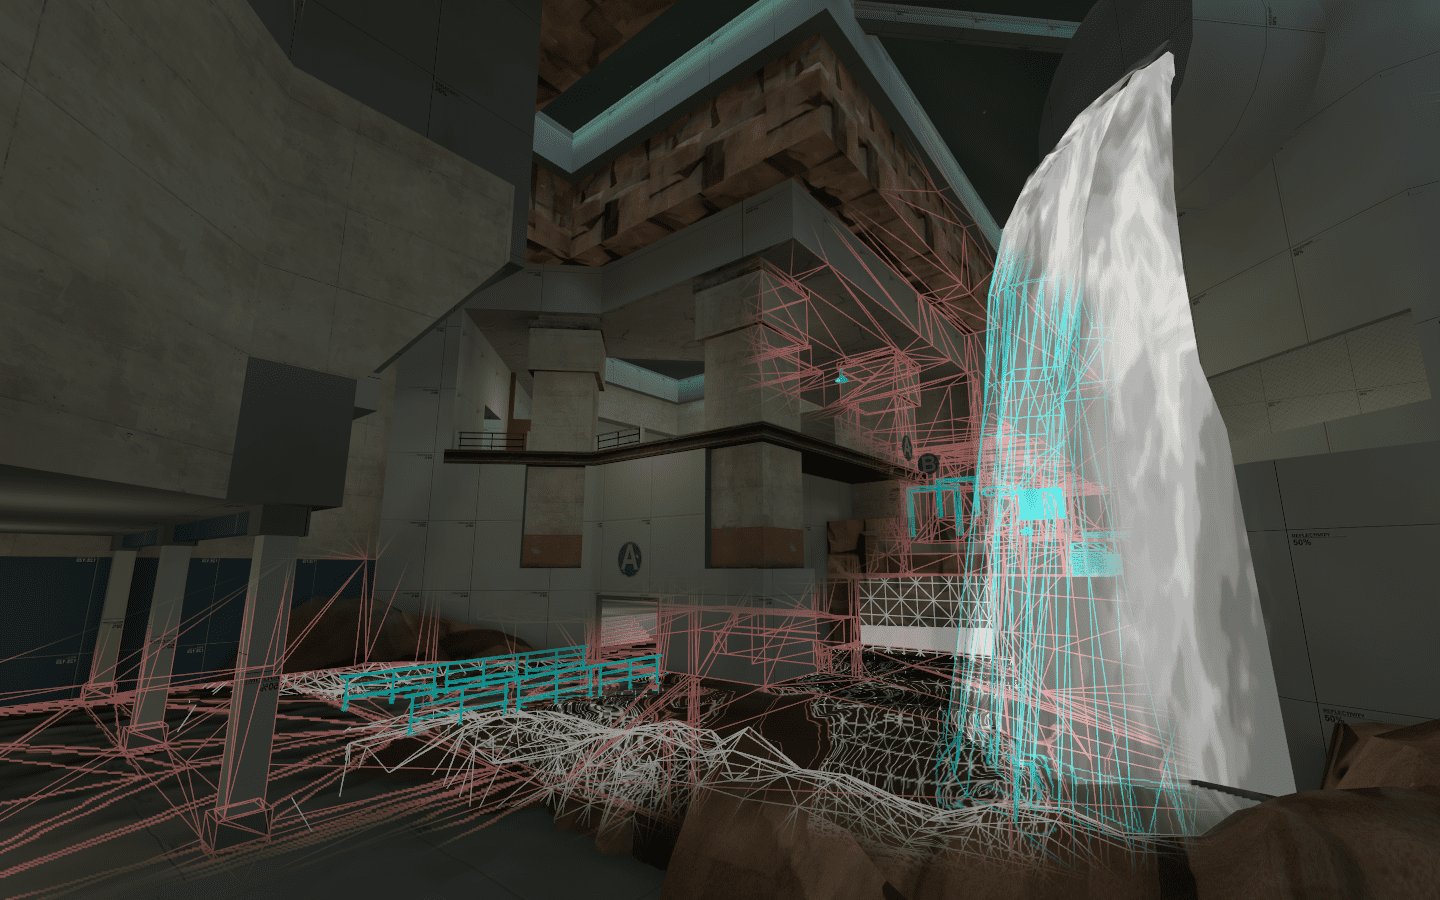

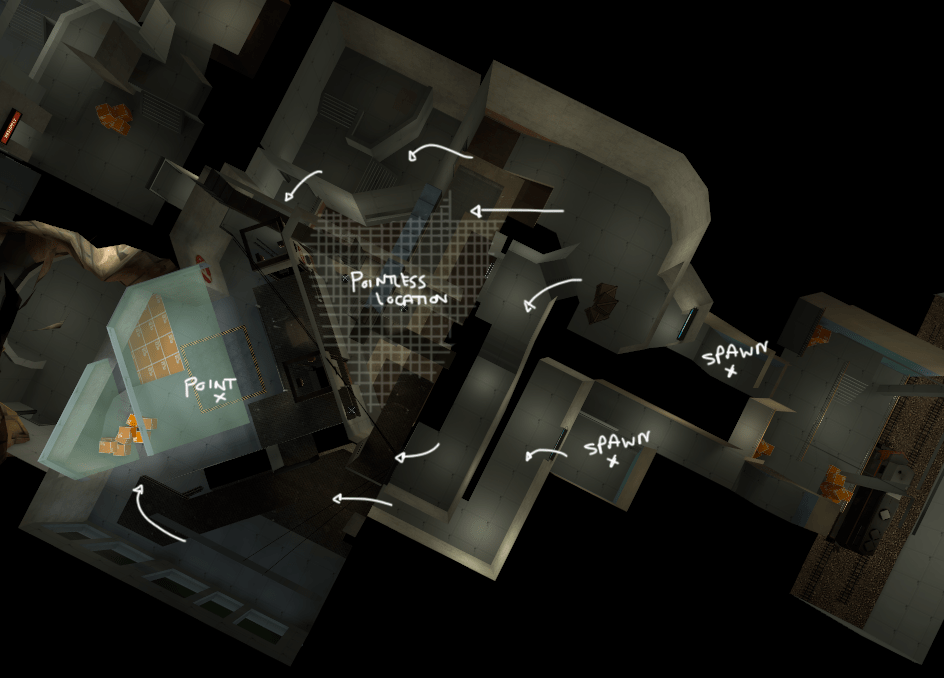
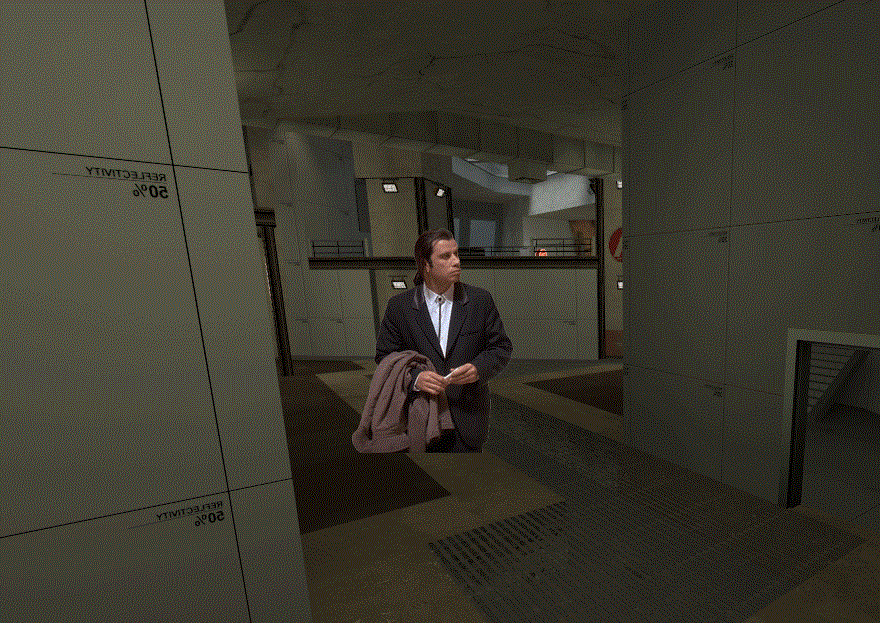
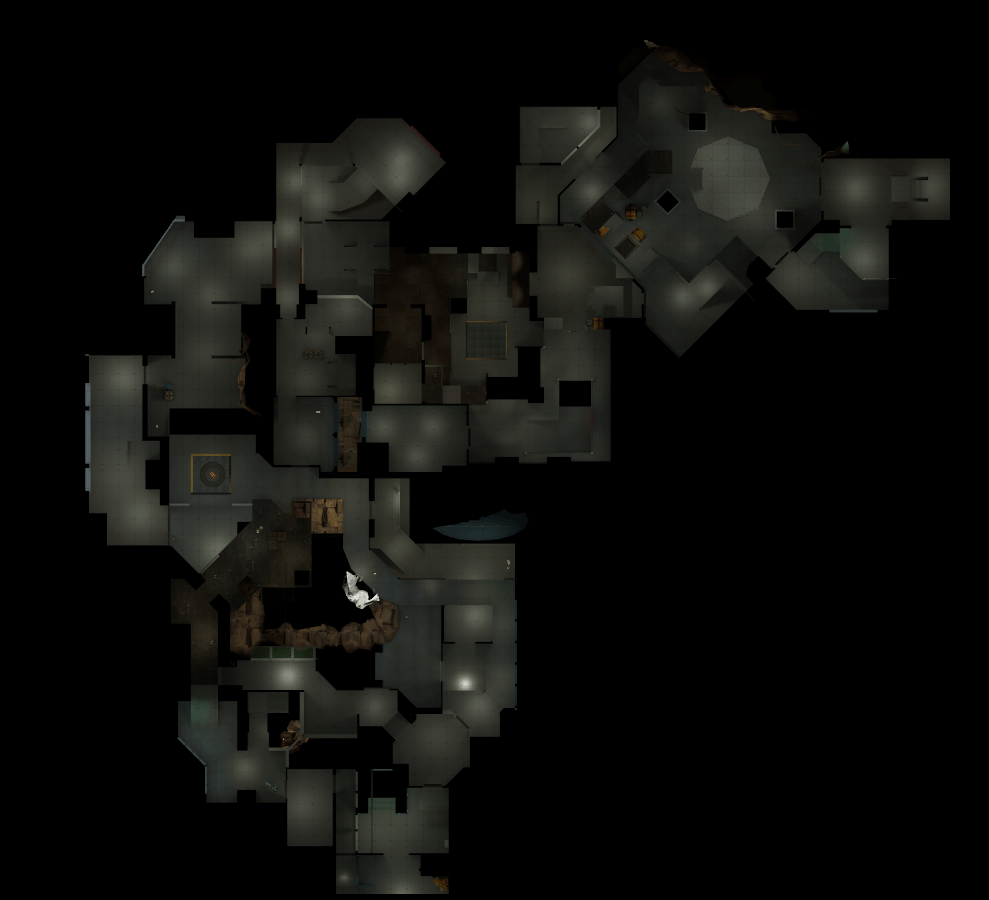
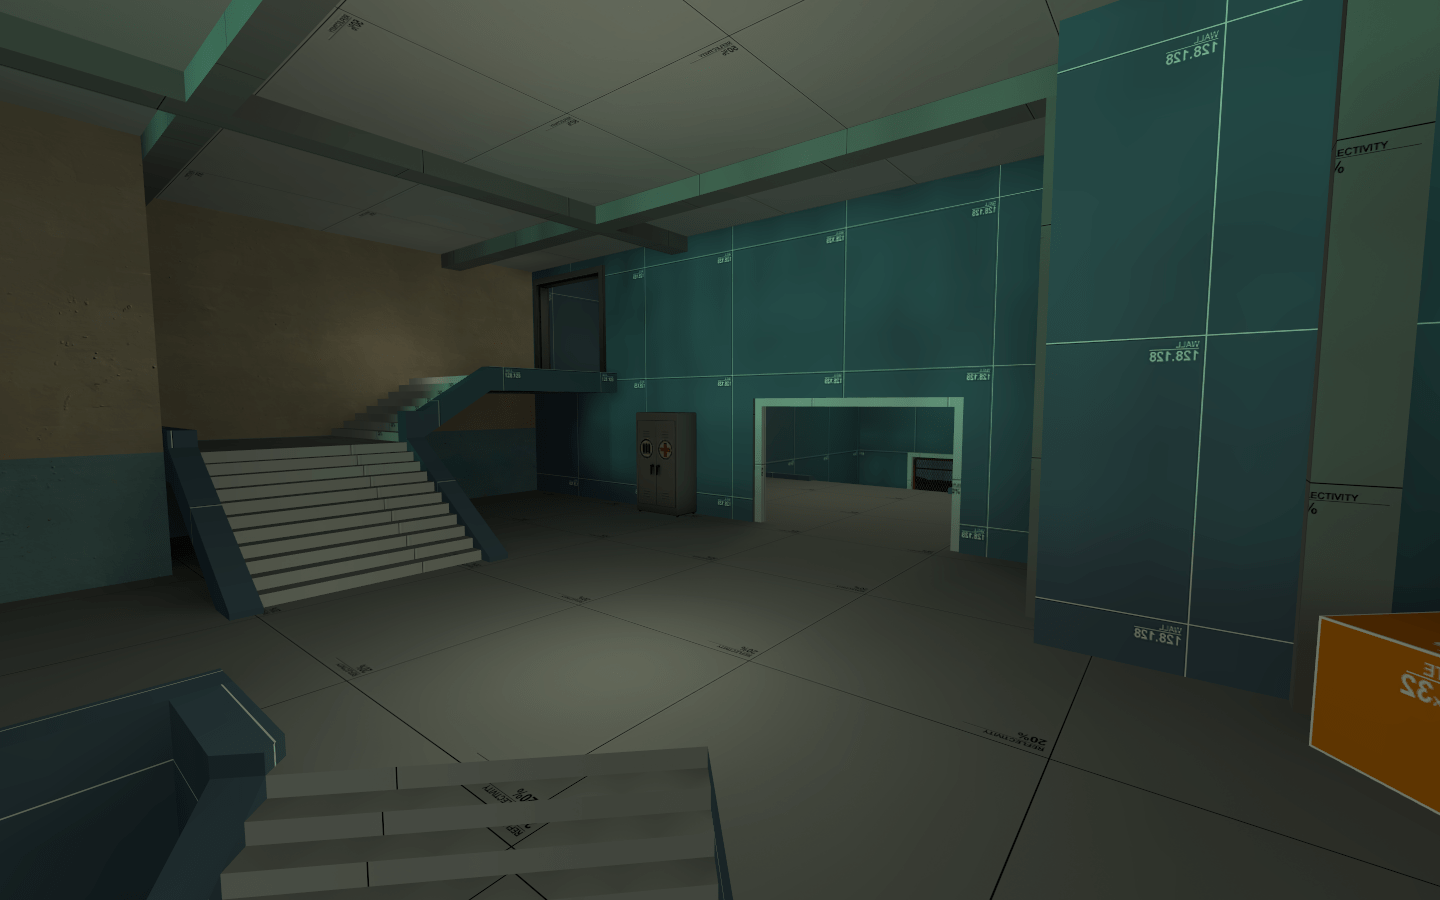
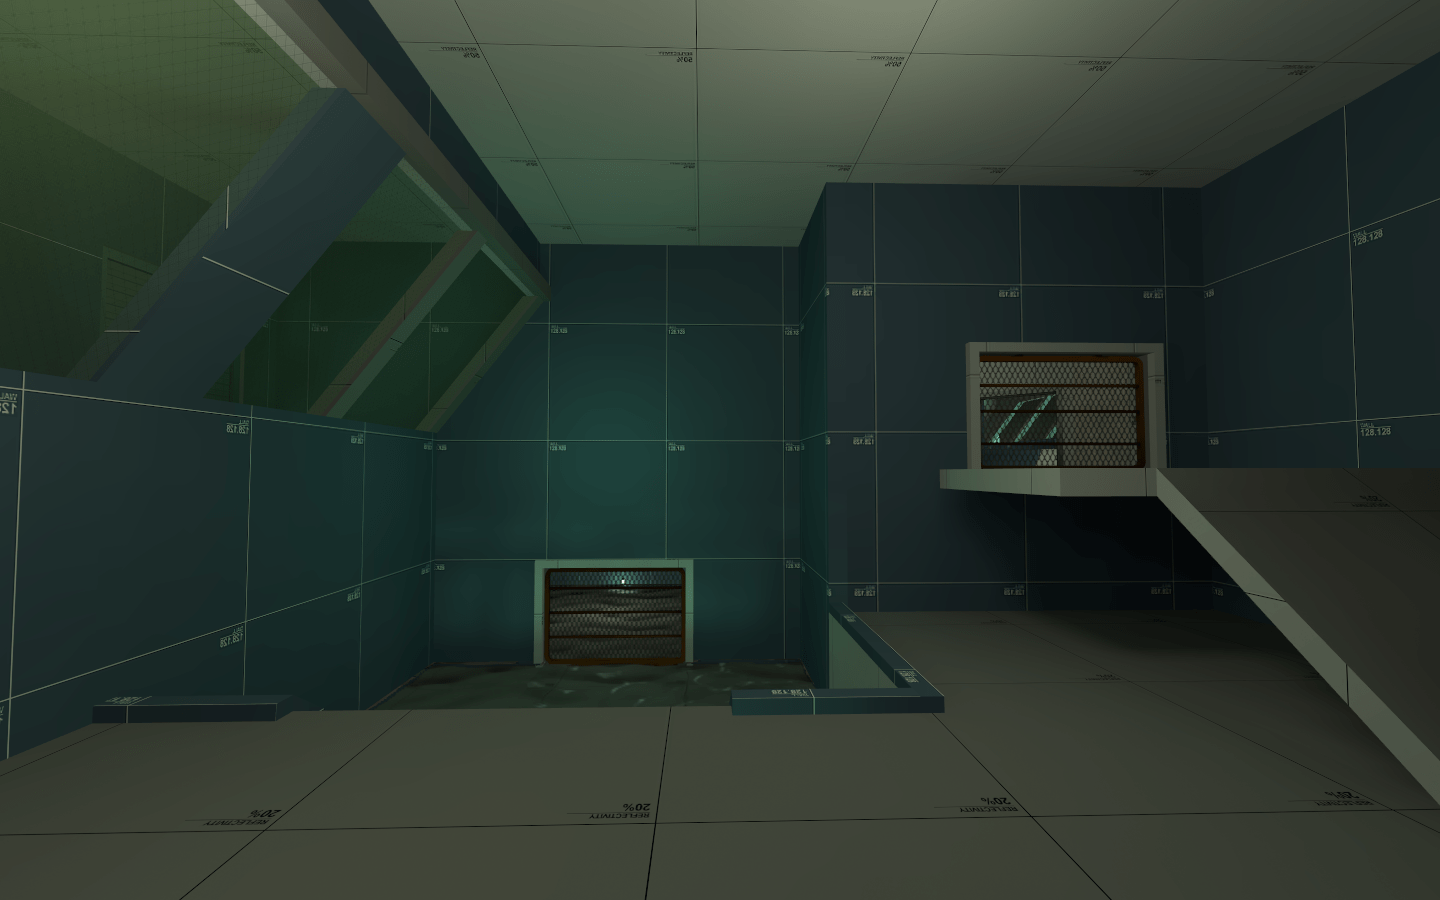
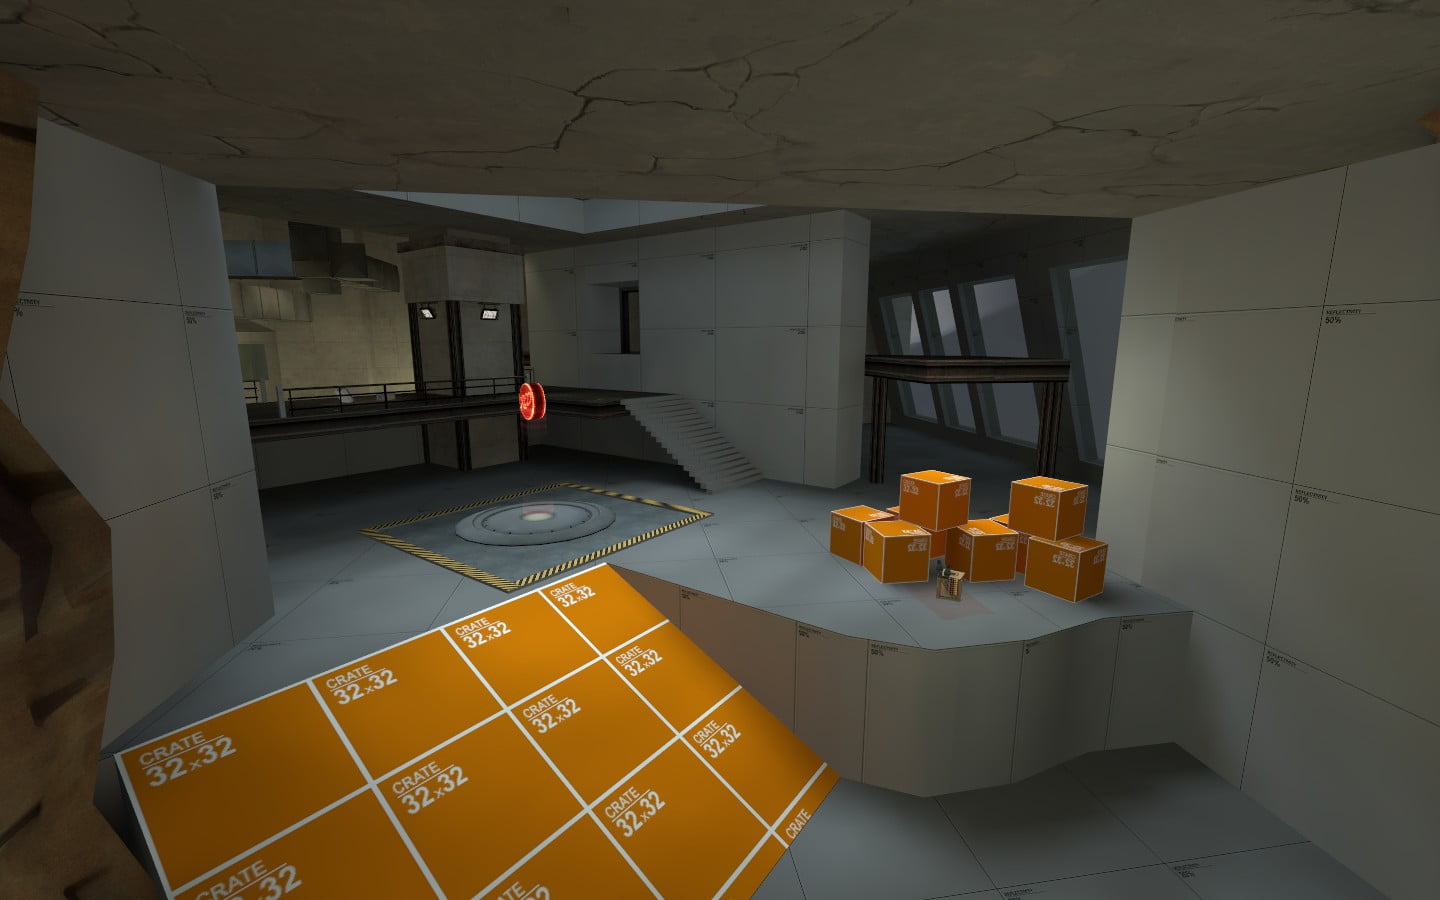
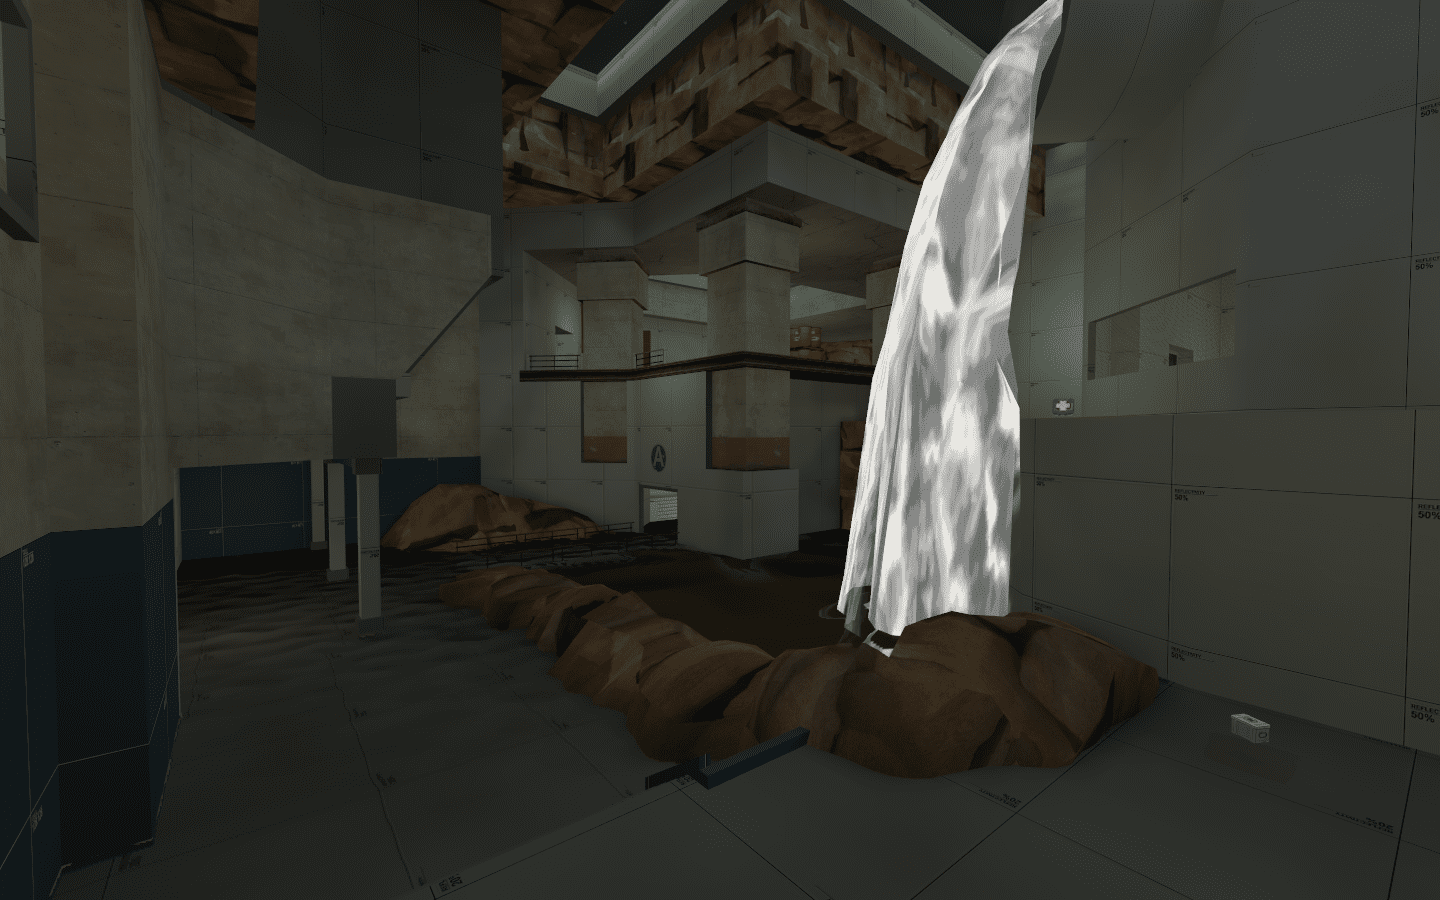 The main room was completely opened up allowing more room to breath. It’s still not perfect, but it’s a huge step in the right direction
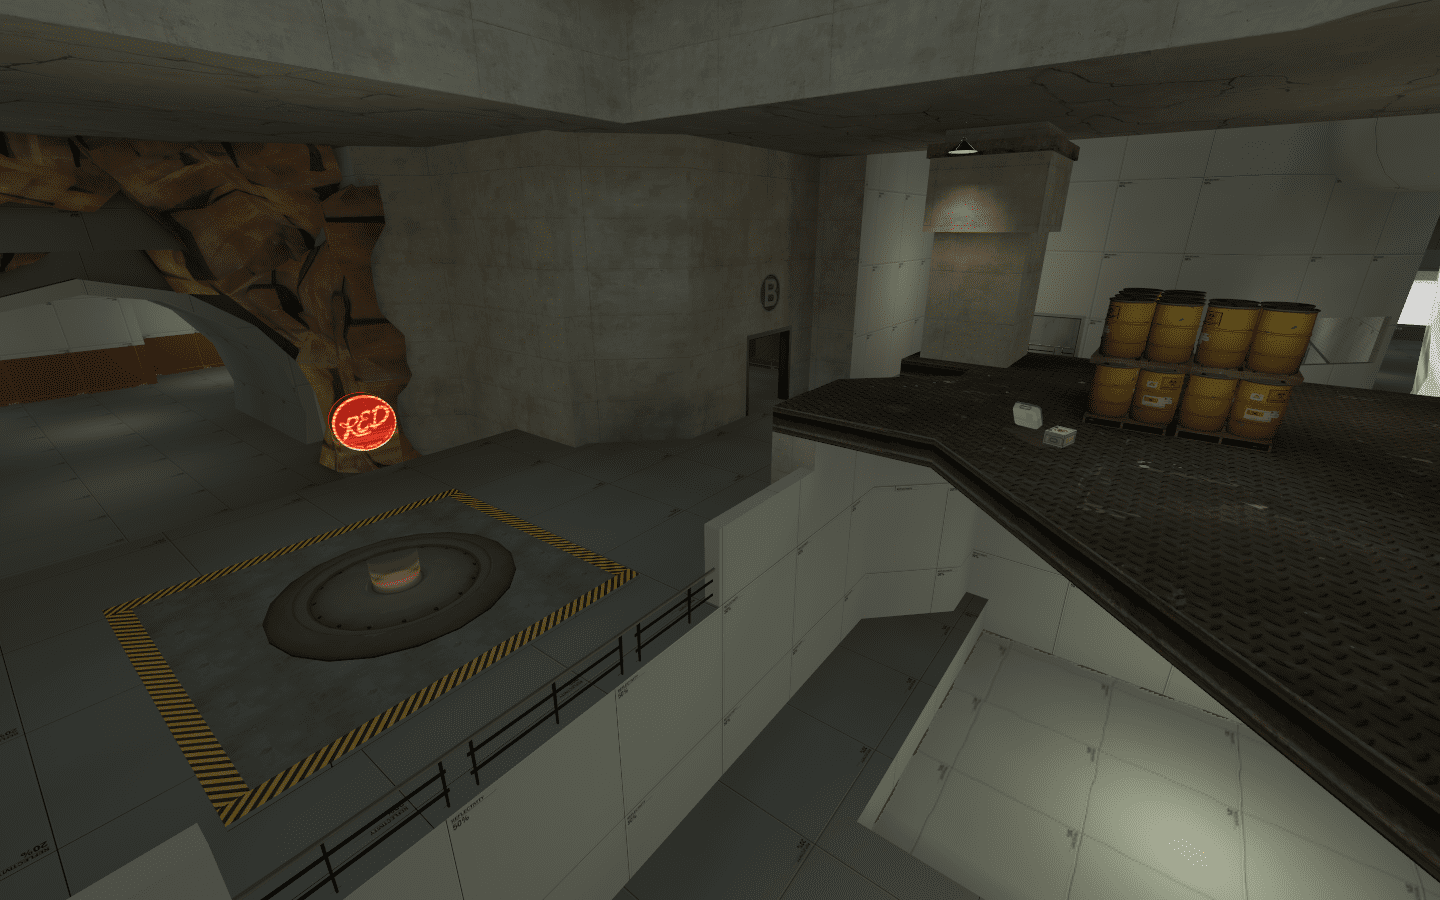
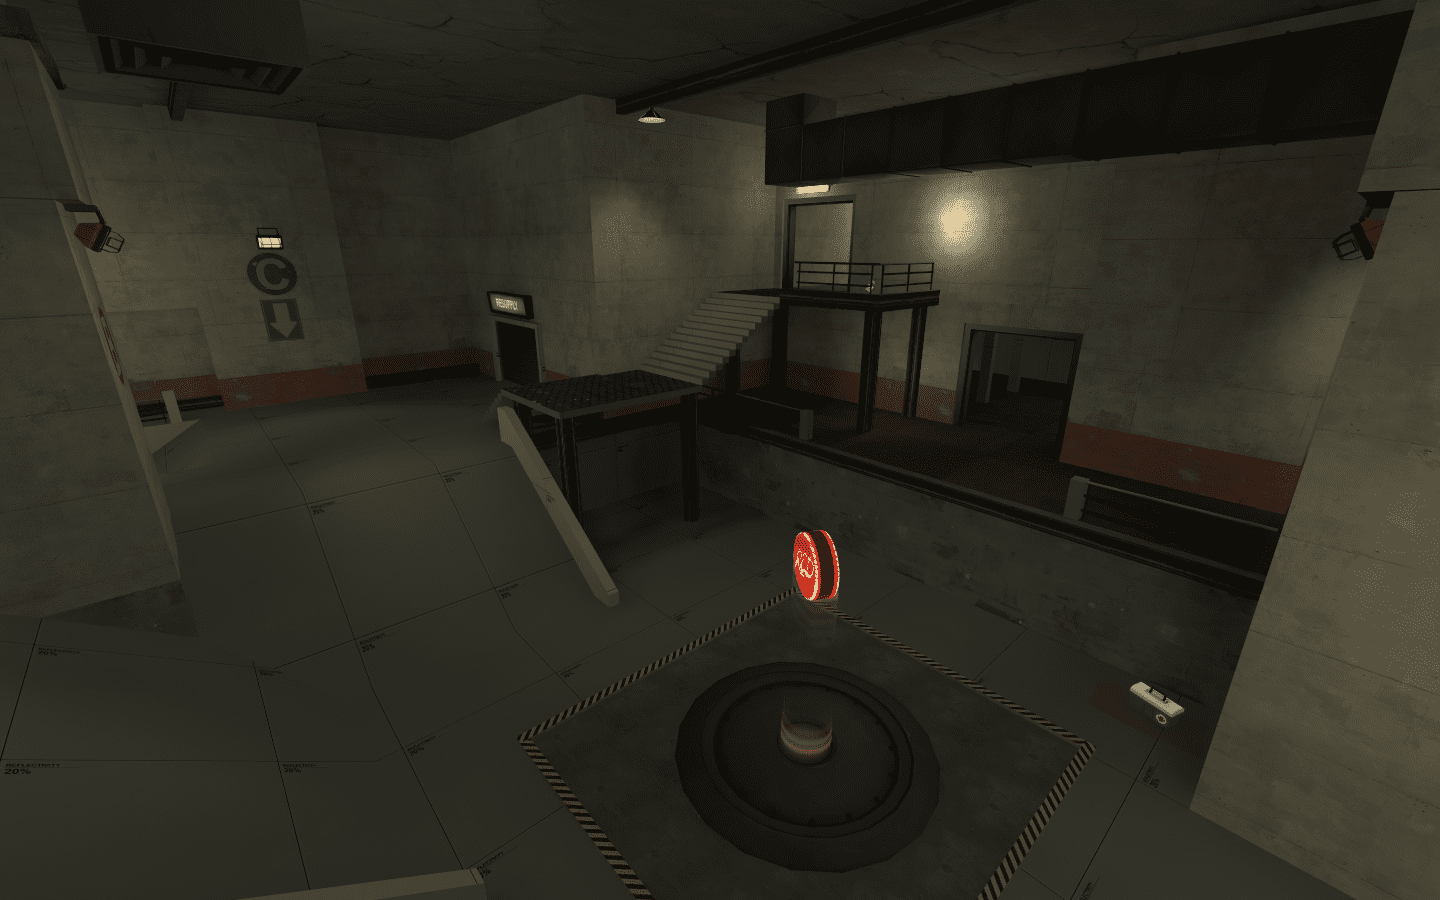
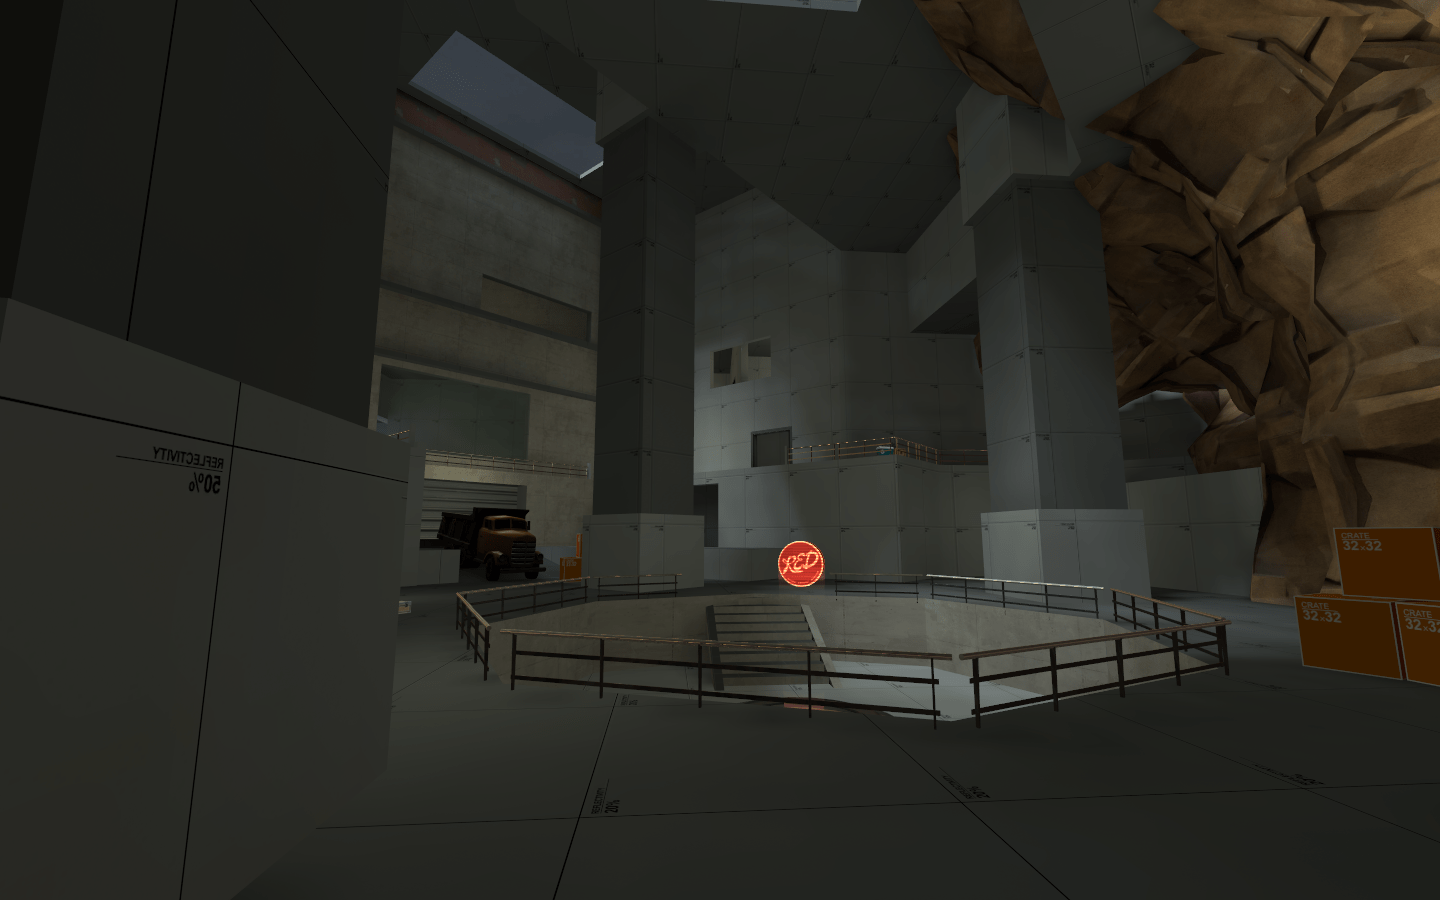
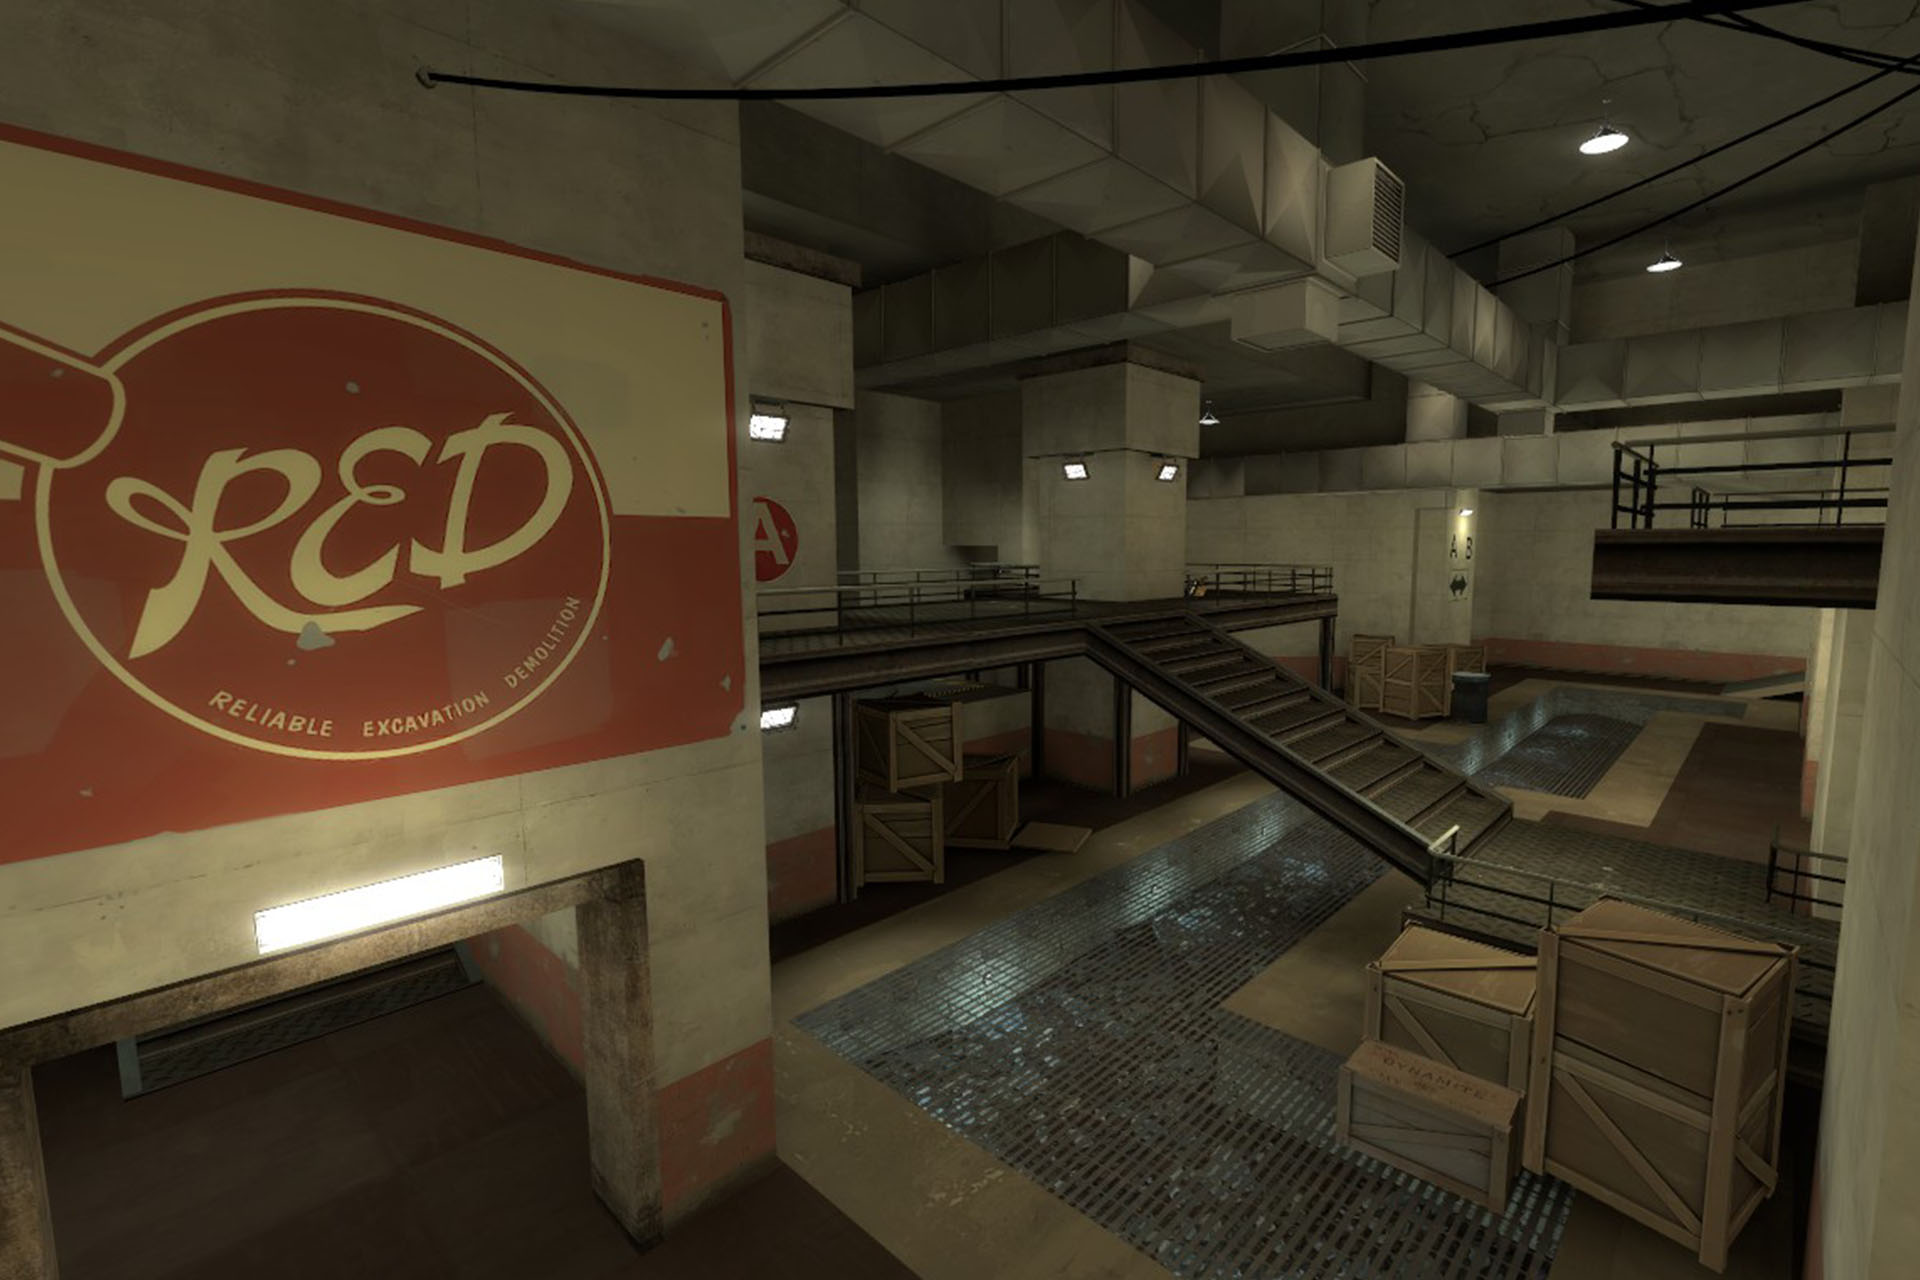
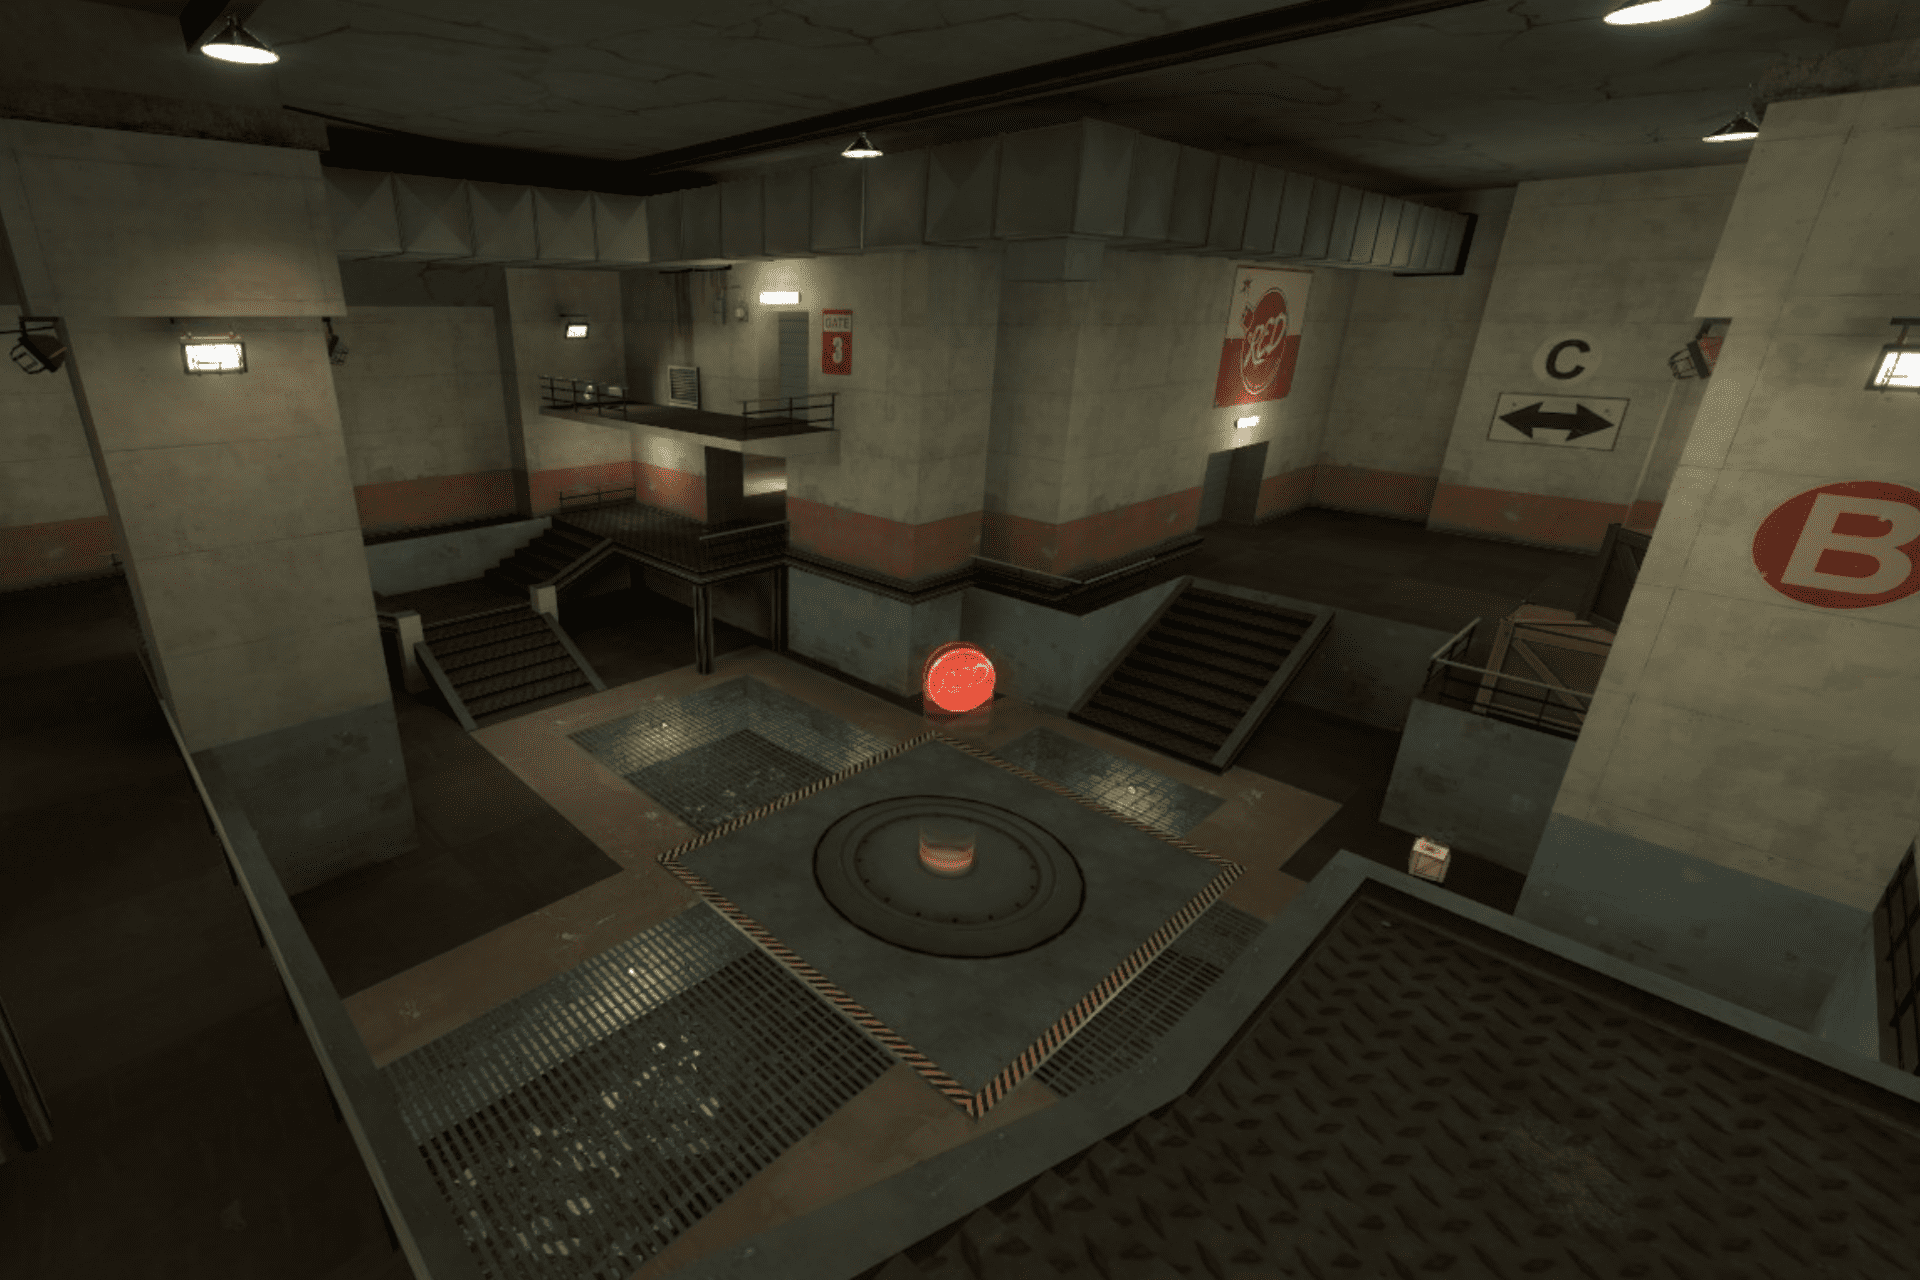
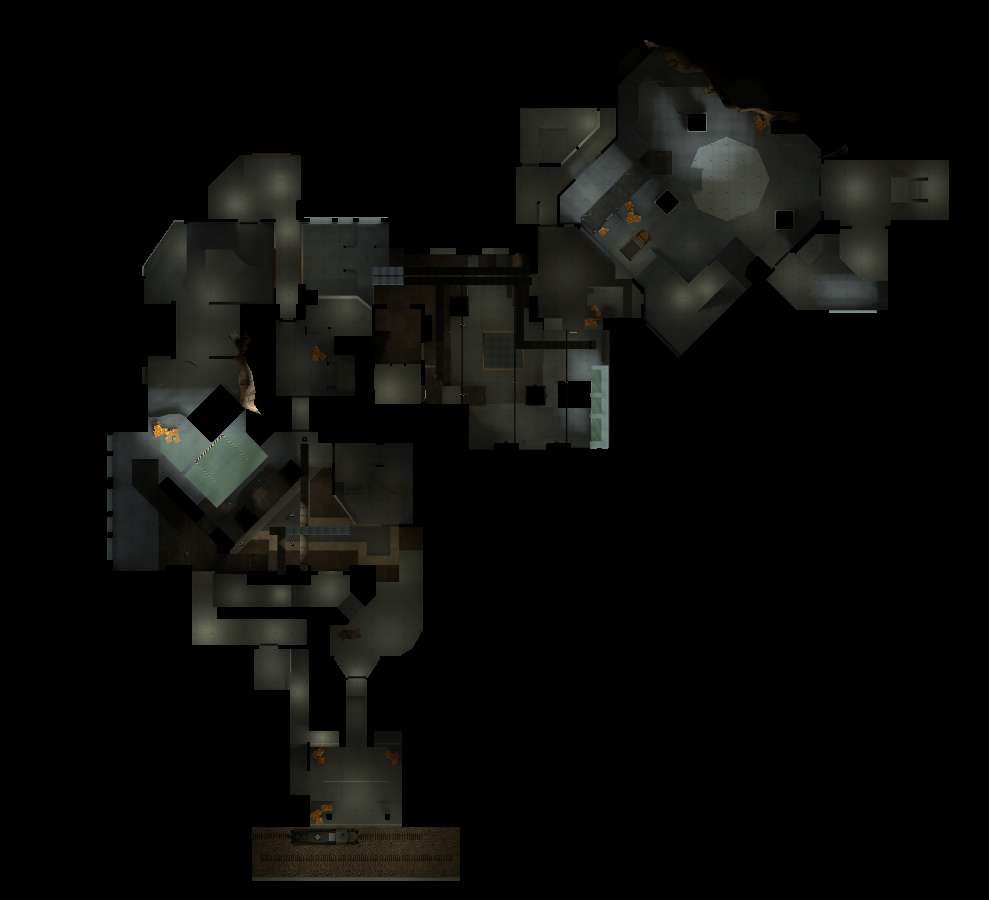
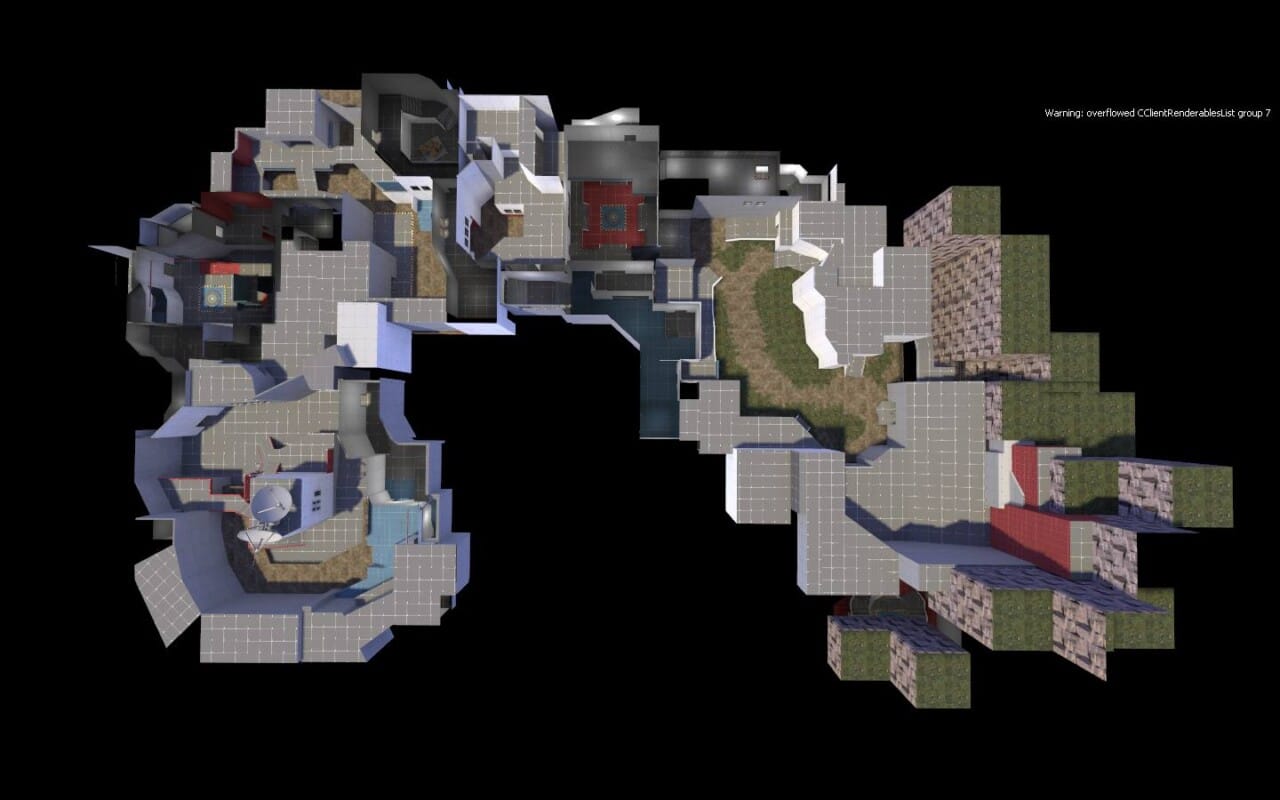
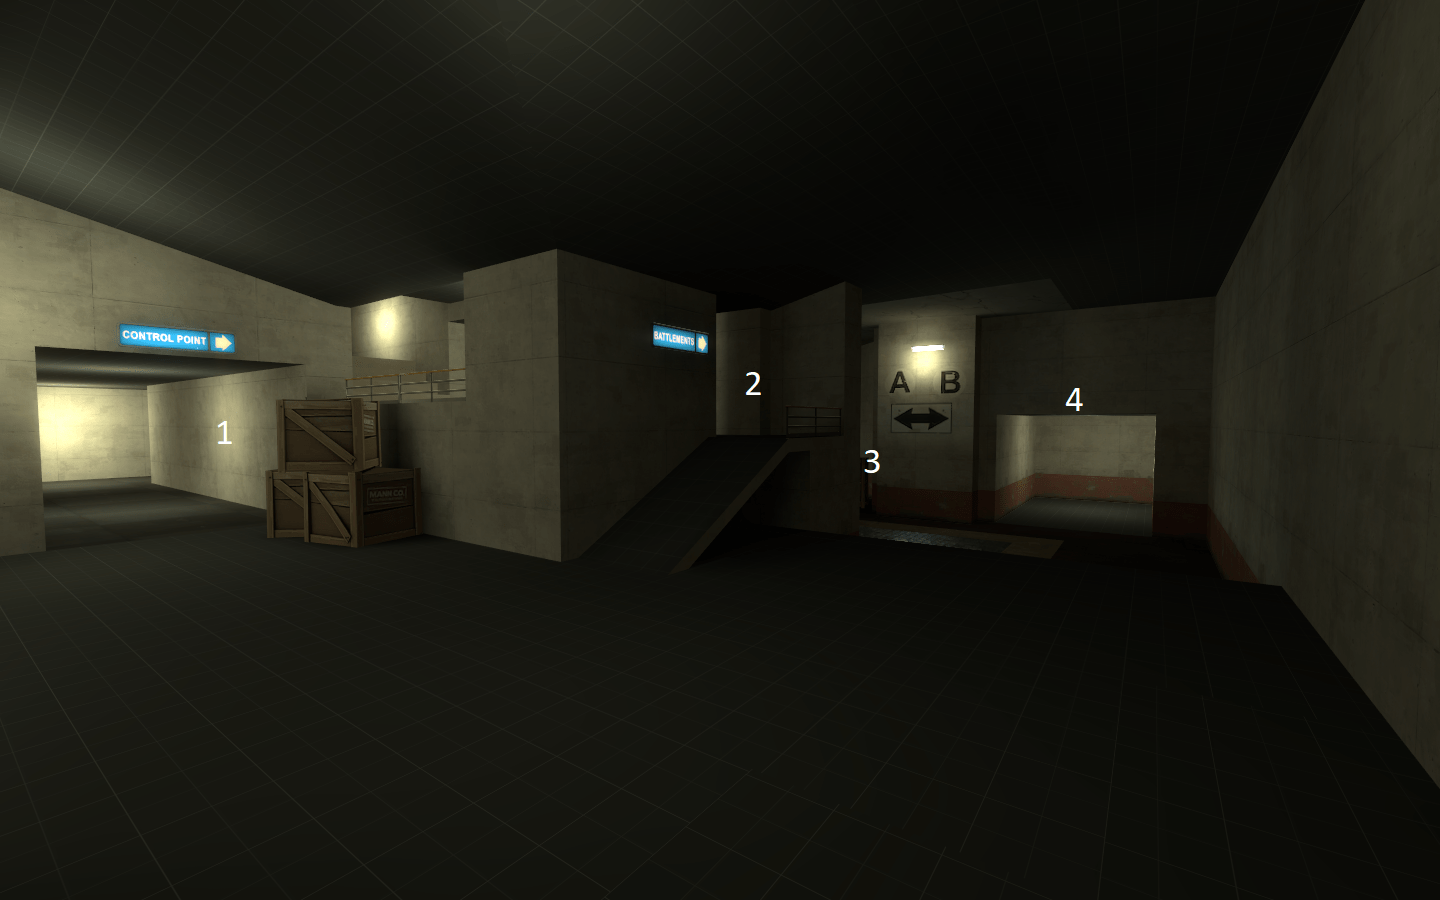 Straight out of the BLU spawn there were 4 possible routes for the player to take. The natural flow always took them to 4 which was the one i didn’t want them to initially take.
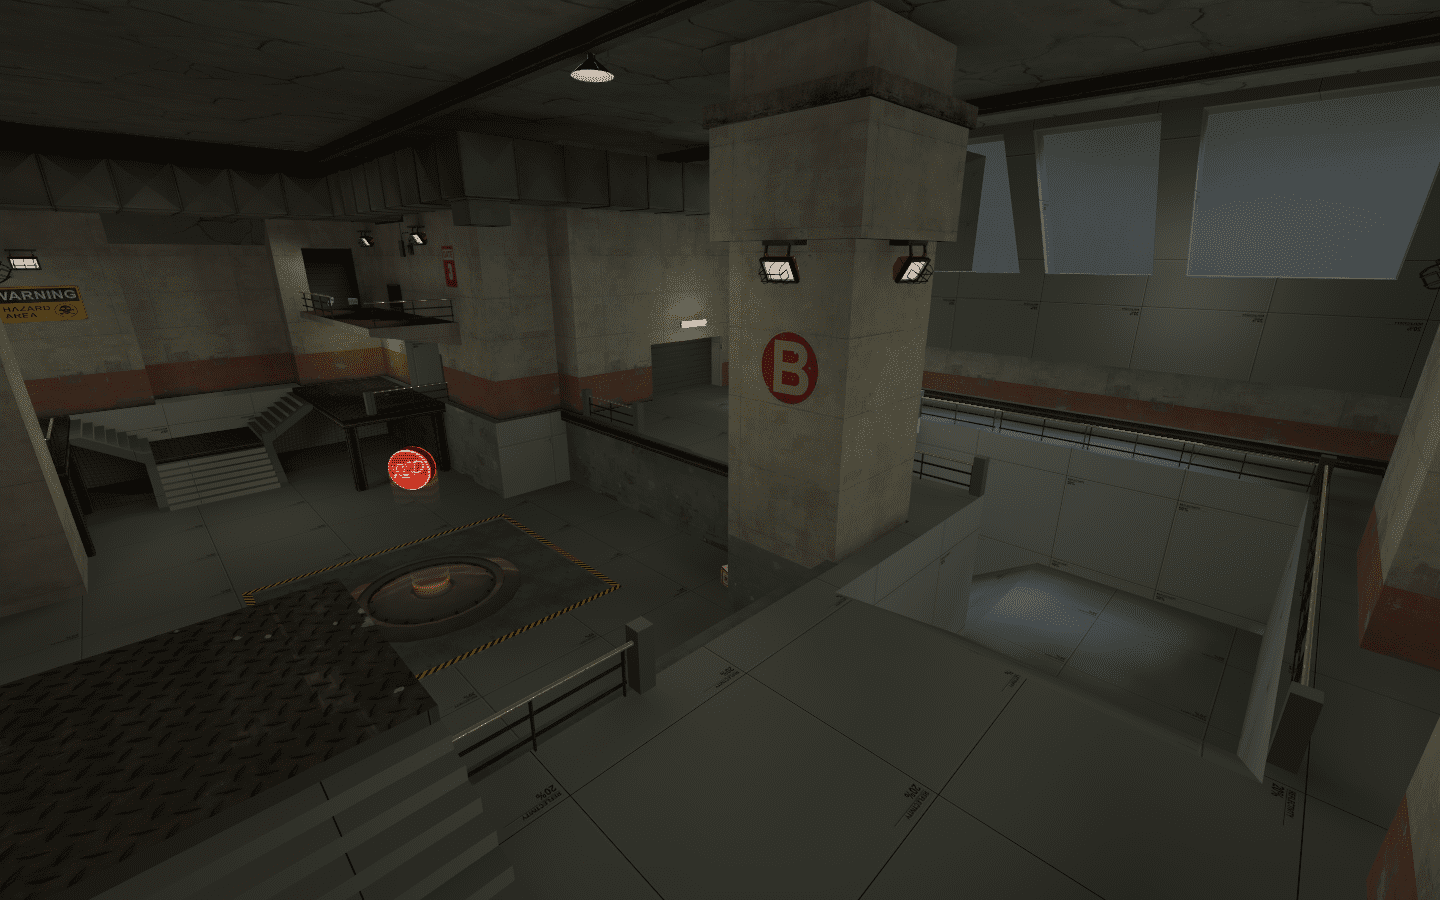
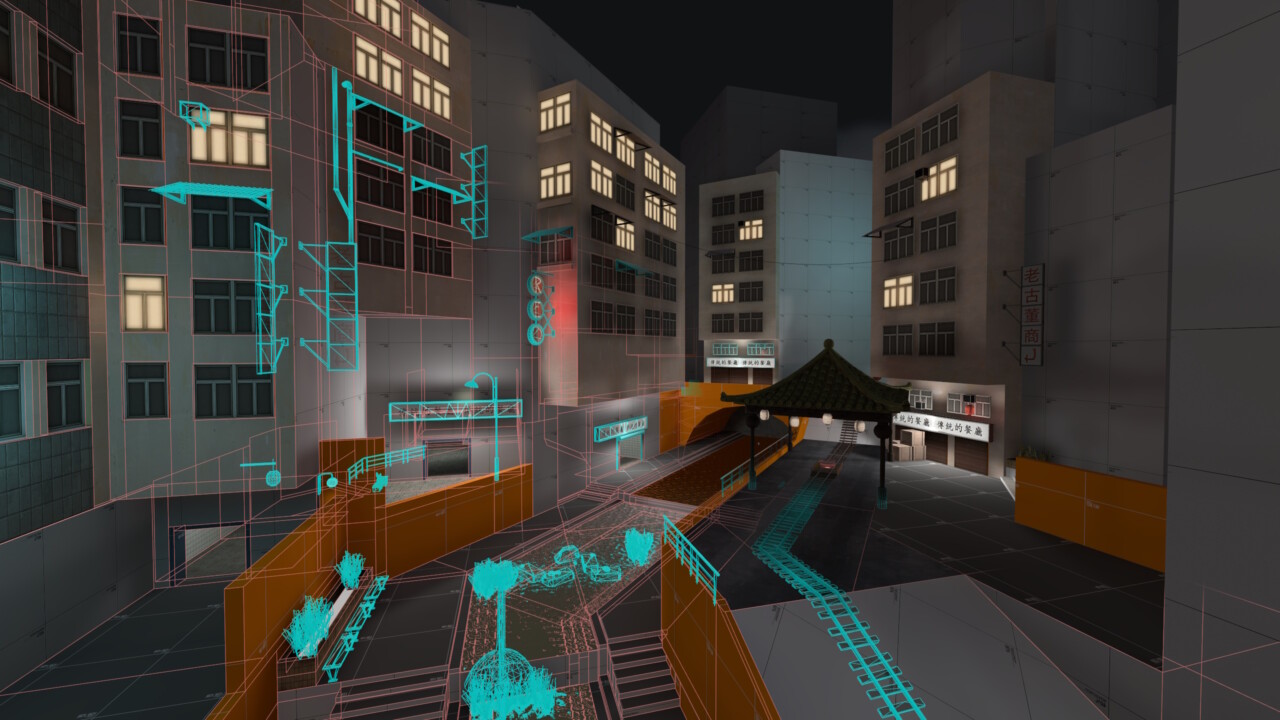
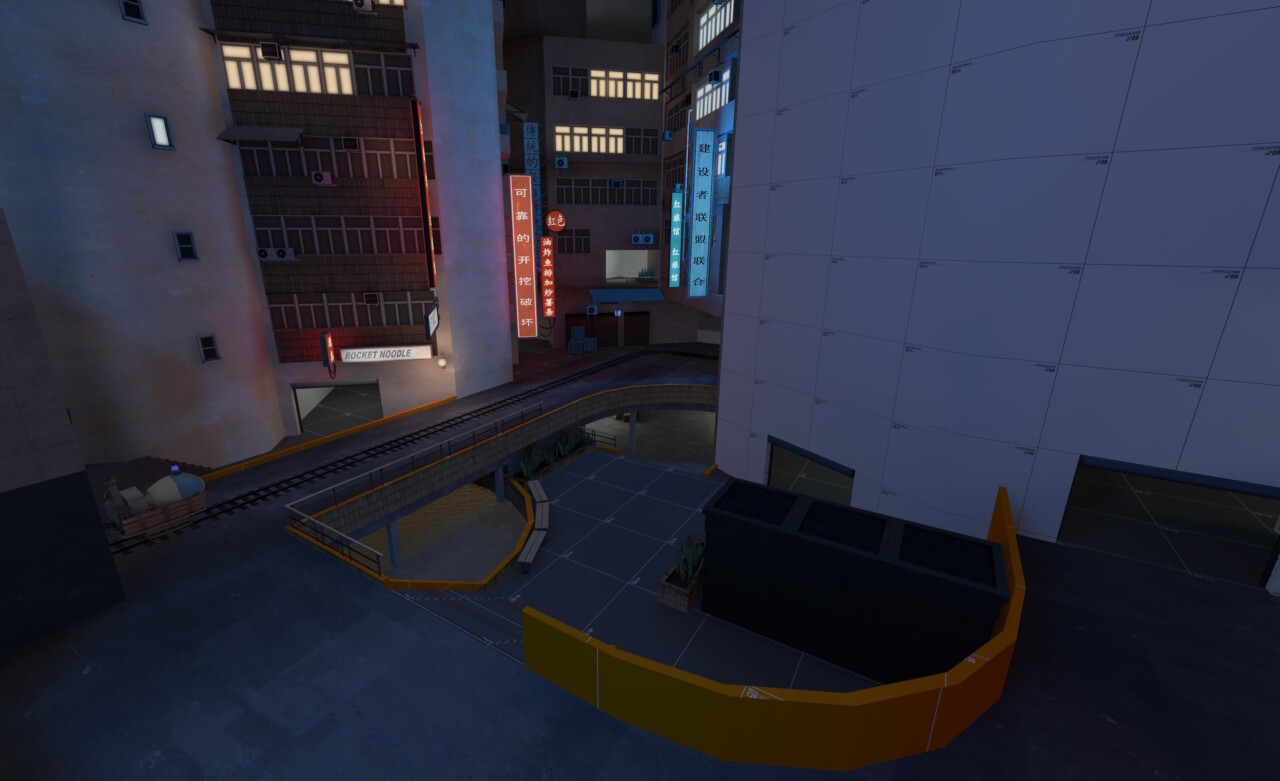
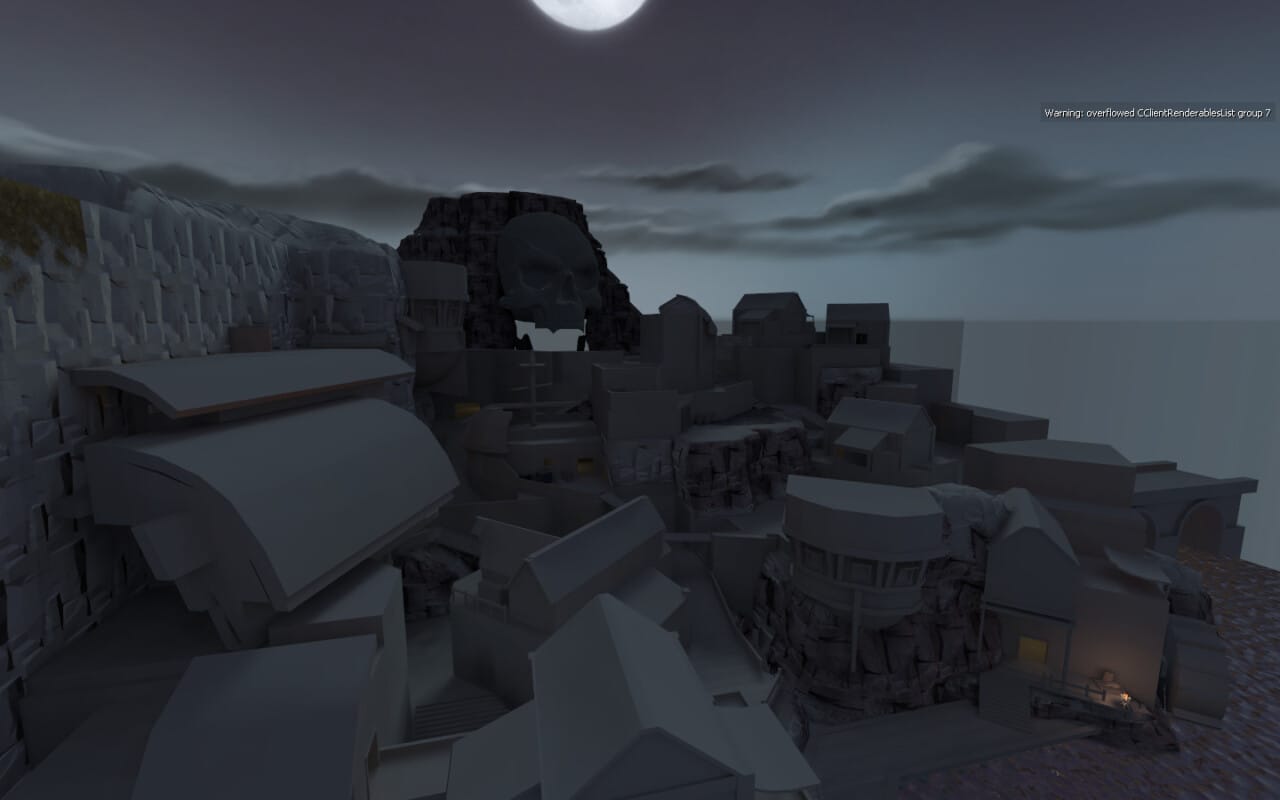
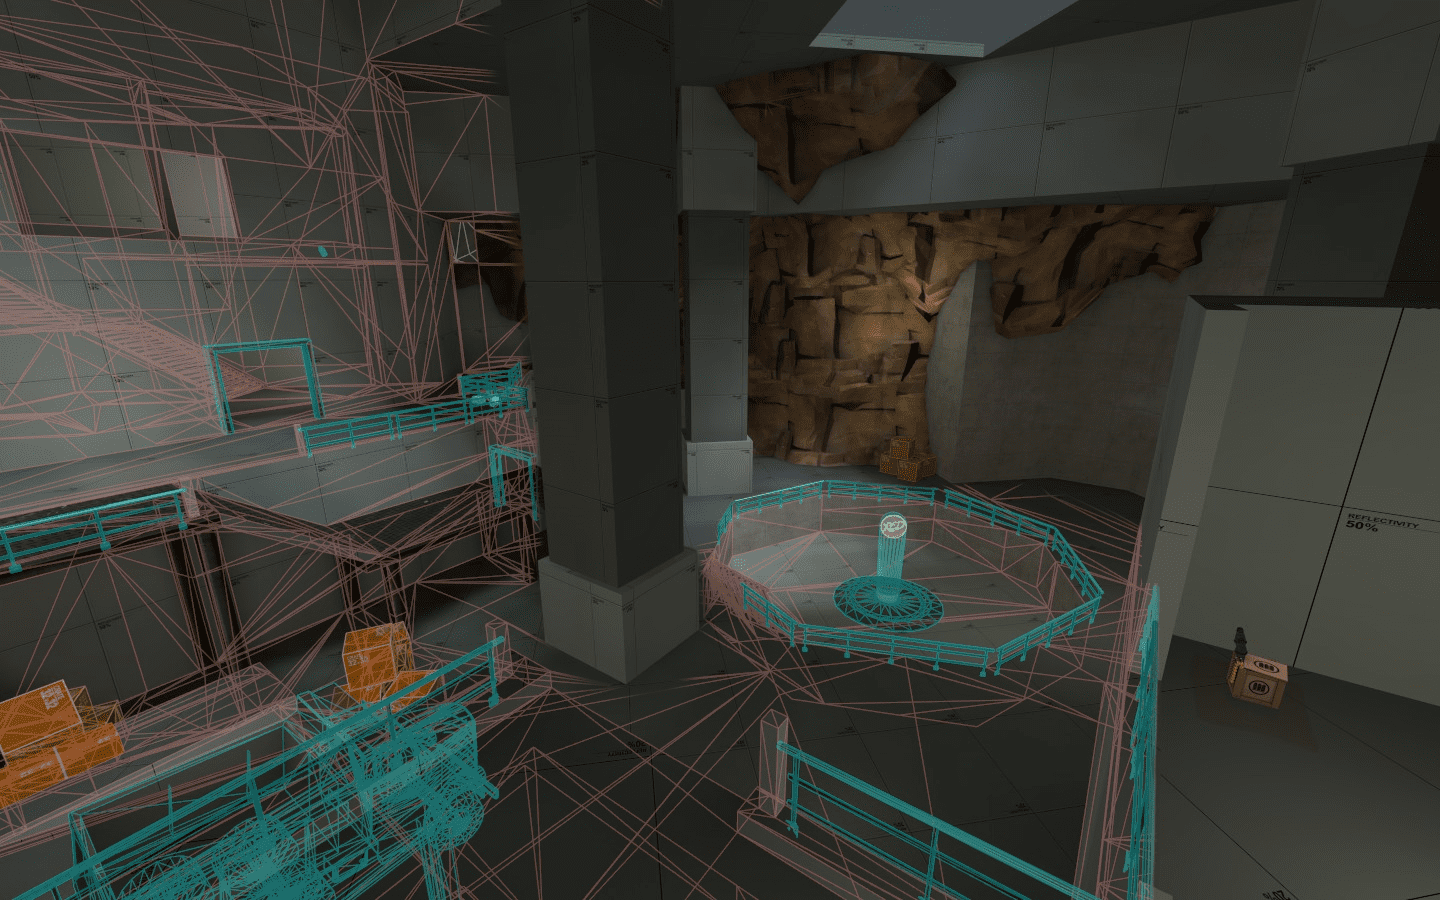
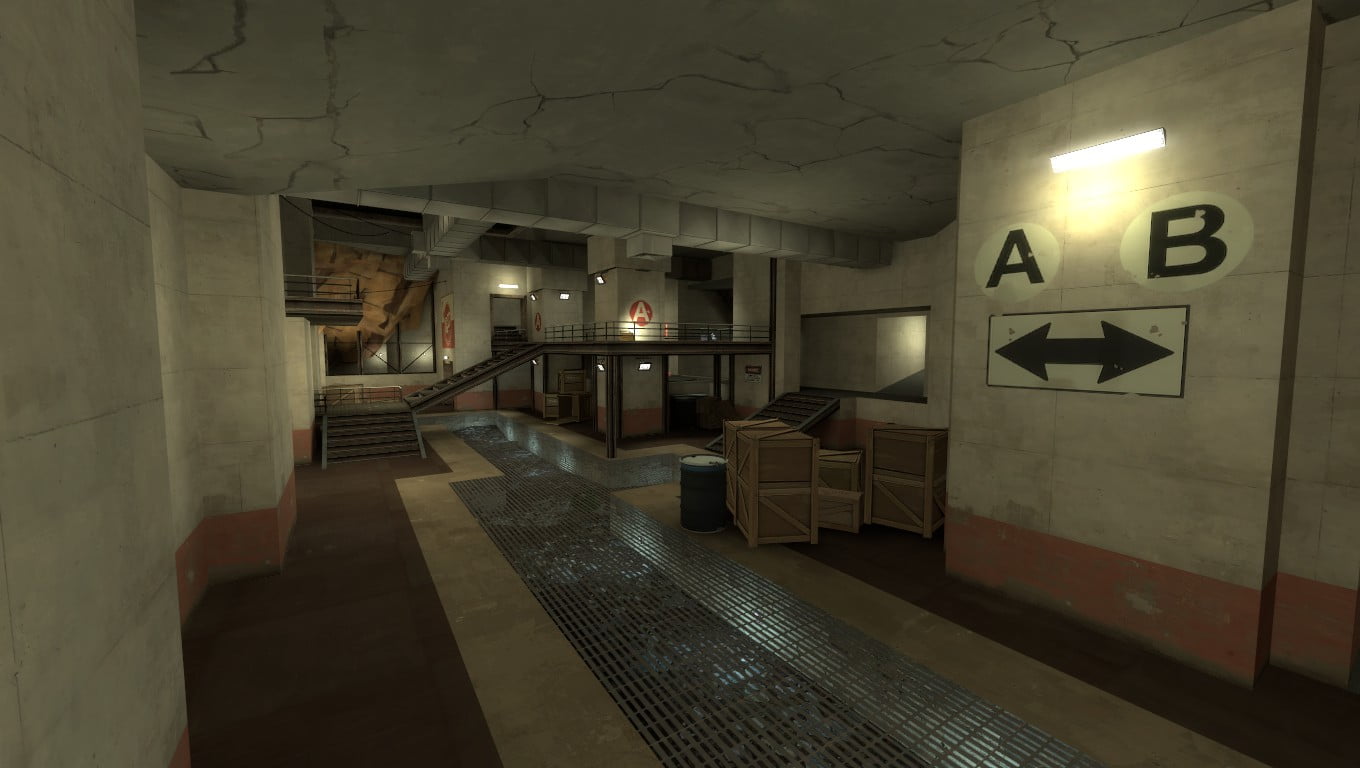 This is way too detailed for an A1 version of a map (to be honest it’s too detailed for even a B1).
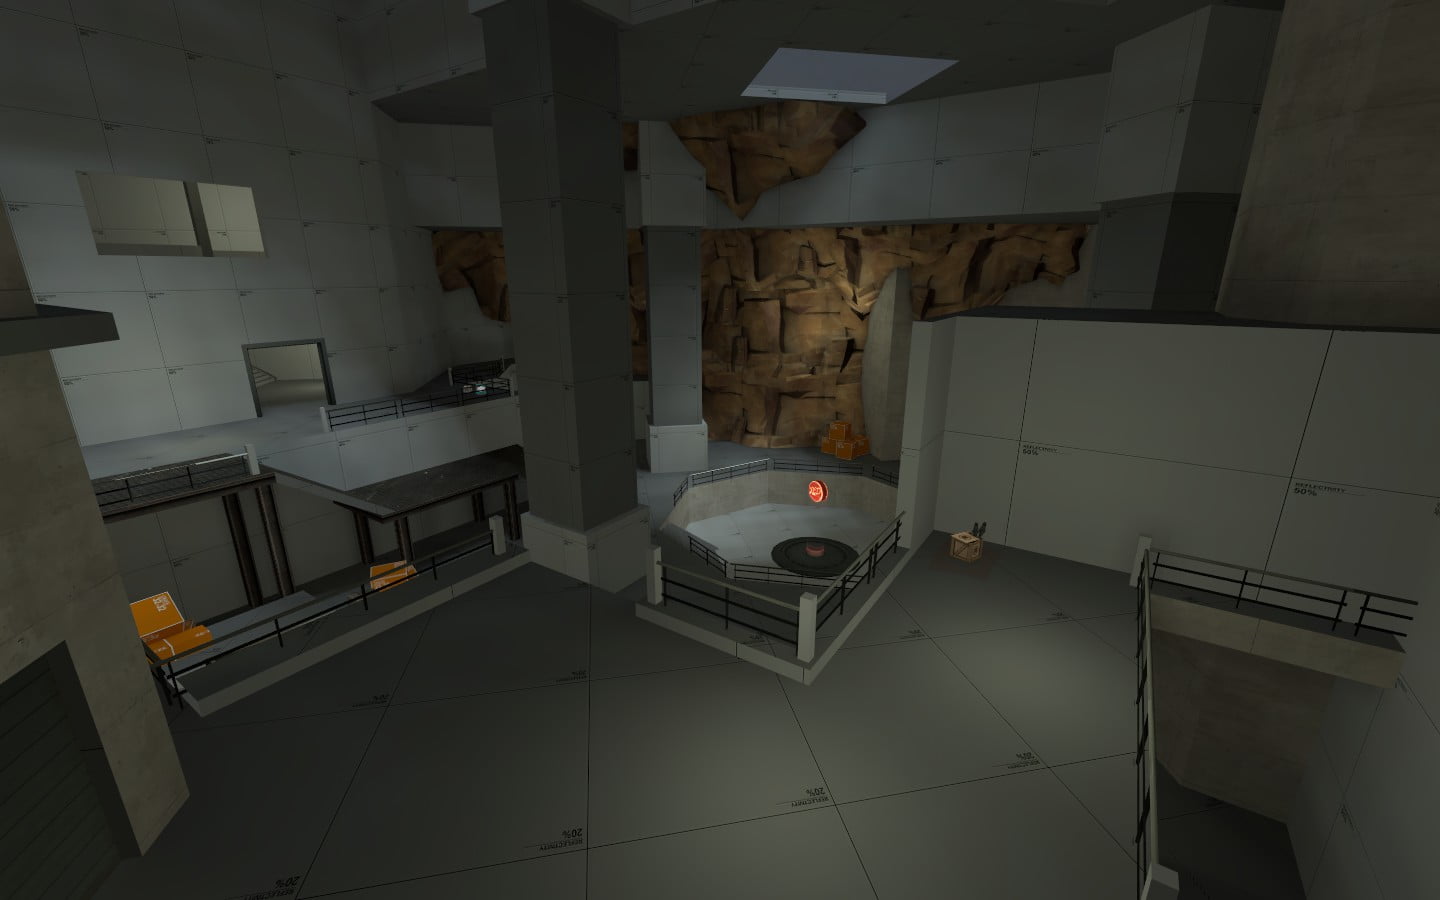
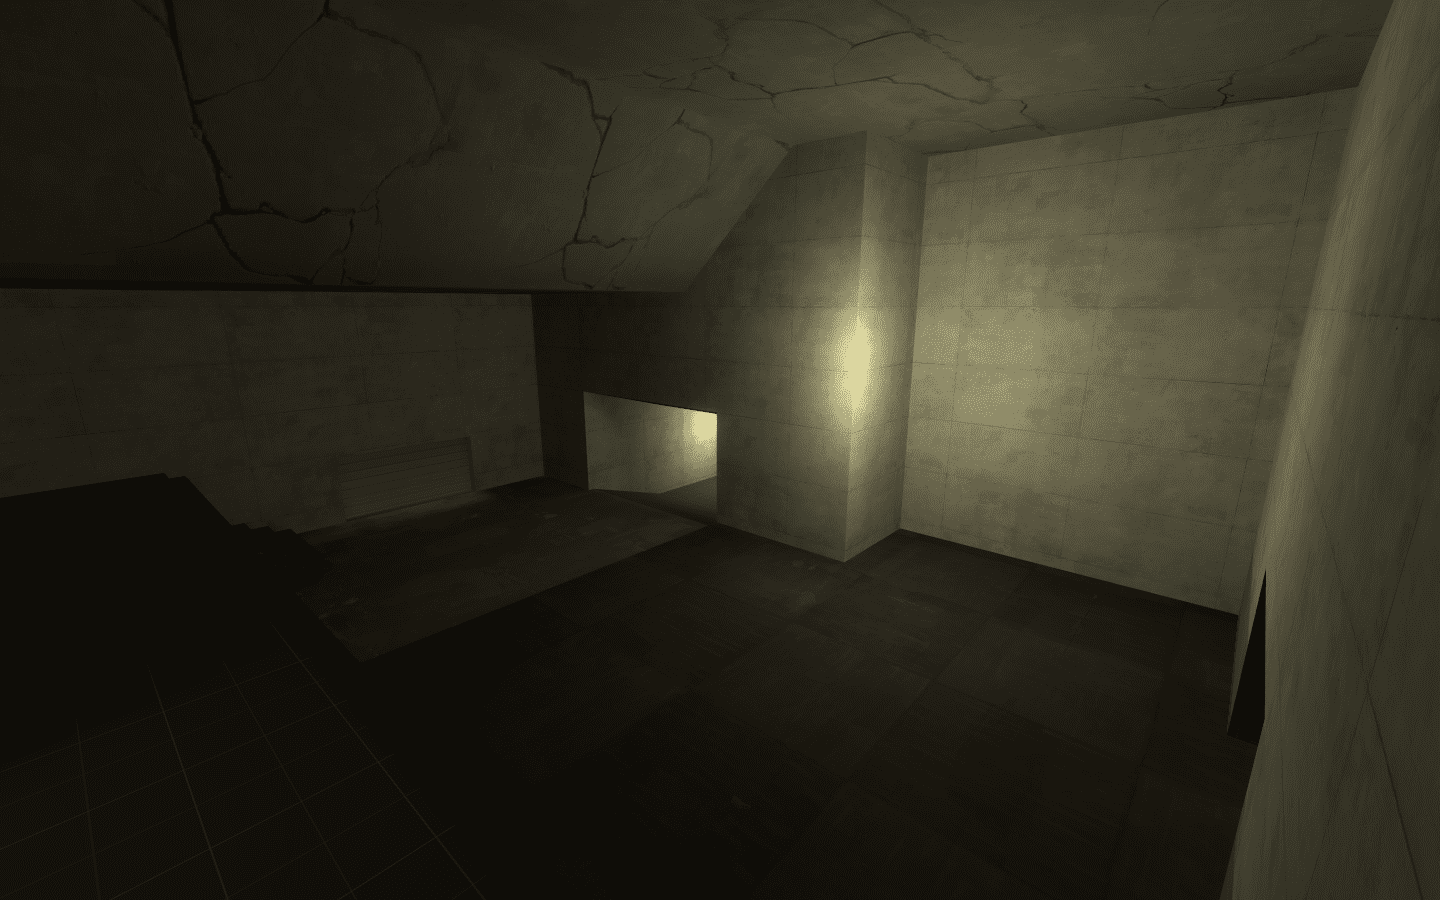 A few rooms were just boring and empty. You can definitely see the exact point of the map where i stopped caring.